
Having settled into life in Australia’s capital, it was time for my first tournament. Now living within driving distance of Sydney means I can attend their (many) tournaments, and I decided to take advantage of it with Dagor Dagorath. With a solid Mordor/Serpent Horde list behind me, I was excited to see what the Sydney scene was like. Could the new hotness of the Witch King and Suladân propel me to success, or were my wins up north just a product of ‘big fish, small pond’? Read on and find out!
Tournament Format
This tournament was 750 points, with three pre-released scenarios (Breakthrough, Command the Battlefield and Lords of Battle). That selection
of scenarios was
pretty balanced, and honestly didn’t play into my choice of army at all.
Breakthrough encouraged combat lists and numbers, Command encouraged mobility
and numbers but could also favour shooting, and Lords favoured elite models and
shooting. So, basically everything.
The
more exciting part of the tournament, in some regards, was that it was a charity
fundraiser for the Sony Foundation, which raises money to help bush kids with
serious illnesses stay in inner-city hotels before hospital visits. The funds
from the tickets– as well as the post-event raffle– went towards this work, and
it was definitely nice to be making a small positive difference to the world as
we played with our toy soldiers.
Listbuilding
This
list should come as no surprise to regular readers: I’ve run smaller versions
of it at two previous tournaments in the past (here and here), written up a
battle report of it here, and run through it as part of a Mordor list-building
article here. It’s also really taken off in the UK over the last year, winning a
lot of events over there (although I maintain that I was running it before
it was cool).
You
know it, you love it (maybe), it’s the Witch King and Suladân!

Mordor/Serpent Horde
Warband
1
Witch King 3/10/2 on horse with Crown (Army Leader)
7 Black Númenóreans
7 Morannon Orcs with spear/shield
Orc Tracker
Warband
2
Mouth of Sauron on armoured horse
6 Black Númenóreans
6 Morannon Orcs with spear/shield
Warband
3
Zagdush
6 Black Númenóreans
6 Morannon Orcs with spear/shield
Warband
1
Suladân on armoured horse
Serpent Rider
44
models, 11 Might, 4 fast models, 1 bow
This
list is just good. In particular, it has the wholly trinity of powerful
battleline, punchy combat characters and scary magic. That gives it tools in
any matchup and any scenario, and means it’s never entirely out of the fight.
Lists that rely on their heroes for damage output will often dislike the double
casters, lists that want to swarm you with troops will probably bounce off the
Black Númenórean/Morannon wall, and lists focussed on elite troops often
haemorrhage them against the four combat heroes. In short, it can do a bit of
everything, and just has a bit more stuff than you’d really expect.
The three controversial choices in the list are only having a single Tracker, my Witch King being only 3/10/2, and fielding Zagush over any of the other Mordor heroes (with Gorbag being the obvious swap). That first ‘choice’ is honestly just a model-availability one: I’d have preferred to have 6 more Trackers in exchange for dropping 3 models from the battleline and downgrading a Morannon to an Orc, but I only have three Tracker models. So, that was out. The cheap Witch King does remain my firm preference though, because honestly I just don’t find that I need more than 10 Will. I’ve said this many times on this blog, but people really overestimate how long games tend to go at tournaments, and also how often the Witch King is able to both cast and fight in the same turn. That generally only works about every second turn, because on turns that your opponent is moving first you can’t cast if you’re on the frontlines because you’re probably getting tagged. As such, I am once again running a barebones Witch King, and I would be surprised if I got too stung by it.

Finally,
I think Zagdush is just better than Gorbag. Gorbag has the edge when he’s
fighting two warriors at once, but I very rarely find that’s something I want
to do with one of these 3 Might Captains with Strike. They’re generally best
off taking on and killing one model a turn to build up attrition, or getting
into Strike-offs with more expensive heroes to either burn their resources or
take advantage of a successful Transfix/Compel. For either of these roles, Zagdush
is far superior.
All
lists were made public in the week leading up to the event, giving me lots of
time to overthink every matchup. Overall I liked my odds into most of the
lists, but there were a few (Riders of Théoden and the Beornings in particular)
that absolutely terrified me. But hey, if a list didn’t have any bad
matchups then the game would be in a very poor state!
With my army assembled and ready to go, all that was left was to prepare for my first matchup, which was…
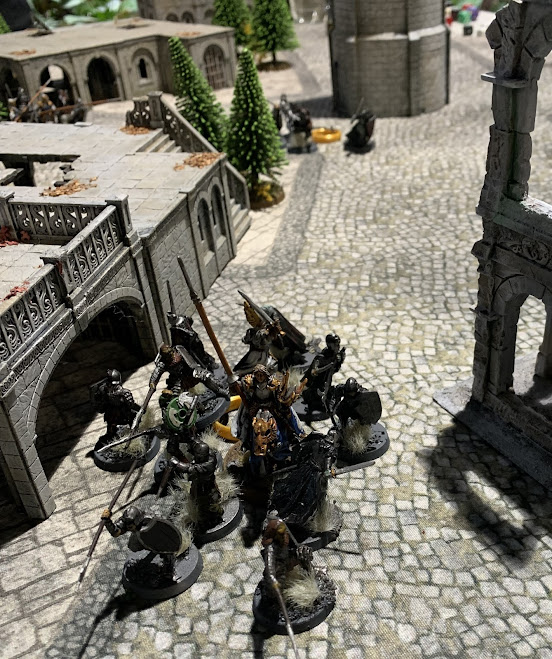
Game 1: Fiefdoms in Breakthrough, 9:0

Ian’s
list had a lot to scare me: some very punchy heroes, a solid selection of
infantry and no less than 8 mounted Knights of Dol-Amroth. Yikes. I’d have to
leverage my magic and superior numbers to pull this one off.
Deployment went well for me, as we faced off over a beautiful (and thematic!) Osgiliath board. One of the centreline objectives was just on the edge of a building, with a small gap between it and the roof of the next building. That meant whoever had that deployment side could cram more rooftop models within 3” of it, which gave an immediate edge to that player. Winning Priority let me take advantage of it, and we were off to a great start. I split my force into two main thrusts, one through the centre and the other (led by Zagdush) facing off with Ian’s Captain of Dol-Amroth on my right flank.
Ian
made two mistakes in deployment here, which combined probably cost him the
game. Firstly, he deployed Imrahil and his Knights over on his right flank,
ready to sweep around and strike at my backline objective. I could see the
logic here, but the way the terrain was placed meant that I could keep him
entirely out of the fight for the first two turns, and then pin him into a
bottleneck from there. That meant that he could never really leverage 260
points of his heaviest hitters, which gave me an immediate edge.

Secondly, Ian placed his Captain’s warband aggressively on his left, forgetting that I still had Zagdush to drop. As such, he put his mounted Knights right on the frontline, where I could charge them on Turn 1 and get started on neutralising the rest of his heavy cavalry. Zagdush attempted an assassination run on the Captain but was only able to chip a wound off, although I did manage to take out all three Knights on that flank over the next couple turns.

That, combined
with my numbers edge and higher Strength/Defence, allowed me to grind out this
warband entirely, reducing them to a single Foot Knight and the wounded Captain
by the penultimate turn. This wasn’t helped (from Ian’s perspective) by his
Captain failing two Terror checks in a row to charge Black Númenoréans. Not a
great showing from him!
In
the centre, things were also broadly going my way. The Mouth hacked down a pile
of warriors, cutting a hole through Forlong’s warband. That allowed my
numerically-superior and tougher troops to swarm through the gap and around the
flanks, setting up traps that rapidly snowballed to wipe out the warband.
That
was in spite of Suladân’s incompetence, which was really my incompetence. On
the first turn he went in to a Transfixed Forlong and Struck up, preparing to
ride down a hero for little effort. I won the duel easily enough, but only
inflicted two Wounds. I could have spent my remaining two Might to guarantee
the kill, but opted not to on the basis that I wanted to keep my Might for
challenging Imrahil. This made a degree of sense, but I knew within about
thirty seconds that I’d made a mistake. Spending two Might to take out a combat
hero (who himself had a full three Might to burn!) is always a good idea, and
over the next two turns Suladân had to burn his last two Might anyway in
the protracted duel, while being beaten up and reduced to a single Wound to
boot. Pah!
In
the end, the Mouth had to ride in and finish off Forlong, while Suladân
contented himself with running down a couple more warriors. Great work.
The
other area where things weren’t going well was up on the rooftops, where six of
my infantry were facing off for the objective against Ian’s Blackroot Vale
archers. We realised that Ian could still contest the objective from his
building, and also block off my troops from jumping across to push him off it.
He had very little interest (sensibly enough) in jumping over to face my
D6/S4/F4 block with his fragile archers. I, meanwhile, couldn’t really move my
troops away, because Ian could then jump across and pin me off the building. So
I was left to just sit there, getting shot, for the entire game. Lovely.

By
Turn 3 Imrahil had finally made his way around the buildings and into my
backfield, and managed to resist a Compel on a single die thanks to a natural
6. If he’d failed then I would have been able to swamp and kill him with
everyone in the area, but dice do dice things. Imrahil won the subsequent
Move-off and led a charge into my screening Black Númenóreans. However, my
magic did better this turn, with a nasty Black Dart dismounting Imrahil and
stalling out his charge. I managed to pin in the cavalry and mitigate their
impact, and eventually (with the assistance of the Mouth and Suladân cantering
back to lend their assistance) I was able to drag down most of the remaining
Knights.

The
Fiefdoms were now very much Broken, and most of the Blackroot Vale Archers fled
from their secure position atop the building. This put Ian within two models of
being quartered, but I still needed another turn to make sure I was in control
of all the objectives. As such, I did the dishonourable thing of shielding
everywhere I could, dragging out the game for one last turn and locking in a
few more points.

In doing so, I cleared the last Fiefdoms off the right objective, with the Captain of Dol-Amroth dying at last. It wasn't really his game.

I also achieved majority control against the lone remaining archer (still safely-ensconced atop his building) and made one last assassination attempt on Imrahil. The Witch King Transfixed him and Struck up, but couldn’t get through his Fate even with the Mouth and a pile of other warriors involved.

Still, with all the objectives in my control and Ian Broken, I’d picked up a resounding 9:0 win. A great game to start!
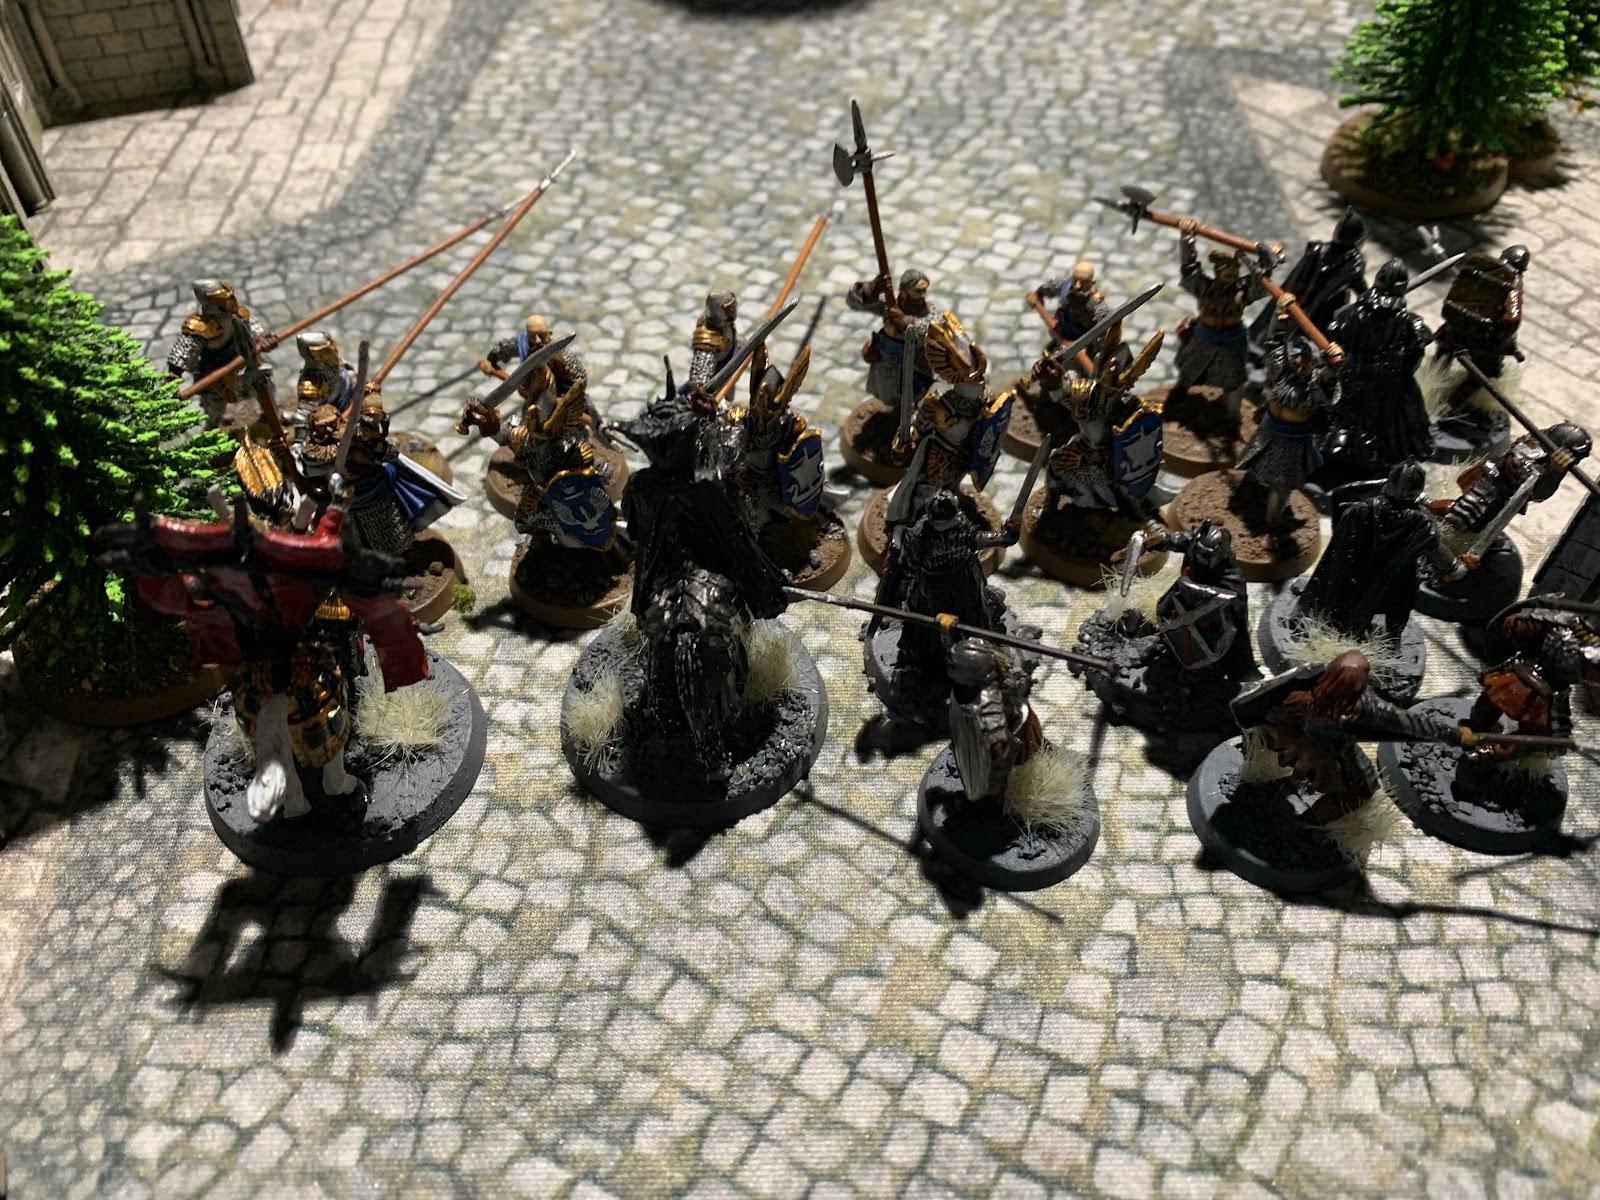
Game 2: Fell Beings of Mirkwood in Command the
Battlefield, 12:0

My
table in the second round was off in a side room, and it was a very funny board
to show up to. It was dominated by two terrain features: first, a wall running
the length of the battlefield, broken in many places; and second, by an
enormous model of Orthanc. It was far too tall to really be anything other than
a line-of-sight blocker, but it was great fun to play around its base. Rob and
I enjoyed joking about Saruman looking out from his balcony, thoroughly
confused as to why two of Mordor’s armies were clashing in his front yard.
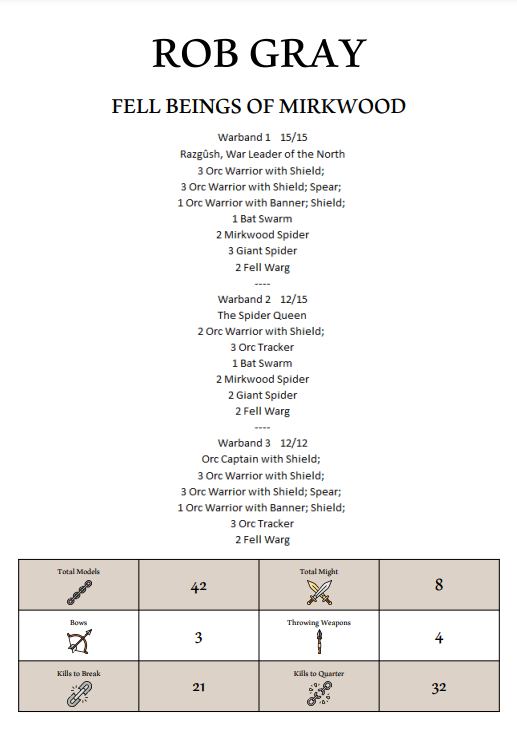
Speaking of which, Rob’s list was classic Fell Beings, with 10 Spiders of various kinds (including the Spider Queen), a collection of other Bats and Wargs, and Razgush’s Orcs.
It was a pretty rough matchup for him, in quite a lot of ways: my magic is very scary for his heroes, my heroes are great at carving up Spiders, my troops will smash his Orcs and my Terror is devastating for everything in his list. Moreover, I’ve also played enough with Spiders, Bats and the Spider Queen (including here, here and here) to know their tricks, so I wasn’t likely to be taken off guard by their shenanigans.

Maelstrom
went fairly well for me, only needing to burn a single Might on Zagdush to get
everyone in the same spot. Rob managed to get most of his troops on together,
but opted not to spend a Might on the Spider Queen to stop me bringing her in
near my lines. As such I was able to rapidly get some troops into his Orcs and
Spiders, picking up quite a few early on. More significantly, I was able to put
pressure onto the Spider Queen early with magic, eventually Compelling her out
into the Witch King and a bunch of troops, who swiftly dispatched her. The
Mouth also lead a group of warriors Heroic Combatting from one Spider into two
more, but the second combats went much worse than the first and he was
dismounted, wounded, and lost both his buddies. Urgh.
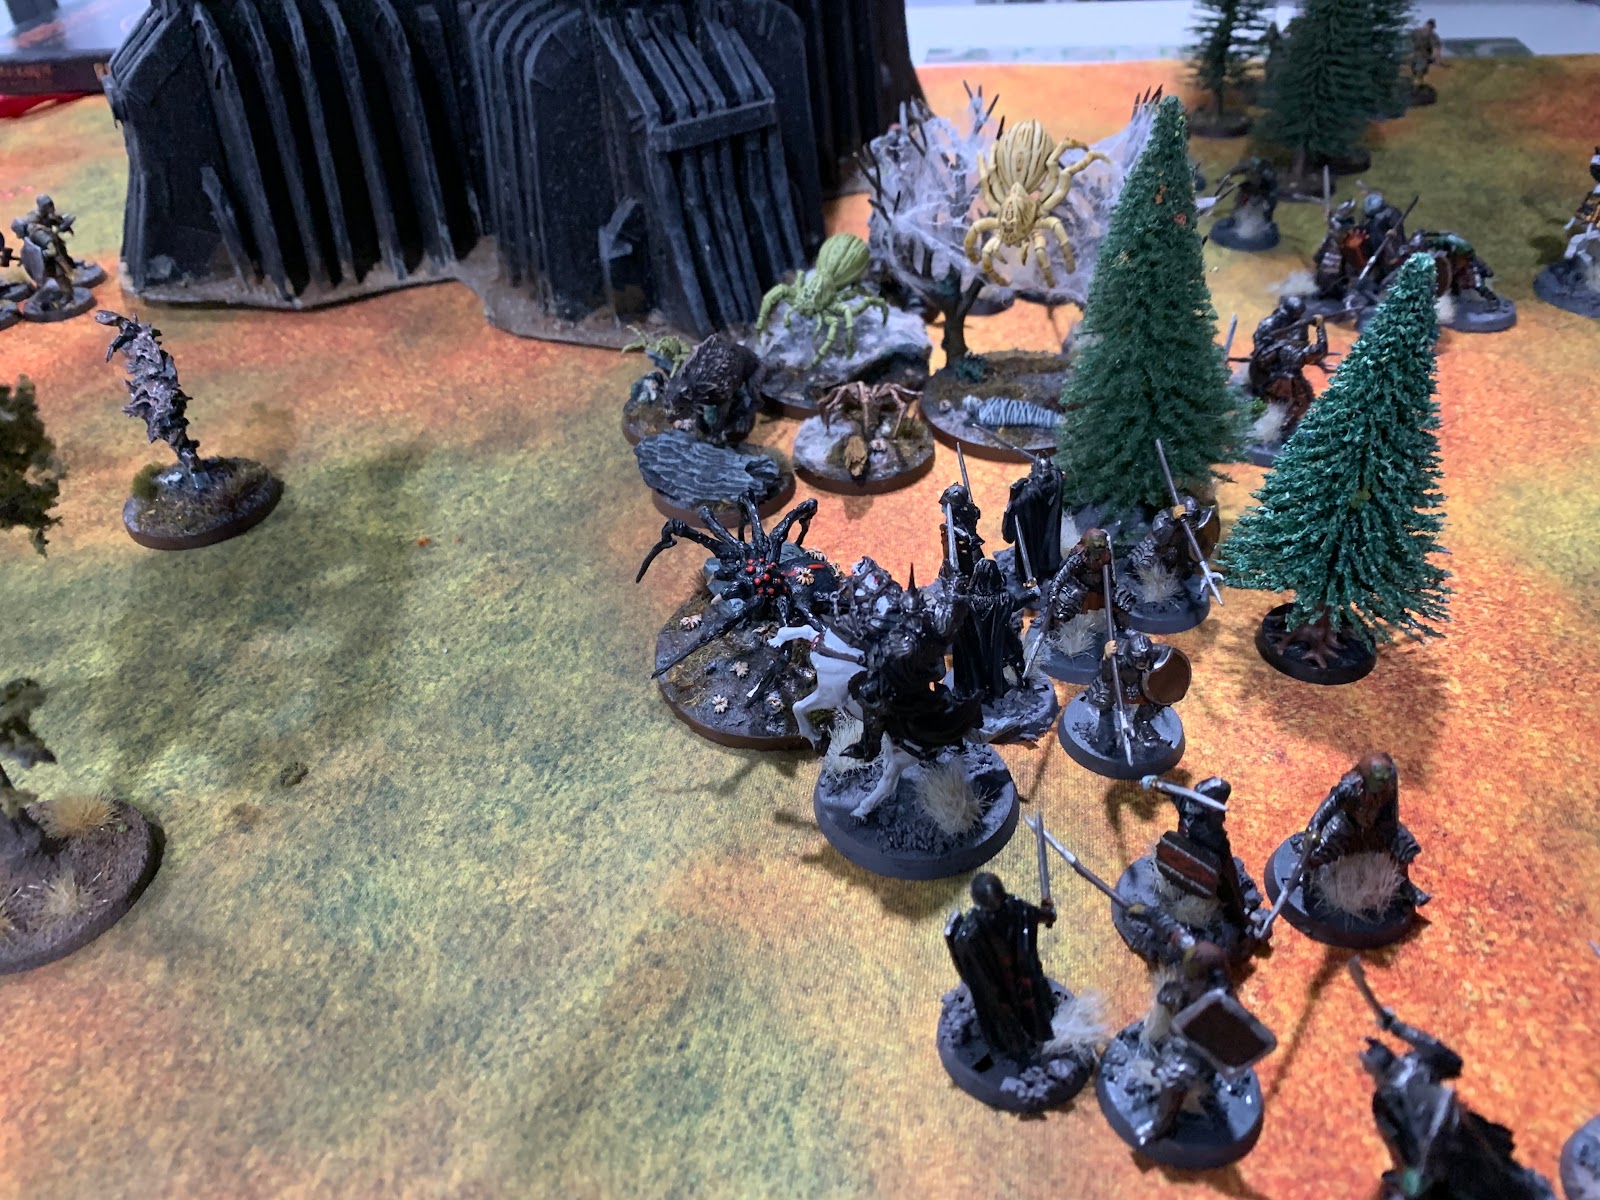
The
most amusing part of this clash was a lone Tracker, who escaped the slaughter
of his warband to get into a shooting war with my lone Tracker. Rob and
I made a gentleman’s agreement that these two would have a little shooting
duel, without my nearby heavy infantry intervening. We subsequently decided
that whichever Orc won would get to roll on the Path of the Ranger from Battle
Companies, and it was honestly a real highlight of the game. In the end Rob’s
Tracker took mine out, rolling up Expert Shot as a reward, before being
immediately killed by a Black Númenórean. Ah well, it was a good effort.

Elsewhere, Rob and I ended up clashing in the centre and along the edges, and my troops and heroes rapidly began to get the edge. Razgush suffered at the hands of my magic, and his troops struggled to deal with my Terror wall. That let me pick the terms of engagement for most fights, and Rob was soon Broken. The Mouth managed to take out his Orc Captain to redeem himself somewhat, while my heroes carved their way through enough Spiders to decisively win the war of attrition.
On
the final turn, Rob opted to Heroic Combat Razgush off a Morannon and into Suladân.
Suladân promptly fended off both Razgush and the Spider he was facing, wounding
Razgush to add insult to injury. Elsewhere, my troops had effectively cleared
Rob out of three quarters and the fourth was entirely uncontested, giving me
another big 9:0 win!
This
game was an absolute hoot, filled with chuckles at every turn. Both Rob and I
leaned into the silliness at points, and moments like a lone Warg facing down 9
of my warriors and the Mouth and killing a Black Númenórean (Paralysed by a
Mirkwood Spider shooting into combat!) were particularly amusing. Rob did a
great job of laughing through a bad matchup, and I’m very keen to play him
again.
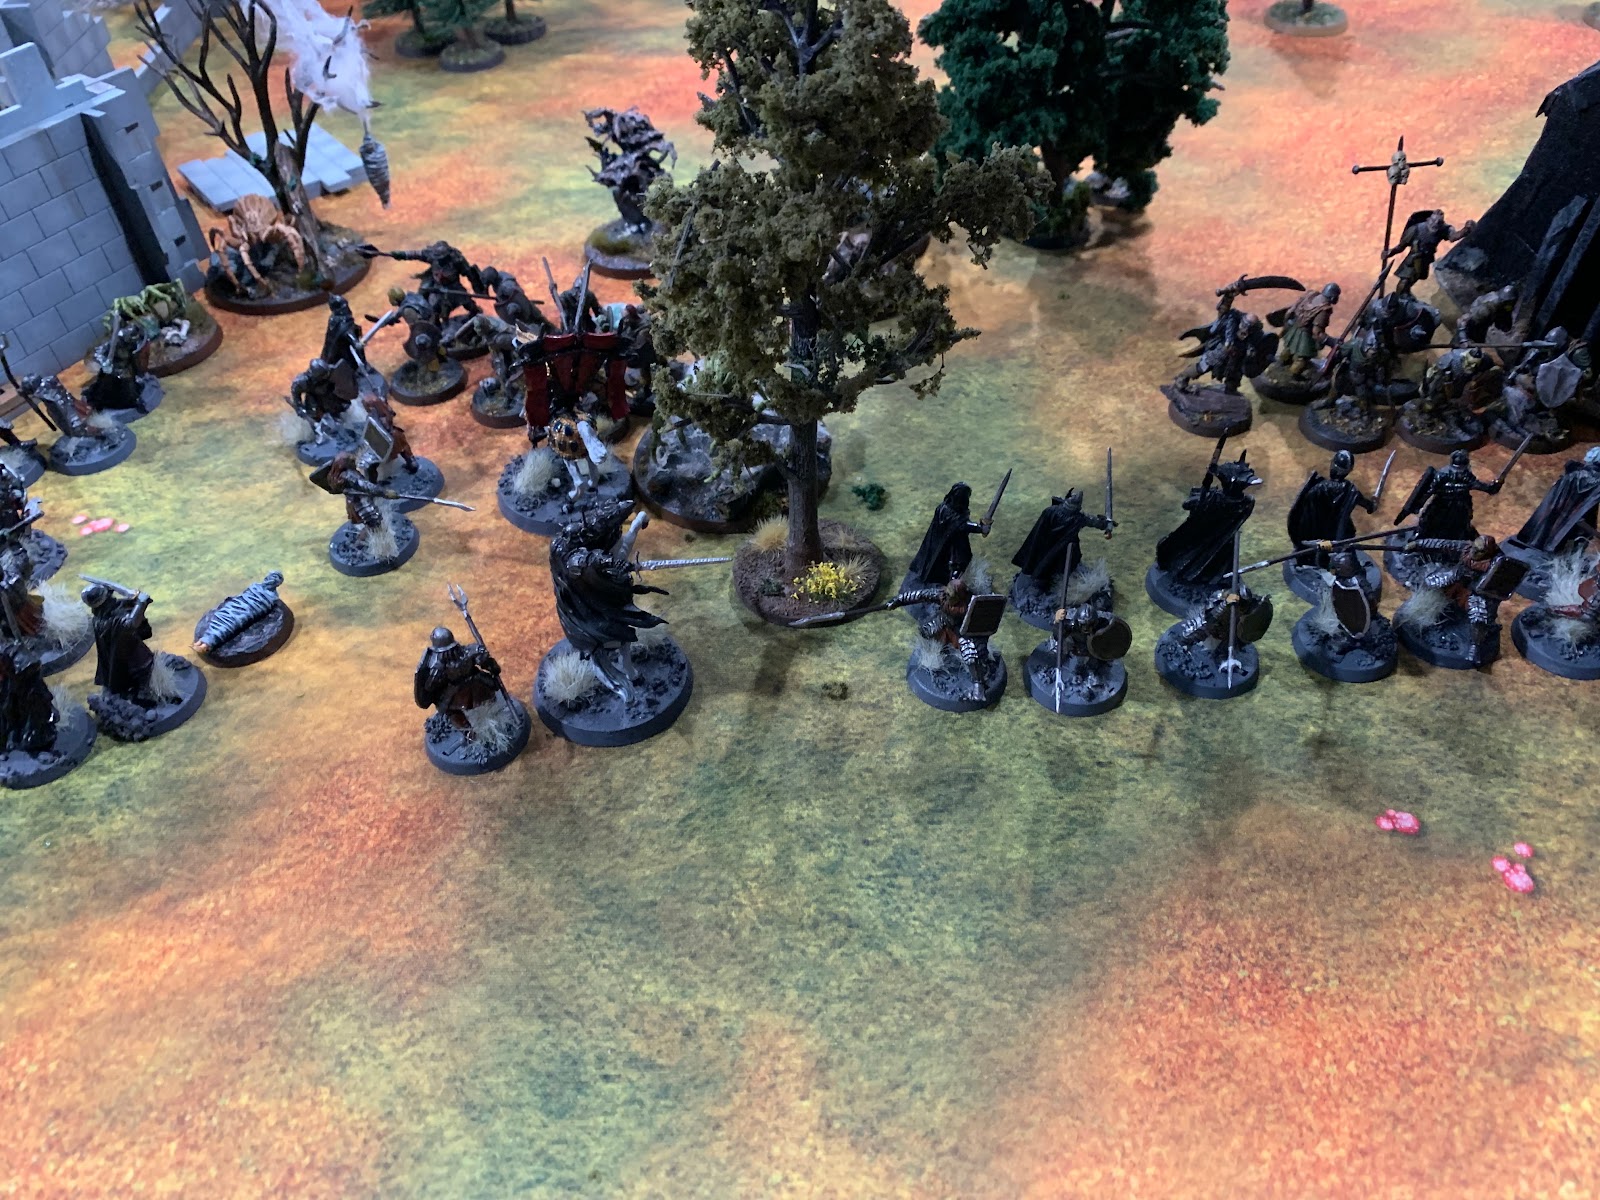
Game 3: Isengard in Lords of Battle, 0:3
This scenario was the one I was most concerned by, because there were a lot of very elite armies present. Against the Beornings or Riders of Théoden I would be in for a rough time.
Mercifully
I dodged those bullets, and ended up matched into Vaughan and his Isengard. I
had a sizeable numbers edge on the Uruks (44-35), and would ordinarily have felt
quite confident in the matchup. That was somewhat reversed by the terrain,
however, which (after Vaughan won the roll-off for table sides) allowed him to
take up the perfect defensive position. This was buttressed by a fence on one
side and a rocky outcrop (which we treated as a defended obstacle) on the
other, and allowed only a small frontage of my troops to engage him without
having to attack over obstacles.
This savvy deployment saw me lose about 5 models to shooting on the way in, although I did also Black Dart Grima as I slogged forward. The Witch King does not share Aragorn’s compunctions about murdering a treacherous counsellor. The Witch king also managed to drag two Might and a Will out of Gorulf to resist being Compelled forward and Heroic Combatted off by Suladân and the Mouth.

Saruman
struck back, dismounting all three of my mounted heroes over consecutive turns.
Vaughan was extremely canny with him, using Sorcerous Blasts to foil my
assassination attempts on Gorulf (who was Transfixed every turn) by Blasting a
model into their combat and knocking everyone prone. He had to burn a lot of
resources to do so, however, and my Witch King also began targeting him with
Your Staff is Broken. Eventually, with no Might and limited Will remaining, he
failed to knockdown Suladân, who promptly hacked down Gorulf at last.
That
was clearly a severe blow to Saruman's confidence, and I followed it up by Breaking
his Staff on the next turn to turn off his casting entirely. It was a big swing,
although Lurtz winning a Strike-off (with no Might remaining) against Zagdush
and the Mouth and straight up murdering the Orc made up for it a little. I did
manage to get Suladân into Lurtz (Transfixed again) on the next turn, however,
making use of a trap to take him out at last.

By
this point I had also managed to break my way into Vaughan’s little castle and
things were beginning to snowball in my favour. However, my troops had also
taken heavy casualties in doing so, and I was just starting to bring the wounds
tally back towards parity. Time was called and we were on our final round, and
the resulting carnage left Vaughan exactly one wound ahead as we went into the
final combat. Neither of us were Broken (Vaughan was one off, I was 3-4 away),
and it would all come down to who could get ahead on that tally.

Saruman,
out of Might and alone, was facing off against three of my warriors. He had charged
but was now trapped, and had no Might to burn. If Vaughan won then he would
retain his tiny lead on the tally and get a minor victory, if I won then I would
only need to strip two Fate or deal a single Wound and I would take the win.
And if I managed to actually kill him then I would get a crushing win, as it would
also Break the Isengarders. Vaughan had the Fight value advantage, but I had
three dice to his two. We were both coming off two massive wins, and it turned out
that first place was riding on this fight.

I rolled my dice, and...

For
fun, we decided to roll my wound rolls out to see what would have happened if
I’d gotten the 5+ I needed. The Mordor warriors rolled hot and actually bodied
Saruman, which would have given me a huge 8:0 win. I’m not sure whether this
made me feel better or worse about the whole thing. But in any case, Saruman
won the combat and smashed down a Morannon to seal a 3:0 win for Vaughan.
Heartbreak
aside, this game was one of the most enjoyable I’ve ever played. Vaughan was an
excellent opponent, both in the sense of being very switched on, but
also just being a delight to play generally. The joking back and forth was
excellent, and it had the delightful atmosphere of two experienced players who
both trust the other one to play optimally and to not take advantage of that
trust.
We
agreed at the start to just assume optimal special strikes, such that I would
be Piercing Striking when he was Transfixed or Immobilised and he would be
Feinting whenever he had a pike support, whether we remembered to say the words
before the duel roll or not. In other words, where there was no downside to
doing an obvious thing we would each assume the other one would do it. It’s the
sort of casual thing that takes a lot of unnecessary mental load out of the
game, and meant we could both focus on trying to outplay the other instead of saying magic words at the right time. The game was filled with
little things like that, and it made Vaughan a really enjoyable opponent.
Gushing aside, the game was a very interesting one tactically. The matchup really does favour me a lot, but the scenario and terrain flip that entirely, and Vaughan did excellently to take advantage of them to such an extent. It forced me to take a lot of casualties forcing his defensive position, which was the right call but felt very rough. The Wizard’s duel made us both think hard, while my heroes’ many attempts to take out Lurtz and Gorulf really stretched our tired brains. I wish we’d had another turn for the Mouth and Suladân to swing things back in my favour on the kills, but alas, such is the price of heavy thinking.

After
a minor loss and two big wins, I was hopeful of ending up in the top third. But
with how the scoring played out I actually ended up taking home second place, just (and justly) behind Vaughan in first!
Tournament Review
This
tournament was really impressive. Upon showing up at the event you were handed
a binder of laminated pages, containing copies of all the scenarios we were
playing, your list to show your opponent, and the profiles of every model in
your list. Not only was that extremely useful as a reference point, but they
also supplied marker pens so you could cross off the stats from your heroes as
you expended them, and erasers to reset between rounds. Talk about making
life easier!
Lunch
was provided, and excellent, and the venue was great. The terrain was truly
top-tier as well, with each board having a lot of coverage and a very clear
theme. The Isengard board was obviously a bit of a stand-out, but honestly
every table looked awesome. The prizes were great (I took home a voucher and an
awesome carry case, which will certainly improve on my current transportation
approach of ‘put all the minis in a cardboard box then stuff it with fabric
scraps’), and the raffle afterwards was absolutely stacked with things I
wanted.

Speaking
of the raffle, this was fundamentally a charity event, and it ended up raising
nearly four grand for the Sony Foundation! This was helped along by Andrew
Medbury (of Medbury Miniatures) pledging to design and produce a model for
whichever player donated the most throughout the day.
Overall,
I was very impressed by this event. It ran extremely smoothly throughout, and
just felt very ‘deluxe’. I would highly recommend it, and will be aiming to
make it to the next one!
List review
This
list is a bit of a known quantity, but man is it strong. In every single game I
felt like I was favoured in the matchup, and it was only some tricky terrain
that stopped it walking over everything it faced. 44 models is a lot at 750,
especially when they’re all (or nearly all– the Tracker is pretty rubbish)
tough and punchy. Having 4 heroes and 11 Might means it can actually out-muscle
a lot of lists, and the double spellcaster means you have so many options at
any point. Terror is sometimes annoying for your opponent and sometime
backbreaking (as against Rob), and it just feels like it has so much stuff.
Even in a tricky terrain/scenario matchup against Vaughan, I was really impressed by its ability to just keep grinding. It took some heinous casualties, and still ended up bringing the kill tally back to near-parity and being in position to roll him over if we'd had a few more turns. It's a remarkably resilient list, and that makes a big difference in the tough games.
I’ve
said it before, and I’ll say it again: this list is probably the strongest
thing in the game right now, maybe by some margin. It has its bad matchups, but
it’s never out of the fight, and it’s a nightmare matchup for a lot of other
lists. The Witch King/Suladân meta is real, and it can hurt you.

In
saying all of that, there are a few tweaks I would make to the list in future.
Having 6 more Trackers would have been useful in every game, and I consistently
had enough troops in the shieldwall that I could have dropped a couple. Again,
model availability was the issue there, but it’s certainly a change I’ll try
and make for next time.
The
heroes, on the other hand, were absolutely perfect. The Witch King had exactly
the right amount of Will in Game 3, and several more than he needed in Games 1
and 2. Suladân was obviously as excellent as ever (my unfortunate error against
Forlong notwithstanding), and the Mouth was often crucial. Being able to
Transfix heroes without having to waste the Witch King on it was awesome, and
just having another F5 mounted hero is a big deal. He should be the third hero
in this list at anything above 550 points, and I don’t think it’s even close.
Honestly, this tournament has really convinced me on him generally, at least in
any Mordor list that has another spellcaster. He doesn’t cast quite as well as
Muzgur or a budget Ringwraith, but he still does so quite reliably, and he hits
so much harder.

Zagdush
also proved his worth, giving me great value in every game. In the first round
he was able to constitute a legitimate threat to the Dol-Amroth Captain thanks
to A3 and S5– which Gorbag could not have done– and otherwise was mostly
fighting lone models anyway because I’d gotten myself the numerical advantage
on that flank. Round 2 he was again only ever facing one opponent, where his
extra Attack helped out with his reliability substantially. And in Round 3 he
made it much easier to kill Gorulf, before dying to Lurtz in exactly the same
way Gorbag would have. Having a third Striker instead of Guritz (the other main
competition) also made a big difference in Rounds 1 and 3, while Guritz’
Maelstrom ability would only have saved me one Might in the second game.
Overall, the list did good, and if I had another 750-point tournament tomorrow I wouldn’t change a thing. Now I just need to get myself some more Trackers!
Tournament Wrap-up
A
second place at my first tournament down south is certainly a great result, and
I had an absolute blast to boot. All of my opponents were lovely, with Rob and
Vaughan being particularly excellent to face. And the community seemed
generally to have a really lovely vibe, which I’m keen to experience more of
this year.
I’d love to hear your comments on the list, the tournament and the matchups. Fellow Zagdush supporters/Gorbag haters, I want to hear from you. Guritz lovers, tell me why I’m wrong. And people who don’t field the Mouth as their third hero, tell me why you’re wrong. Comment below or on social media and I’ll do my best to reply whenever I can.
Until next time, may you always win that critical final fight!
A most excellent tournament write-up - pity about the 2-high at the end, but it was agianst Saruman, so I was kinda backing him. :P
ReplyDeleteI think the 3/10/2/Crown/horse Witch-King is perfectly fine - if he has a helper. If you're investing in other heroes that are providing tactical options and no punch (like the Shadow Lord), you might need him to do more for you and so invest more heavily in Will . . . though even as I write this, it does occur to me that you'll have the Shadow Lord to assist you in casting since he doesn't have any particular reason to throw himself into combat.
I'm also getting into the Fiefdoms this year - and it seems to me like 8 mounted Knights is a bit too much - especially since it's more than a 2:1 trade for elite infantry options (men-at-arms are great supporting models, Axemen/Clansmen are great front-line models, the bows are cheap and good at what they do). While Forlong and the Captain had basically max warband, Imrahil's warband was only slightly above half strength - do you think the match-up would have been harder if your opponent had dumped 5 knights for ~11 infantry instead?
Glad you enjoyed! The 2-high certainly was a bit sad, but I was happy to get a podium even with the loss at the end. Saruman certainly showed his strength in this game, I won't be underestimating him again!
DeleteI definitely do agree that the cheap WK needs a helper, but as you say it's rare that you don't have either another combat hero or a spellcaster (or both, potentially multiple of both). I think the only time you wouldn't have a hero doing one or the other to back him up would be doing south of 300, and honestly I don't think that's really the WK's points level. At that stage, you may as well just take the Mouth and be done with it.
I agree re the 8 mounted Knights, and I absolutely agree that it would have been a tougher matchup into a bigger Fiefdoms list. There was another one at the tournament that I was a bit nervous of, which had about 45 models and Angbor for Fearless on the whole frontline. I think it's a matchup that probably still favours me (D6/S4 helps a lot, I back my heroes into his thanks to having three Strikers and magic, and Terror will still be an issue for him on the flanks), but by a lot less
Loving your post as always. That 2+ was a disgrace, specially since it costed you the #1.
ReplyDeleteHow would you scale to 800? I'll probably change zagdush for goroth and maybe some serpent riders.
It wasn't too bad, dice be dice. It was a hard scenario/terrain matchup, and I'm proud that I was able to force that back to effectively a roll-off.
DeleteAt 800 I think my first instinct is just to add Gorbag (and probably downgrade a Morannon to a Mordor Orc and drop a shield somewhere). That gives you 3 more Might and another model that can Strike and kill warriors. I personally think the two heroes combined are better value than someone like Shagrat. I'm also not the biggest fan of Goroth personally; he doesn't hit that much harder than Zagdush (better in some circumstances and worse in others), and the extra durability is likely to come at the cost of cannibalising your 9-point Morannons in this list. If you had enough Trackers and dedicated a couple to trailing after him then he could be worthwhile, but at least for me that feels like too much hassle
Alternatively, you could just add 5 Black Nums/Morannons and a Tracker. That takes you to 50 models and max warband slots, and turns you into a proper horde. It's probably not necessary, but it's hard to deny the value in having a 44-model battleline to swamp people with
Gorbag looks like the best choice, gonna try him soon. Also, i wanted to ask you about drain courage. Did you use It? If so, wich heroes did you target and what was your strategy overall?
DeleteI actually didn't use Drain Courage at all this tournament, although I have in practice games in the past. Instead I spammed Transfixes with the Mouth and sometimes the Witch King, supplementing it with a lot of Compels and the occasional Black Dart (on Imrahil's mount) and Your Staff is Broken (on Saruman) where they were relevant. I think Drain Courage shines in three circumstances:
DeleteFirst, when the enemy has scary heroes with really low Courage. Azog or the Goblin King are the perfect examples here, where even a couple of Drain Courages can take them out of the game for several turns. It's also relevant that they're intimidating enough that you aren't better off just Compelling them out and killing them.
Two, when you've got three casters. At that stage it's much easier to get even someone like Aragorn down to C2 after the first turn of casting, which is a big deal. You also are more likely to have spare casts after achieving your core goals for the turn, making it a lot easier to fit in a couple of cheeky Drain Courages.
And three, when you won't get value from your other spells on a particular turn as the armies approach. If your enemy has screened their heroes such that you can't Compel them out or Transfix then charge then, then you may as well take the turn to neuter their Courage. Once the lines have clashed, on the other hand, you may have other things you need to be doing with your magic, like Transfixing heroes to guarantee that they won't be killing stuff this turn or allow your combat heroes to take them out.
I think the more of those factors that are present, the more often you use Drain Courage. In my three games at this tournament they were basically never present, as I had better things to do on every turn. Drain Courage is great, but it's always competing with your other spells, and sometimes it just won't be worth the trade.