
As anyone who’s played more than a handful of MESBG games
can tell you, the scenarios in the Matched Play Guide were not all created
equal. That’s true on many levels: some favour hordes, others elites; some
shooting, some mobility. That’s perfectly fine, and a great way to introduce
tradeoffs in listbuilding. What is an issue is that some scenarios are
less reliably fun than others, and it’s that issue that I’m ranking today. With
a tier-list, of course, because this is the internet.
In particular, I’m going to be ranking them in terms of how
reliably they produce an enjoyable game for both sides. Obviously no scenario
always produces a good or bad game: a great opponent can make Contest against
the Balrog feel enjoyable, while a scummy one can ruin even Fog of War. And of
course, all scenarios have some matchups that just won’t be great fun for
anyone. If you’re fielding the Fellowship against Goblintown in Domination then
life will probably be pretty rough for you, but that’s not entirely
Domination’s fault. However, some scenarios produce good games more often than
others, and it’s where scenarios fall on that metric that will determine their
placing today.
Starting right at the top, with scenarios that just make good games:
S-tier: I will veto to get this even
when I shouldn’t
These scenarios are the ones that everyone loves to see in
the tournament pack, and there probably shouldn't be any surprises here.

At the very top, we have the absolute gold that is Fog of
War. This scenario has everything: fun mindgames working out who to attack
and defend, enough incentive to move forward that sitting back and shooting is
a trade-off, and a setup that doesn’t really favour any particular army. It’s
good to have tougher secondary heroes, but more fragile ones can also be okay
if you play them defensively. Games are kept tight by the fact that you don’t
necessarily know who’s winning until the very end, and the terrain feature
aspect tends to spread out armies and lead to tense mini-fights over certain
terrain pieces. I’ve literally only had one bad game of this scenario, and that
was because I’d brought the Vanquishers pre-nerf and hadn’t realised how
oppressive they could be in some matchups. Absolutely perfect scenario, no
notes.

Next up is a newer contender, but another great one: Destroy
the Supplies. This has some of the same highlights as Fog of War, in that
the deployment incentivises a shooting-focussed approach but the objectives
want you moving forward and threatening the enemy. Shooting shines most in MESBG
when there’s a legitimate trade-off attached to it, and that’s definitely the
case here. There aren’t as many fun mindgames as Fog of War, but the
six-objective structure means that every fight feels like it matters. Do you
push forward early and try to burn a couple of the enemy supplies before they
can retaliate, or do you play defensively and hope to sneak a couple fast
models past them? There are a variety of different strategic options available,
and all of them produce tight and interesting games. The one strike against
this scenario (and the reason it’s in second place) is that there are a few
armies like Defenders of the Shire and Goblintown that can produce non-games
here. If 10 Goblin Mercenaries plus the Scribe’s Goblins start popping up in
your backfield then you’re probably losing some supplies, and it’s unlikely
that you can chop your way through the horde in time to retaliate. Still, a
great scenario in any other matchups.

Finally, rounding out our top tier we have the classic Domination.
All three objective games are pretty excellent, creating dramatic last-minute
plays and allowing wins from behind, but Domination takes the cake for its
flexible objective placement. That lets a player adopt more varied strategies
than the ‘start on the centreline and brawl’ approaches of Capture and Control
and Breakthrough, and again there are real trade-offs however you play it. Do
you fight it out for a central triangle of three objectives, or spread out to
contest them all? If you try the former then all it takes is a couple of
enemies surviving in the wrong spots to put you behind on points, while the
latter opens you up to defeat in detail. There’s no one right answer, and
that’s the way it should be. This scenario does drop slightly below Supplies,
however, because there are (in my opinion) a few more adverse matchups that can
lead to non-games. Elite armies can win Supplies, in my experience, if they
push forward aggressively enough to get amongst the enemy objectives early, but
if you’re outnumbered by 30 models in Domination then it can be exceptionally
hard to pull out the win. Still, the scenario is a classic for a reason, so it
beats out its two neighbours in Pool 2.
A-tier: The good shit
These scenarios are still great, and I’d play them any day
of the week. They may be slightly less reliable than the S-tier scenarios, but
you’re generally still going to have a great time.

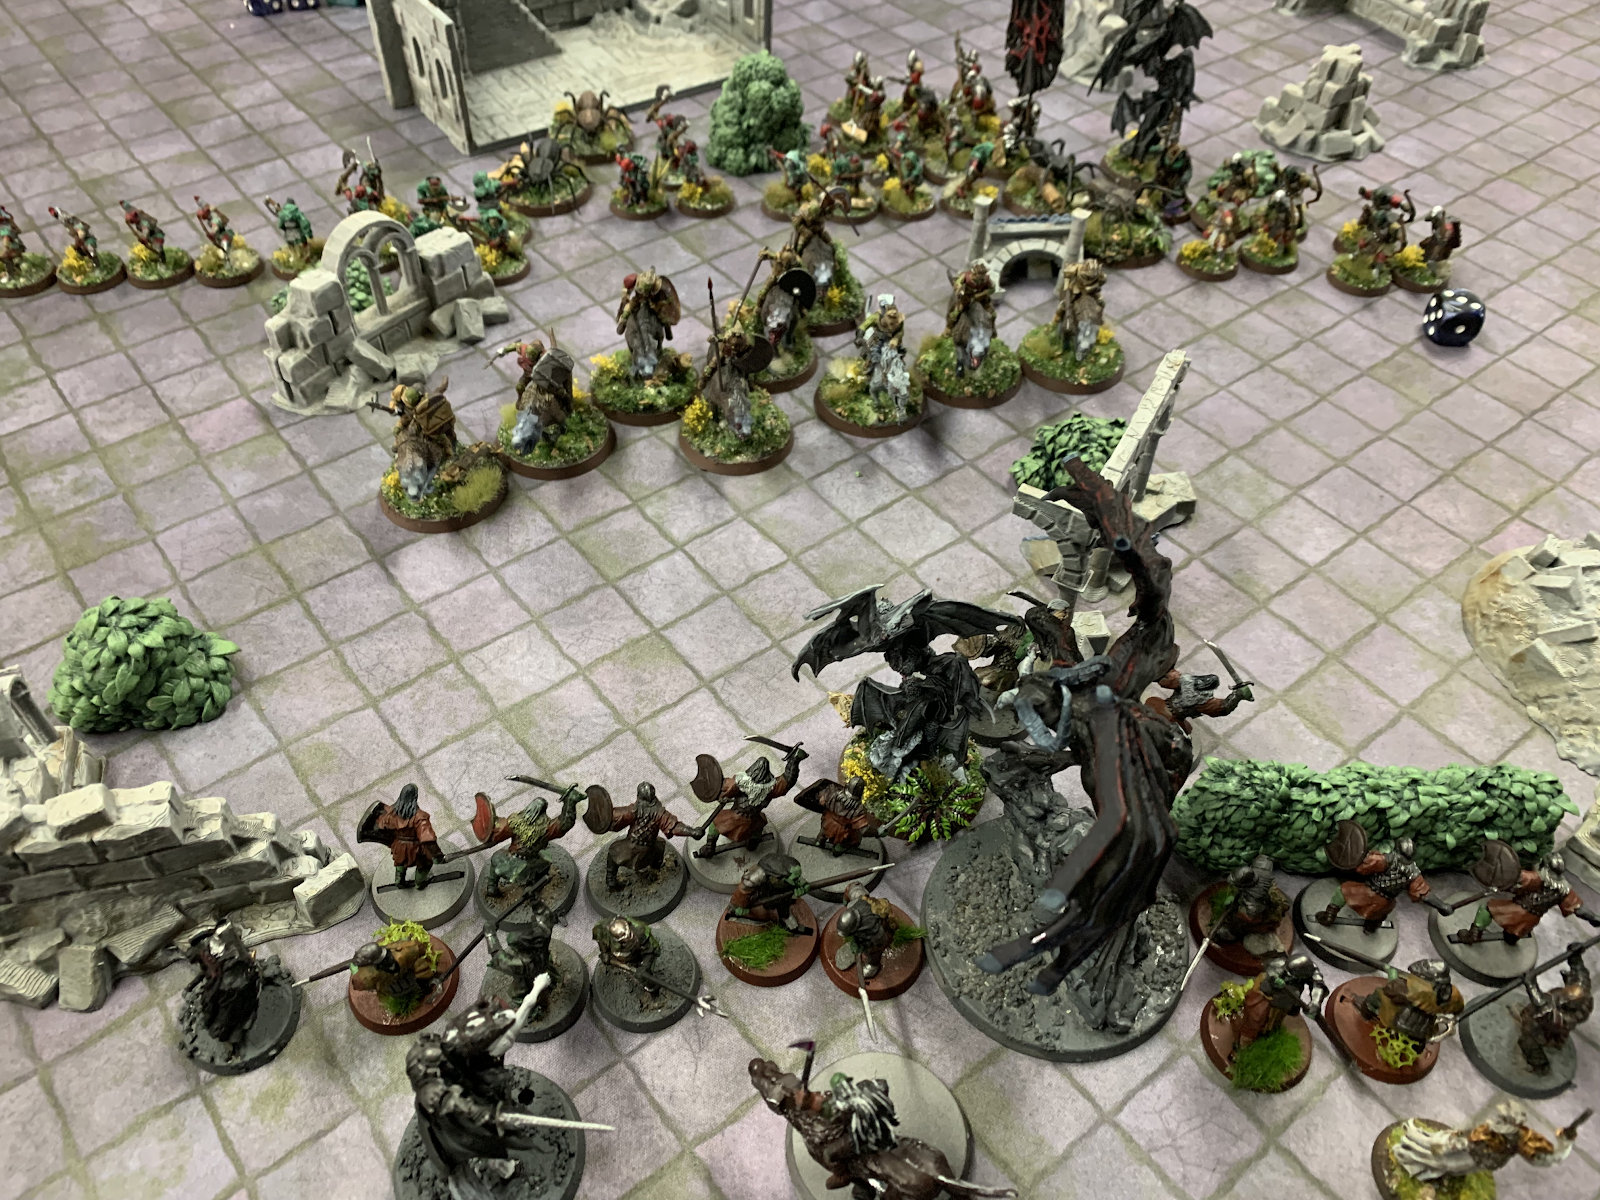
My beleaguered Breaking of the Fellowship desperately trying to get to the enemy relic against Erin's Spiders. They do not succeed
Retrieval is my first pick here, and it’s maybe a bit
unexpected. But even putting aside nostalgia for childhood games of capture the
flag, this scenario has a lot to recommend itself. There is an inherent tension
in it between defending your own relic and attacking your opponent’s, and that
tension makes for really interesting moments in games. This scenario often sees
big clashes of both sides across the front, with each side manoeuvring to try
and sneak a couple of fast models back to the opponent’s objective. Once that’s
done the opponent then has to balance sending models back to head them off,
while still putting pressure on the enemy relic and without stripping too many
models out from the central fight. It’s a great dynamic, and produces some
excellent games. The only reason this scenario fell from the top tier is that it
suffers from a lesser version of the ‘Storm the Camp problem’. That basically
means that in some matchups, a slower-but-shootier list might decide they’re
best off just camping their relic and trying to Break the opponent with
shooting. That’s a lot more incentivised here than in something like Destroy
the Supplies (where it’s hard to reliably defend all your objectives), and it
drops Retrieval down a tier on its own.

Next is another new one, in Divide and Conquer. Like
a lot of the best scenarios going, this forces armies to adapt to unusual
situations and really makes players think about their positioning. Players are
generally torn between trying to consolidate their forces and taking advantage
of their opponent being split up, all while considering the central objectives
and the need to keep pressure on them. Shooting is often useless for half an
army but excellent for the other half, and mobility is great for everyone. That
last point does end up being a bit of an issue for the scenario: if your
opponent has the mobility advantage then it can be easy for them to concentrate
their whole army against half of yours, leading to some brutal wipeouts. It’s
generally not totally a loss – if they’re fighting half your force
in the corner then your other force should be holding all the objectives–
but it can sometimes swing games enough that it’s a write-off from there. Even
so, this is a solid scenario that reliably produces good games.

Rounding out this tier we have the last two objective scenarios, Breakthrough and Capture and Control. There are both great for all the reasons that Domination is great, falling behind a little only in that they tend to force early aggression more and weaken other approaches. That’s also why I put Breakthrough narrowly ahead of Capture and Control, as it’s easier to come back from an early score deficit in that scenario. That allows players more flexibility in how they engage, and also makes the first few turns less critical. In any case, these are both great scenarios, favouring larger forces but not so overwhelmingly as to be unplayable with elites.
B-tier: Could be worse I suppose
Feeling like we’ve had a bit too much positivity so far?
Don’t worry, that’s unlikely to be an issue from here on in.

This tier is dominated by Command the Battlefield and
Hold Ground, two scenarios that I think are actually quite good but
which suffer from a single, critical downside: Maelstrom deployment, and the
dreaded roll for first-turn Priority. Whoever wins Priority deploys all (or
nearly all) their warbands first, then their opponent gets to counter with
everything they have using perfect information. That’s a massive swing, and
immediately creates the possibility of some bad deployment rolls locking you
out of the game. Command the Battlefield pulls ahead slightly here because
that’s less of an issue: if a warband gets left isolated all on its own then it
can spread out and claim a couple of table quarters. Hold Ground, on the other
hand, really wants everyone to come in together to then March for the centre as
fast as possible. If you can do that and your opponent can’t then it’s often
very hard for them to come back, whereas in Command the Battlefield you still
get interesting little skirmishes across the map for the different table
quarters.
It turns out I don't even have any photos from tournament games of Assassination, so here's another Fog of War shot instead
The other entry in this tier is Assassination, which
is basically just a worse Fog of War. The sneakiness of hidden targets
and assassins is fun, but the removal of any location-based points immediately removes
any downside to sitting back and shooting. For me, this makes a scenario worse because one player is always having a bad time: I
challenge anyone to say they really enjoy slogging forward and getting
shot repeatedly. It also can skew badly if you’ve got a vulnerable secondary
hero, especially at low points when they might need to be your assassin as
well. The hidden targets (and the fact that everyone can start on the 24” line)
save this from C-tier, but it’s a narrow thing.
All three of these scenarios are quite a lot worse than Capture and Control (the worst A-tier scenario), and honestly I was tempted to shunt them down to C and leave B-tier blank. But as we’ll see in a moment, these two are definitely more reliable than the next tier down, so they get this spot.
C-tier: Losing at list-building

As Lords of Battle incentivises, the Uruk-hai camp in a defensive position and shoot me. Fun...
Lords of Battle has some similarities to Assassination
in that it encourages camping in your backfield while at least allowing their
opponent to start on the halfway line. It also has a cool rule around
recovering Might with heroes, and generally has a consistent theme of killing
stuff. The downside? It’s very easy for this to become a near auto-loss based
on matchup alone. If you’ve got a classic Orc horde and your opponent has
Elves, then you’ll be forced to walk forward for two turns while losing a
handful of models to shooting each turn. Once you get there you can slog it
out, but just by playing the game your opponent will be earning more points
than you each turn. In short, to win against an elite list you need to
dramatically outperform them in combat, and any kind of close contest will
inevitably translate to a win for the Elves. And don’t get me started on
all-hero lists, which break this so hard it’s hardly worthwhile playing. This
scenario has its saving graces and can create enjoyable games, but if
the two lists aren’t similar enough then it very rapidly becomes an unenjoyable
time for both.

And now To the Death, where the Elves are the ones hiding between terrain and kiting me. Yay...
Remember how I defended Lords and Assassination because at least you could start at the halfway mark? What about if you had a scenario similarly focussed on killing, but with 12” deployment? And what if that scenario also created extra incentives to turtle for whichever player has a banner? Put those two things together and you get To the Death, famous for how consistently it plays out. If you have a banner and your opponent doesn’t, then you turtle. If you have more shooting than your opponent then you turtle even harder, peppering them as they slowly cross the field. If you happen to draw a bad matchup in To The Death then it can be an absolutely miserable time for all involved.
In one particularly gruelling game at
this tournament, a Goblin Town list had to cross the board against my Serpent
Horde/Mordor force. I had a banner and they didn’t, so they walked forward for
5 turns while I hid in a corner and shot them again and again. Then they made
it to my lines and bounced off my Black Númenóreans for another few turns,
before Breaking and running away. No one had fun that game, least of all my
opponent.

Close behind To the Death is Reconnoitre, a
choice I found really difficult. On the one hand, Recon can be even more
shooting-focussed than To the Death, with armies like Laketown often
choosing just to sit back and shoot you while putting a wall of bodies between
your troops and the board edge. It also introduces an element of randomness in
the deployment that can completely throw games, makes slow armies (or anyone
facing flying models) cry, and generally just takes ages for anything
exciting to happen.
In saying all that, Recon can produce really
interesting games when both players know how to play the scenario well, and
armies that sit back and shoot are somewhat punished for doing so. If it was
just 12” deployment then I think I’d really like Reconnoitre (it’d
basically just become off-brand Destroy the Supplies, which is no bad
thing). However, the random deployment feels like it doesn’t add anything to
the scenario for me, and that ultimately knocked it down below To the Death.
Still, while these scenarios can produce unpleasant games
with the wrong matchups, at least they have some fun matchups. The next
two scenarios, on the other hand…
D-tier: A coin toss is balanced,
right?
Do you like Heroic Move-offs? In particular, do you like
them deciding the game every time? What about if the scenarios also have heaps
of very skewed matchups? Would that help things? It wouldn’t? Well, then
I guess I know what scenarios are going in this tier.

As you may have guessed, Seize the Prize is slammed straight
down into D-tier. To start with, if you have a slower army and your opponent
has the speed to wall you off from the prize, then that’s basically the game at
deployment. Even if that isn’t the case, this game so frequently comes
down to Heroic Move-offs in the first couple of turns. If you win, then you can
get the relic and hide it behind your lines, bringing it out only when the way
is clear for a gridiron-style end run. If you lose the Move-offs, then your
opponent does that instead. In either case, the game is almost always over
after the first couple of turns, and almost always decided by who wins the
Move-offs in that time. The only time it isn’t is when someone rolls awfully to
dig up the relic, which is just replacing one fifty/fifty roll with a different
one. Bad times.

Contest of Champions is perhaps a little less
determined by coin tosses, but it’s still a truism that the way to win it is
generally just to win the first couple of Heroic Move-offs. If you can do that
then you can bog down their leader fighting something they can’t kill fast, while you pick up a half-dozen early kills, and the game is almost certainly
decided. Moreover, the reason that this scenario falls behind Seize the
Prize is that it can be absolutely miserable in some matchups. If your
opponent has Azog and you have Galadriel then your best realistic outcome is
losing something like 7:2. It’s not always quite as determined by who has the
scarier leader as people think (many players don’t seem to realise that they
can screen off their leader to avoid having to duel the enemy leader), but it’s
still very easy to skew based on matchup. And as mentioned above, even when
both sides do have similarly-powerful heroes it probably comes down to Heroic
Move-offs anyway. Not ideal.
Still, at least these scenarios get started right away.
That’s in stark contrast to our final category, right at the bottom of the
pile…
E-tier: 2 hours of boredom and 3
minutes of fun

Heirlooms of Ages Past is undeniably the swingiest
scenario in the entire game. To start with, it’s Maelstrom, with all the
opportunities for uphill battles that entails. If you win priority on the first
turn then your opponent is deploying with perfect information and you aren’t,
simple as that. What then follows is a brief interlude of movement and
interest, punctuated by opportunities to lose or win the game instantly as both
sides race to dig up the various sites. Mobility and player skill factor in here
(as well as the luck involved in good Maelstrom deployments), but ultimately if
either player picks up the relic in this stage then it’s probably game over. If
you roll that ‘6’ then you can generally just run the relic away while feeding
your troops into the slaughter, and there is almost nothing your opponent can
do about it. Fun for all involved.
Finally, even if the stars align and no one has lost at
deployment or instantly won by picking up the relic, what then happens is that
both players sit on one site each and don’t dig it up. At that stage the player
without the banner has to trudge across the board and get shot to pieces in the
hopes of getting a model to touch that last objective. If they succeed then
there’s still a 1/6 chance that they lose anyway by digging up the relic in the
middle of their opponent’s lines, and if they don’t then the relic pops up at
the other site and they win.
Still, at least someone normally wins Heirlooms.
That’s in stark contract to our final scenario, the very worst scenario in the
entire game. Give it up for Storm the Camp!

To start with, this scenario makes you deploy in opposing
corners. In the absolute best-case scenario (where neither side has any
significant shooting), that immediately guarantees a solid slog of 4-5 turns of
crossing the board in which nothing happens. If you’re lucky your opponent will
agree to just do 4 turns of movement at once to let you both effectively start
from the midpoint of the board, but that’s very opponent-dependent.
And of course, that assumes that both armies are moving
towards each other. In practice, if one side has a shooting advantage, then
they will normally try to leverage that as much as possible. So as you slowly
slog all the way across the board, from one corner to the other, you’ll take
anywhere from 3 to 6 turns of shooting, being slowly whittled down to the point
that you have no realistic way of breaking through to their camp. Things get
even worse against proper gunlines, and worse still against siege weapons:
playing against Assault on Helm’s Deep in Storm the Camp has to be one
of the worst experiences possible in all wargaming. At least a classic 40k ‘I
got tabled turn 1 before I could move’ experience ends quickly!
So eventually you make it across the board to them, with
your army either shot to pieces or just very bored. At that stage you get to
confront the exciting realisation that it’s nearly impossible to take an
opponent’s camp from them. Defenders have the advantage of just needing to keep
you out, they win ‘ties’ for the number of models in the camp, and they even
auto-pass Courage tests while within the camp! So after all the slog to get
here, what happens is either: if you got shot to pieces doing so, then you
probably get slaughtered once you arrive; or, if you didn’t, then you both
probably hack at each other until you’re each broken and then you get a draw.
That’s how things play out if you actually attempt to take
your opponent’s camp. But if your opponent outshoots you then you’ll probably
realise how unlikely that is, and that advancing forward just guarantees you
get shot to pieces and lose. So your best option in any tournament game is in
fact not to do so, but to keep your distance and play for a draw by running
down the clock at range.
The outcome of this is that if one side has shooting then
they both sit back and end up with a draw, while if they don’t have
shooting then they both press forward and probably get a draw anyway. Any
matchup in this scenario makes a draw the most likely outcome, and that is
why I think Storm the Camp is the worst scenario in the game.

Agree? Disagree? Think Storm the Camp is underrated, or
surprised that Lords of Battle ended up so low? I’d love to hear from you, in
the comments or on social media.
Until next time, may you always draw scenarios that are
actually enjoyable!
Not a bad ranking - personally I'd rate To the Death higher, as it is 1) easy to remember what you need to do, so in that sense better for new players just starting out in ways that Fog of War, for example, is not, and 2) the 12" deploy makes it so that some armies (like Shire and Sharkey's Rogues) actually stand a chance at winning, as they need to be able to winnow down enemy forces before closing. It also gives drums a place in your list.
ReplyDeleteI'm also a bit surprised that Storm the Camp is below Heirlooms; since most armies have access to cavalry, I feel like Heirlooms is by far more swingsy and hard to fix, which seems to be the big issue with both.
But great list on the whole!
I do agree that To The Death is nice and simple, although that can be its own difficulty for newer players: if there's an objective to play for then 'getting to and standing on that objective' is a great initial goal for them, whereas To the Death removes any intermediate step from it. It definitely is simpler than Fog of War or equivalents though, totally agree.
DeleteI wouldn't agree that it's good for the Shire or Sharkey's Rogues though, at least in timed games. Given that neither of those factions have access to a banner or play fast at all, it seems like a scenario that directly incentivises opponents to skirmish a little at range while making sure not to break, and then win 2:0 once enough time has passed. If your opponent also doesn't have a banner then it probably gives them some of the help they might need, but I'm not sure that necessarily justifies a higher placing for the scenario on its own.
It does definitely boost Drums, but no more so than Destroy the Supplies, Fog of War, Divide and Conquer or any other game that incentivises crossing the board. Drums have a lot of problems outside of the Easterlings, but lack of applicability in scenarios isn't one of them in my view.
Heirlooms definitely does give Storm the Camp a run for its money, and there probably is an argument to be had there that the extra swinginess makes it worse. But at least the randomness means there's some tension, and at least someone will definitely win; it doesn't have the boredom of Storm the Camp, or the probability of a draw at the end of it. At a certain point it is splitting hairs though, because neither scenario has much to recommend it
My favorite pools are #2 and #6 - and #2 had all three in S-tier or A-tier and #6 had Fog of War as the first S-tier mention. Naturally, I loved the post - but Clash by Moonlight feels a bit left out by not making your tier list at all. :P
ReplyDeleteAll this being said, I think the tier ranking is accurate IF you're playing at 650+ points. If you happen to be playing at a low points level (300-600), the quality of the scenarios changes a lot. While I love Pool 2, low points levels generally means both players have fewer models, which makes Capture and Control an S-tier scenario (since you can tag-and-leave), but Domination and Breakthrough become a LOT harder (though admittedly, Domination games become very interesting when you only have 20 models on the board - or less - and you break and have to start testing with models strung out on far-flung objectives). Similarly, the Pool 6 scenarios become very skewed since you might only have 1-2 heroes . . . which takes all the guessing out of the game.
I know most top-tier tournaments have skewed to 650+ (where most lists that aren't hero/cavalry-heavy lists are going to have 30+ models and 3+ heroes), so this probably isn't THAT strong of a critique, but I'd be curious to see how the tier ranking would work out if the points level dropped . . . I greatly suspect that the E-tier lists wouldn't be saved, though.
Poor Clash, it got lost in the pile of 'this scenario rewards you for sitting back and shooting and has no other objectives to make that a tradeoff'. In my notes it was sitting between Lords and To the Death for similar reasons to each of them, but it managed to disappear in the writeup. Oops!
DeleteAs far as the points value changing things, I would actually say most of my recent and planned tournaments are 600 or lower; in fact, out of however many tournaments I've attended, I think only 4 were above 650 (and one of those was doubles, so it hardly counts). For the Pool 2 scenarios, I actually really like the way lower points values force tradeoffs for you. How do you hold onto those outlying objectives without committing too much to them because a really delicate balancing act, and I think is more interesting when it's a real sacrifice. I think lower points values encourage higher modelcounts, though, so it's a bit of a wash for me; my Mordor/Serpent Horde lists have the same modelcount at 500 as at 700, for example.
Pool 6 definitely does lose a little bit of flavour when both sides only have 2 heroes. I don't think that necessarily unbalances them, but it does take away some of the excitement. If you only have one hero then it's a big boost (depending on who that hero is), but I think that's pretty rare at anything above 200. Yes, you could run Sauron or the Balrog as your only hero up till 550 or so, but at that stage you're running such a skew list that it's hardly the scenario's fault.
I absolutely agree with you.
DeleteJust so you know, we do a final four in my local league, all the players playing the same 2 scenarios randomly rolled.
We got heirloom's for the semifinals and storm the camp for the finals, what are the odds??
Oh no, the worst scenarios! So people will make it to the finals primarily on the random luck of Heirlooms, then get a draw in the finals! No!
Delete