You may be thinking that you’ve seen a lot of Aeldari v
Tyranids content on this blog. Well, get used to it, because until these two books get nerfed we’ll probably be playing even more of them. This time around I’ve
drifted back to the Harlequins, determined to explore what’s driving their
recent success. With all the Starweavers and Troupes I could ask for, am I
ready to take on the terrifying Hive Fleet Leviathan?
Light Saedath Harlequins, 7CP

Battalion
Troupe Master with Foot in the Future, fusion pistols,
Player of the Light and Cegorach’s Rose 90
Troupe Master with Veiled King, fusion pistol and Storied
Sword
5 Players with 2 fusion, 2 disruptors, one kiss and one
caress 95
4 x 5 Players with 2 fusion, 2 disruptors and one kiss 360
5 Players 65
6 x Starweavers 570
Patrol
Shadowseer with disruptor, Mirror of Minds, Webway Dance and
Eye of the Laughing God
3 x 6 Players with 2 fusion, 2 disruptors, one kiss and one
caress 324
3 x Starweavers 285
This list is heavily inspired by Ben Allen’s Goonhammer Open
list, and feels a lot like the kind of list I used to run pre-nerf for
Harlequins. Yes, there’s no Voidweavers, but there’s a metric ton of Troupes in
Starweavers, backed up by some brutal murder-characters. What excited me about
this list is that all the Troupes are loaded to the gills with shooting
weapons, making it reminiscent of the old Soaring Spite fusion-boats lists. The
result is a force with crazy mobility, lots of combat punch, ObSec for days and
some truly heinous close-ranged shooting. But will it be enough to take on the
mighty Hive Fleet Leviathan?
Hive Fleet Leviathan Tyranids, 7CP

Patrol
Neurothrope with
Synaptic Tendrils 100
Winged Hive Tyrant with Maw-Claws 190
2 x 3 Warriors 150
Maleceptor 170
3 Zoanthropes 150
5 Tyrant Guard 200
2 Harpies, one with Synaptic Enhancement 350
Patrol
Tyranid Prime 85
Winged Hive Tyrant with Reaper of Obliterax and Adaptive Physiology
10 Gargoyles 80
Deathleaper with Alien Cunning 95
2 x Carnifexes with heavy venom cannon, scything talons and
enhanced senses 240
I believe this list is a variant on the one that made it to
the top tables of the Rocky Top Rumble. It’s by and large pretty standard
Leviathan fare, but has two extra characters in the Prime and Deathleaper. The
Prime is a good buffing unit that helps make the shooting of this list even
more formidable, while Deathleaper is a problem-solving piece who helps shore
up its relative lack of ObSec when compared to more Warrior-heavy lists. It
went 7:1 at a GT and it’s filled with power, let’s see how the Harlequins do
against it!
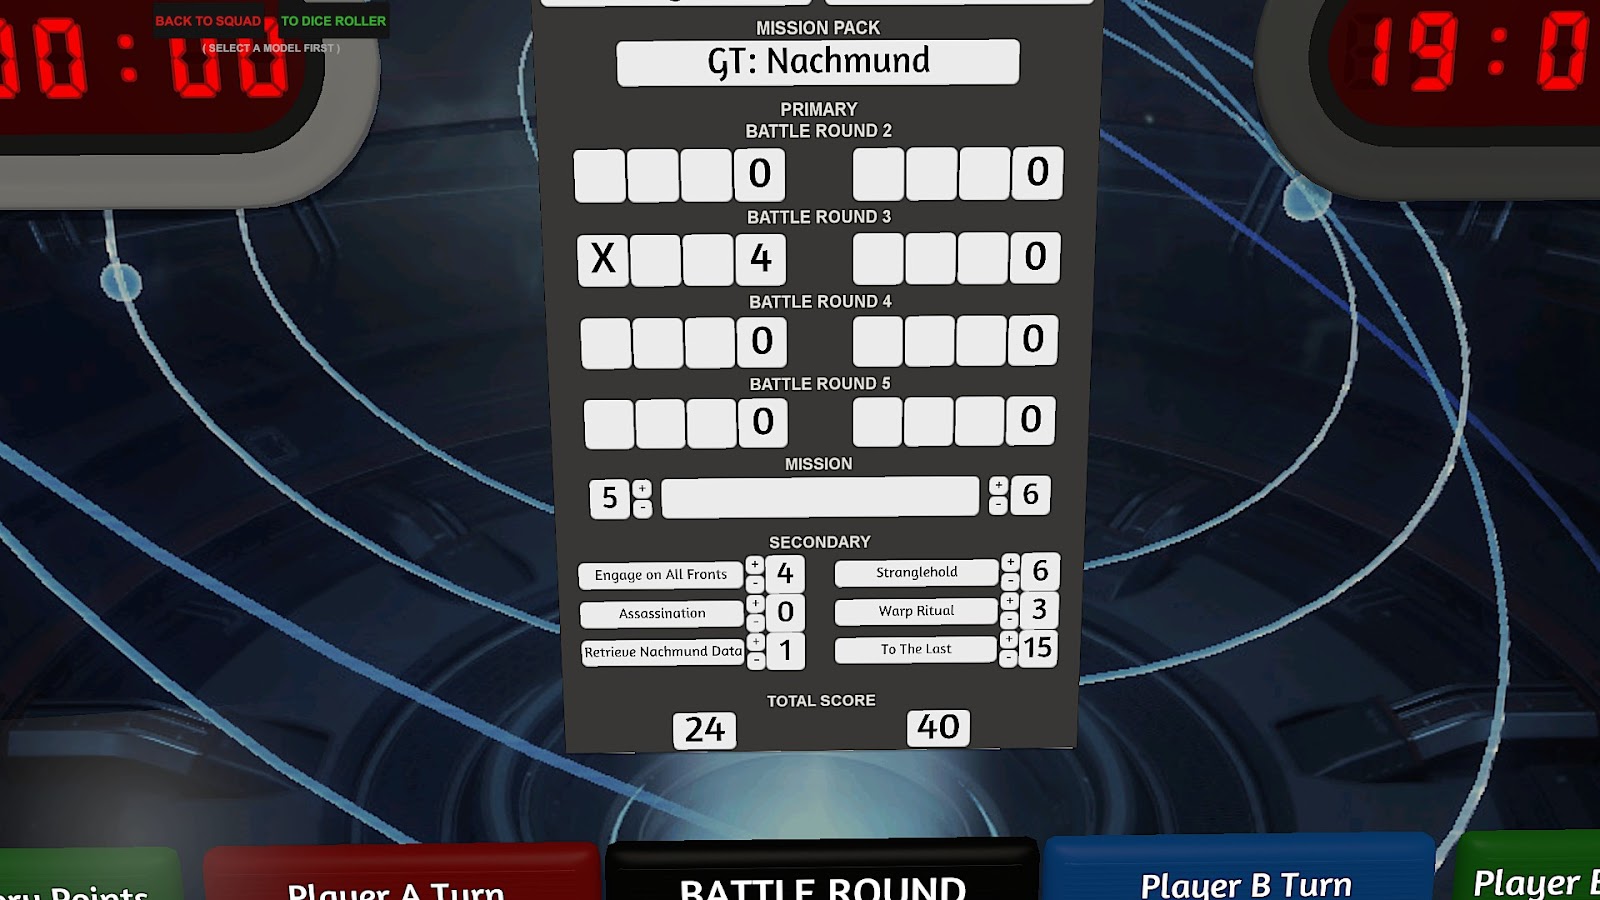
Secondaries and Deployment

Playing on Data Scry Salvage, I was a bit hesitant about my
Secondaries. Stranglehold is probably a worse bet than Engage on this map, but
beyond that I’m not really sure. I certainly have enough mobile Troops units to
RND, but I also don’t really want to be sacrificing their shooting and combat
any more than I have to. And while Owen’s list does give up some killing
Secondaries, I’m not especially confident in any of those picks either. In the
end, I decide to just bite the bullet and RND, alongside picking up Assassinate
as the best of the killing Secondaries. It’s not great, but it’s theoretically
maxable, and might force Owen to play more defensively with his five
characters,
For Owen, on the other hand, Secondaries were easy. The list
is designed around TtL, it’s going to be aiming for Stranglehold even on a mission
like this, and Warp Ritual is pretty much guaranteed points with a Neurothrope.
With Owen’s Secondary picks being so much easier than mine, I’m going to need
to win this game on the Primary.
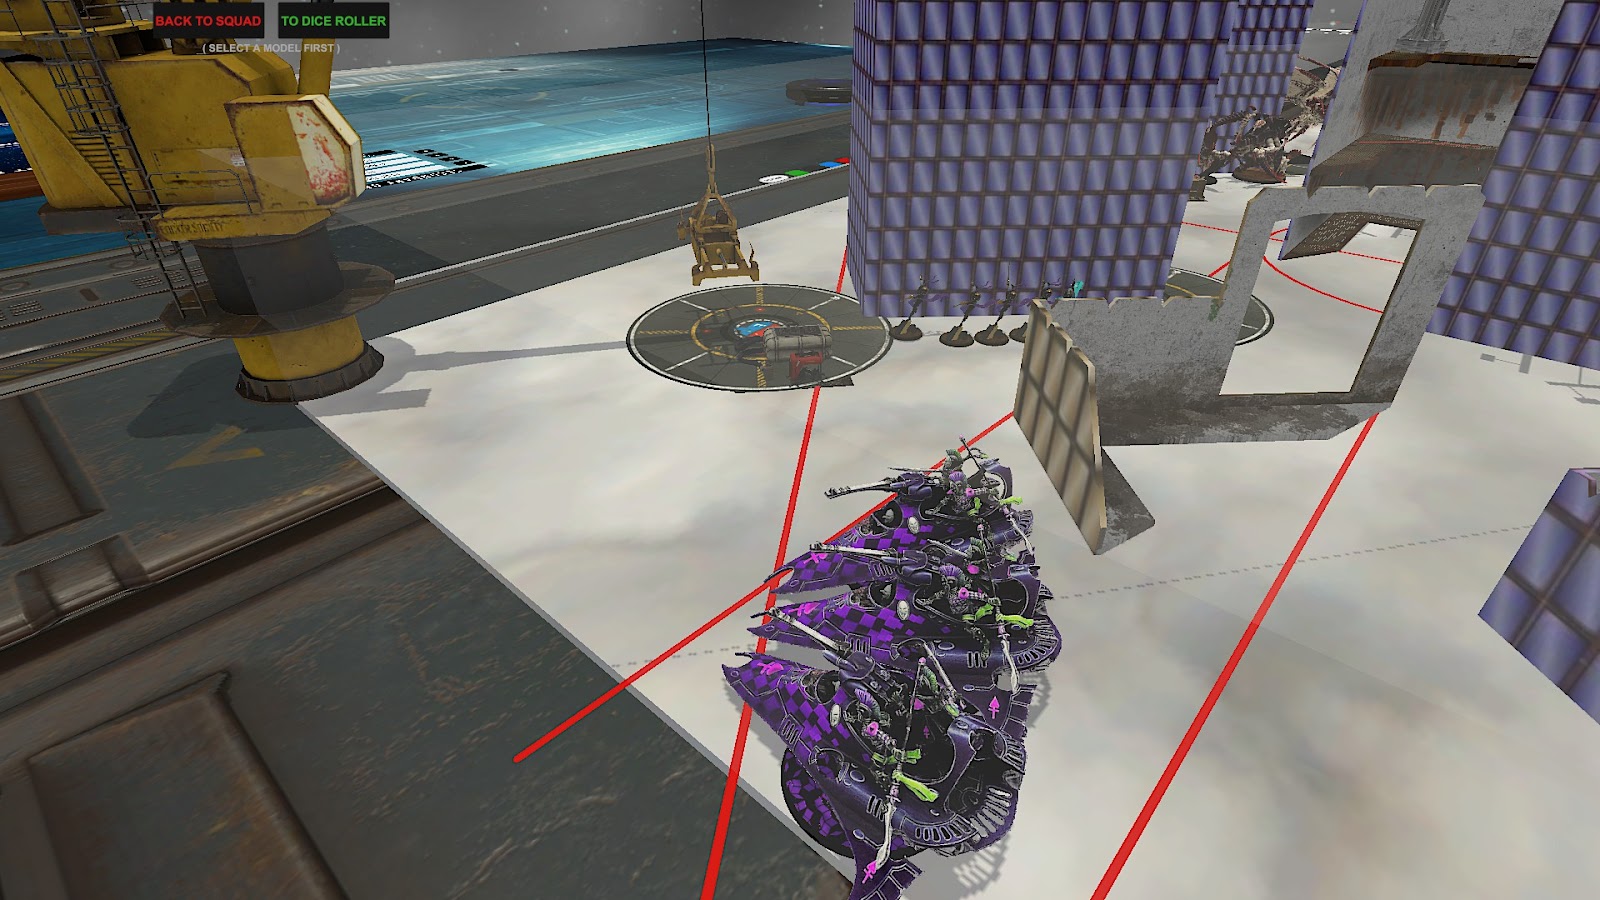
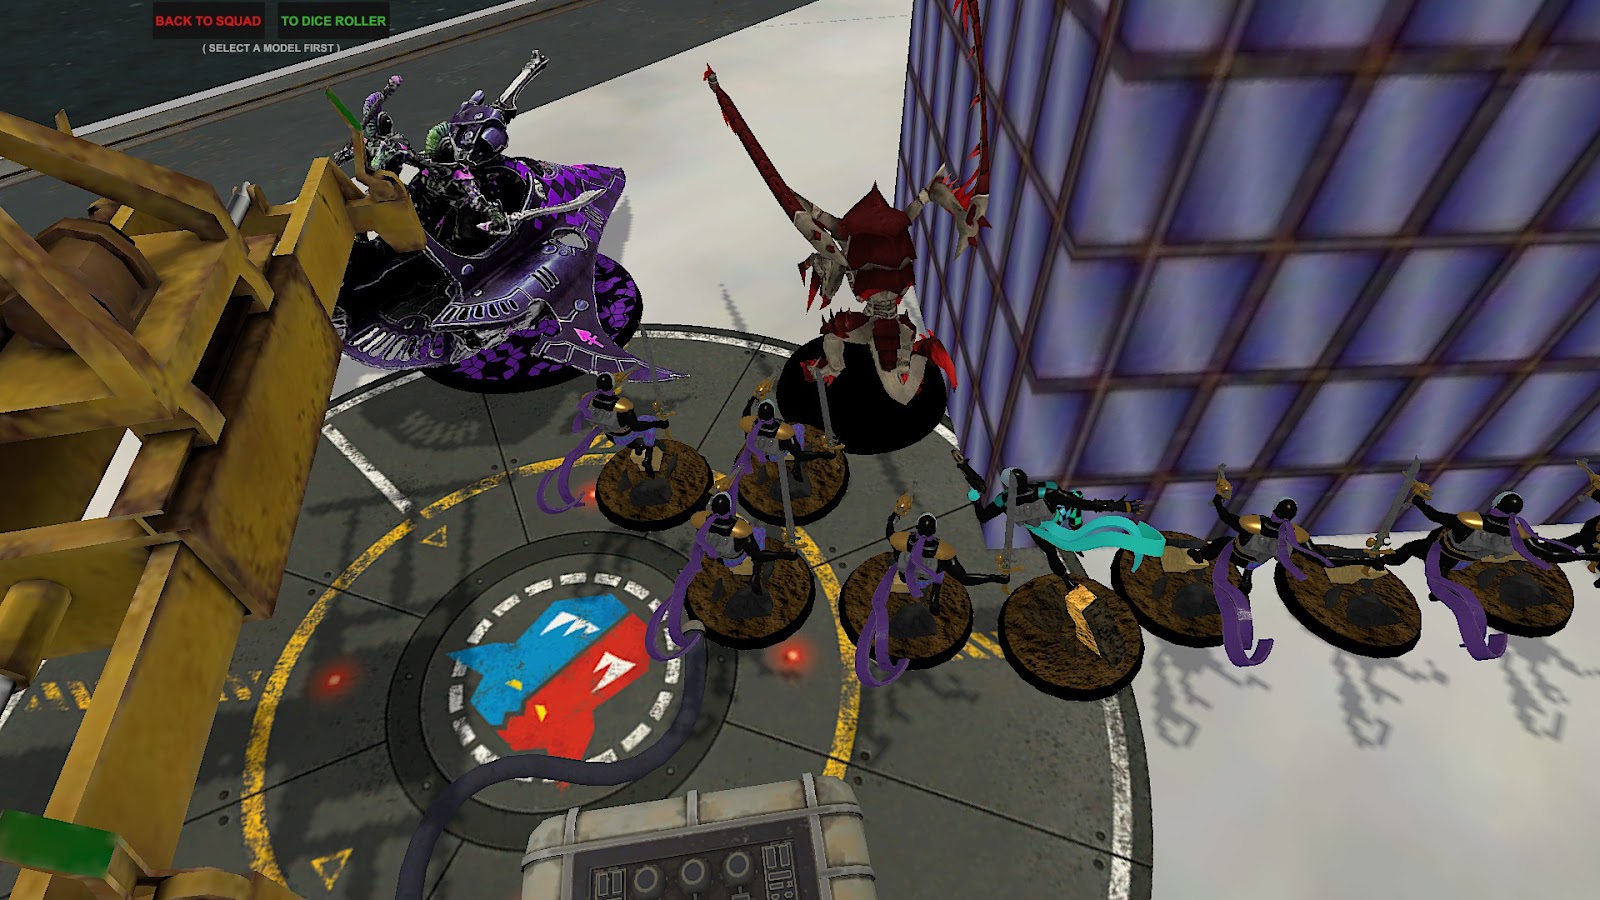
Before that though, I need to survive the first turn. I deploy very defensively, with a couple of Starweavers on the flanks and the rest castled up in safety.

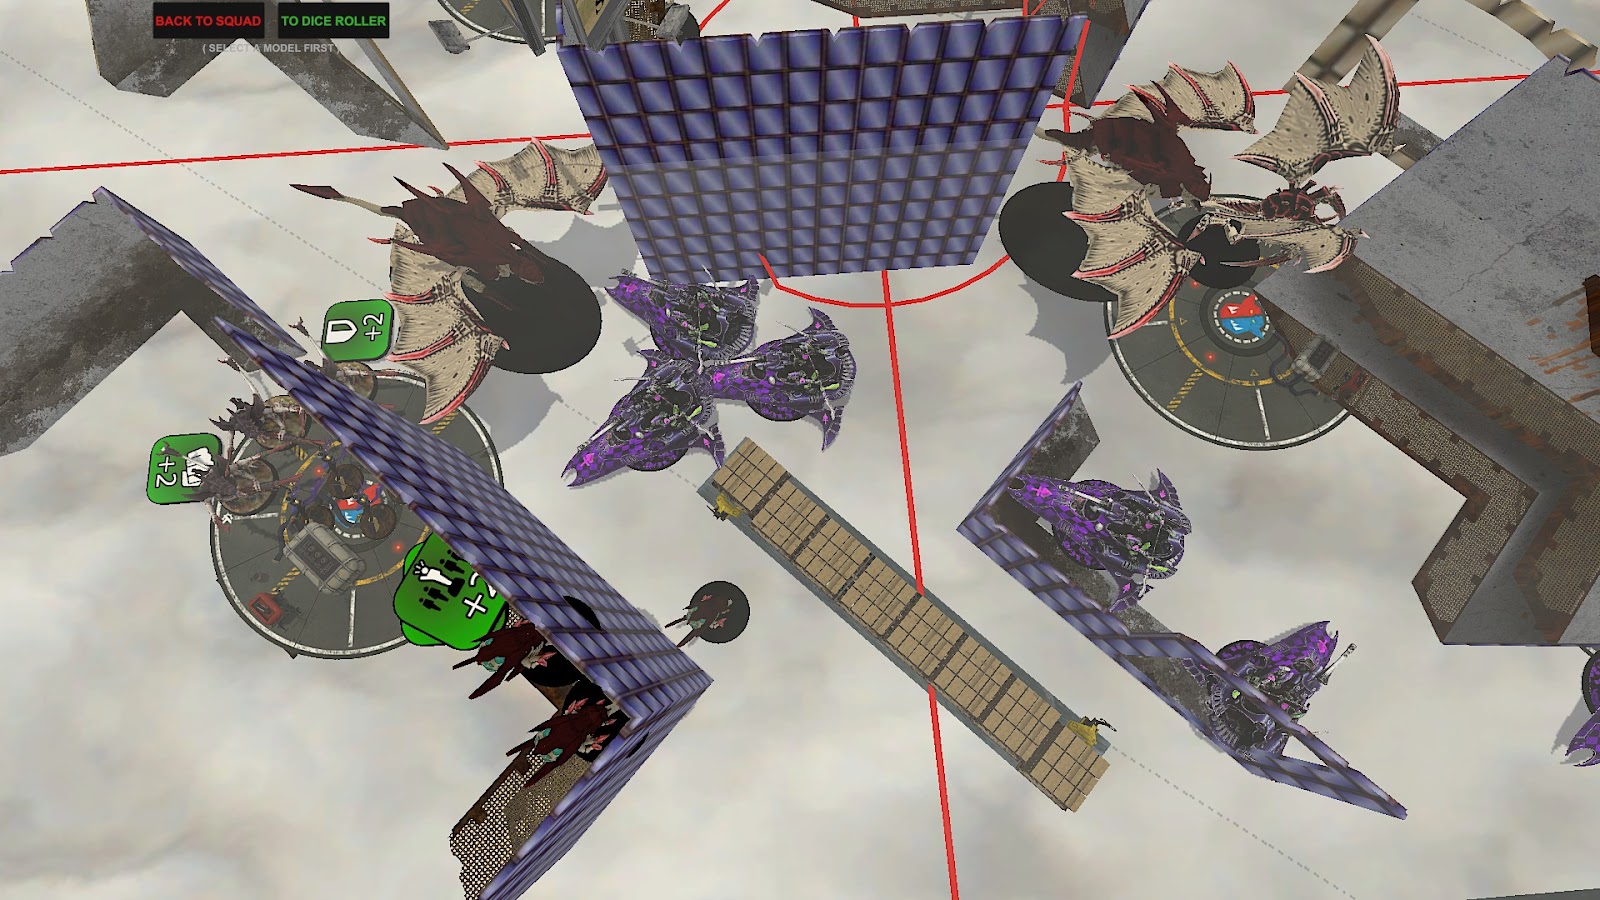
Owen takes the complete opposite approach, reasoning
that he has better long-range firepower than me so he might as well deploy most
things in the open. The exception are the medium bugs, which aren’t interested
in receiving my 54 shuriken cannon shots on Turn 1.

Tyranids ready to make a big push for the centre
As ever with Aeldari, I’d quite like to go second. I have
great capabilities to score a 12 on Primary in the final turn, and on a mission
with Domination scoring that could be the difference
between life and death.
Harlequins Turn 1, 14:25
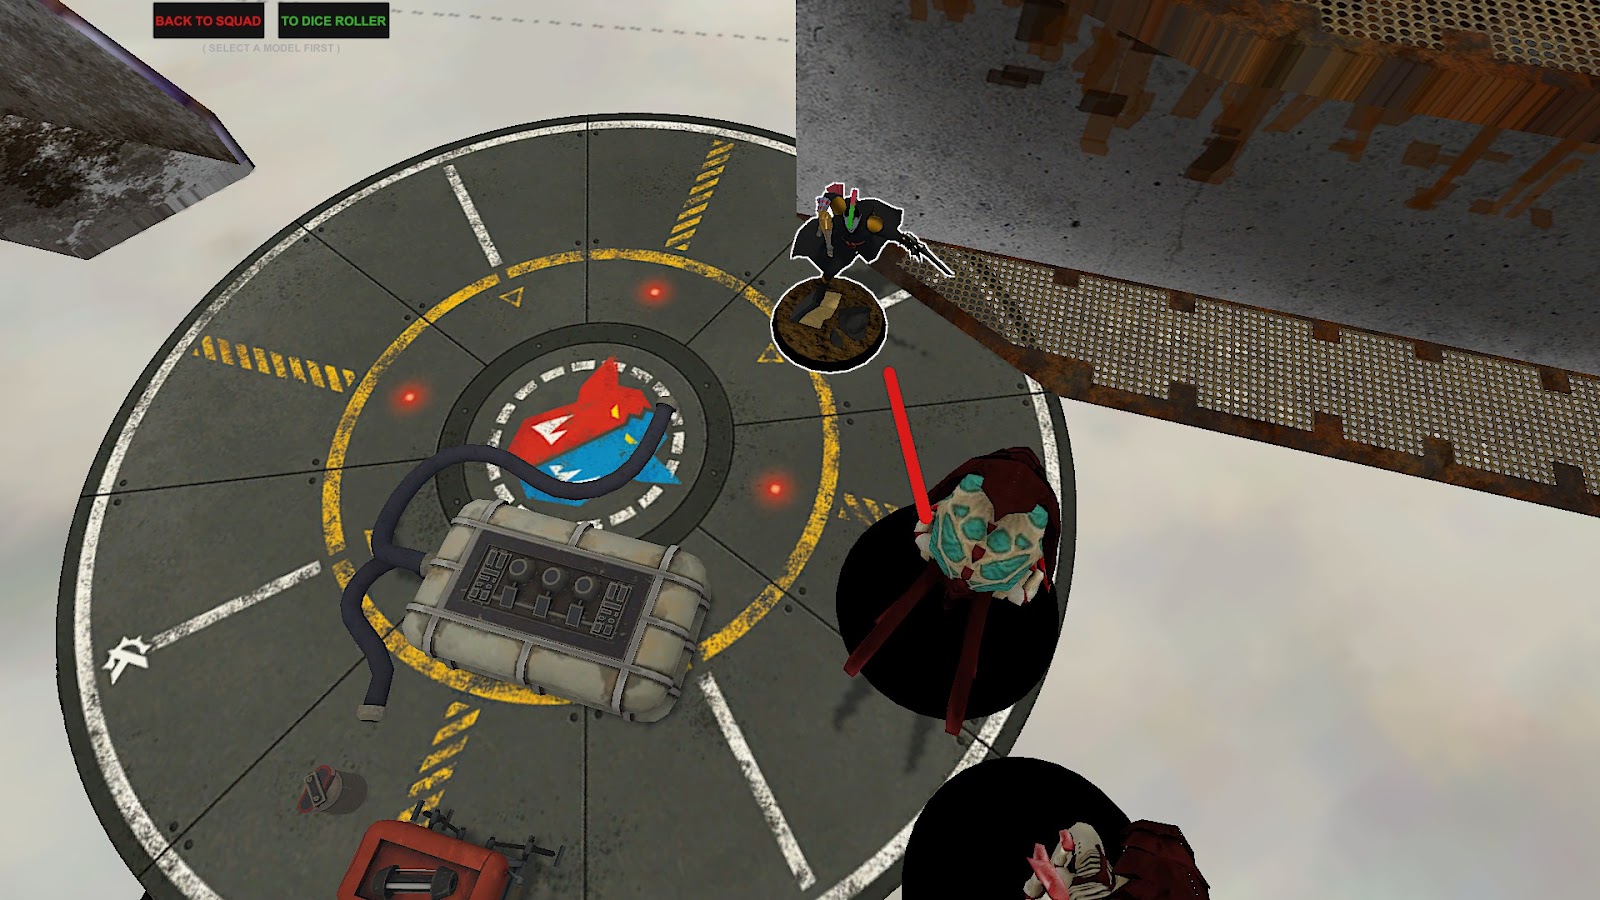
Ah well, them’s the breaks. I play very cautiously this round, with the most exciting movement being a lone Troupe zipping forward to grab the two left objectives from behind a wall.

Three Starweavers also carefully measure out angles to be able to target the Maleceptor without being shot by the Carnifexes, although they only do 2 damage with their shooting.
I
make a mistake here by failing to move a boat onto one of these objectives to
guarantee some Primary for next turn, but at least I RND on the other
flank. Both the Troupe and Starweaver there are just far enough back to make a
Flyrant charge risky, especially with the Light stratagem for a 6”
counter-move.

Not a big turn, but at least I should be pretty safe for
next round
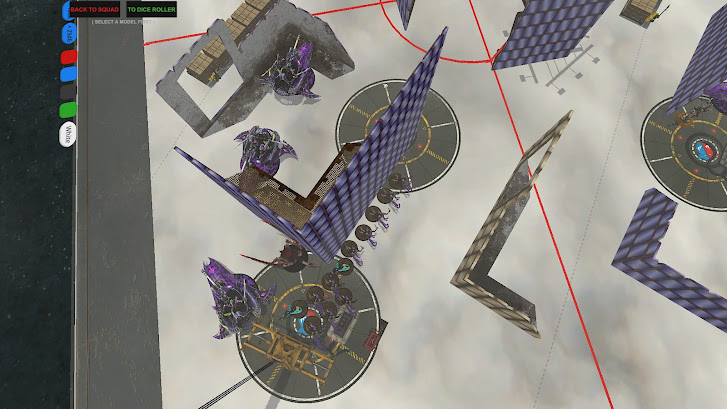
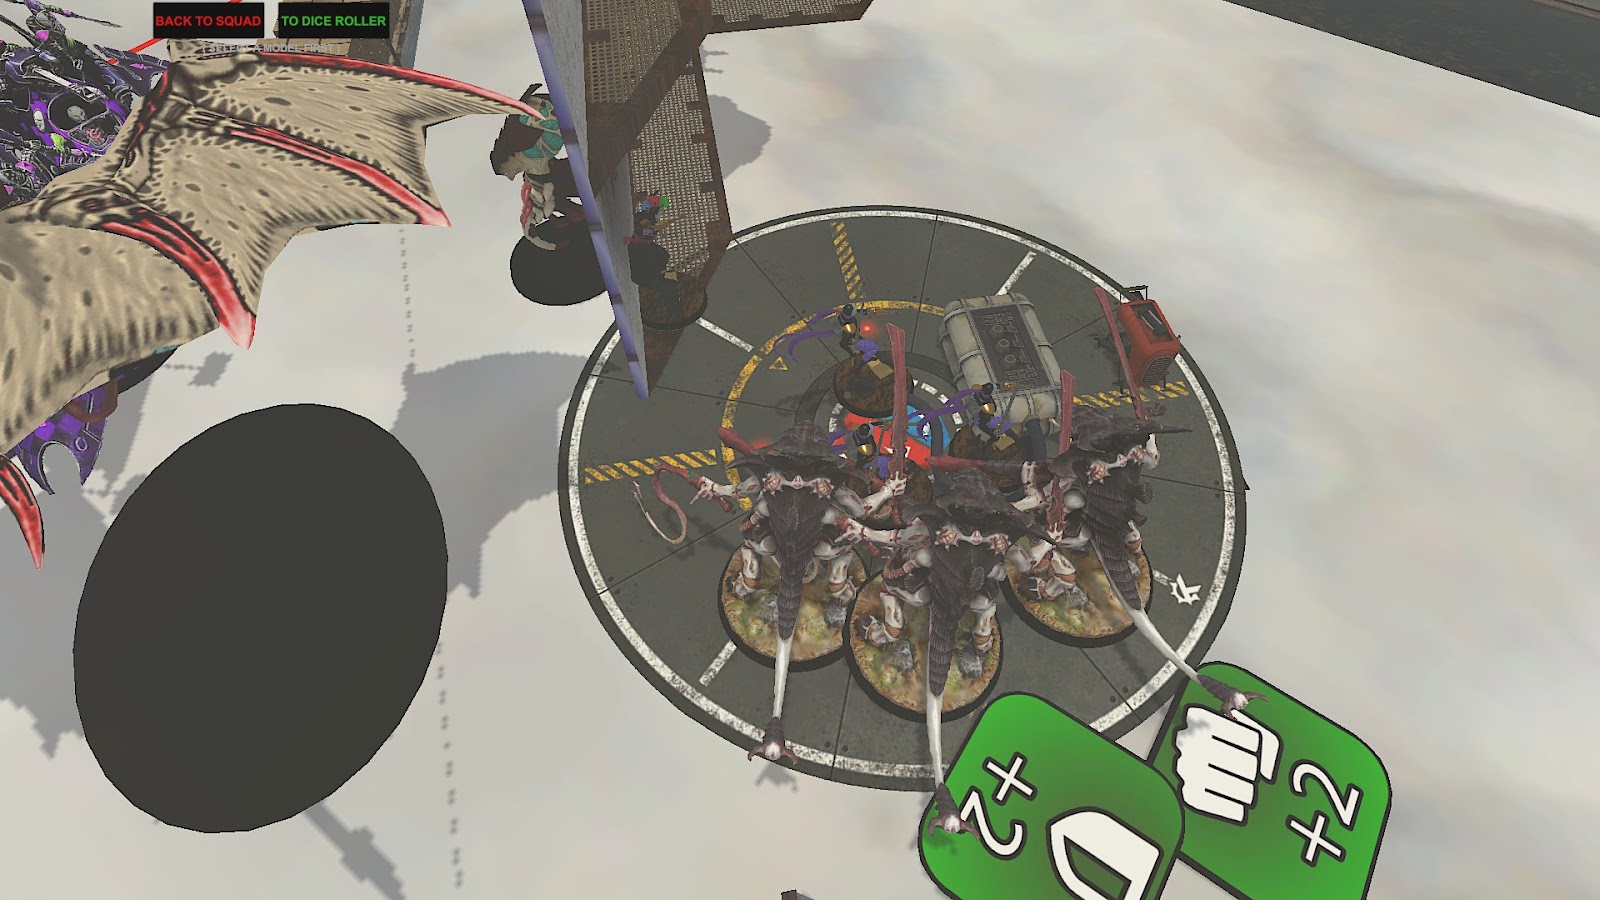
Tyranids Turn 1, 14:34
The Tyranid turn sees a massive push forward all along the
front. Harpies swoop forward to line up angles on a Starweaver, Gargoyles move
to hold the two objectives on Owen’s left, the Tyrant Guard stage forward and
the two Flyrants hover nearby to dominate this side of the field. They’re worth
a massive 17 points alive, so Owen is in no hurry to commit them.

In the centre, the Neurothrope floats forward and Warp Rituals, accompanied by its over-sized Carnifex bodyguards.

One gets a toe onto the centre-right objective, while the Maleceptor hurtles forward and evaporates my Troupe with its Psychic Overload. Anyone who told you these things were crippled by the nerfs has never seen them evaporate Aeldari!

Deathleaper lurks ominously nearby, ready to leap onto one of the
objectives next turn and cause some, uh, death.
Thankfully, Owen’s Shooting phase is much less successsful. The
two Harpies open up on a Starweaver, miss a whole bunch, then see two of their
three successful wounds ignored by Luck rerolls. Harlequin boats, still hard to
kill!

Harlequins Turn 2, 19:34

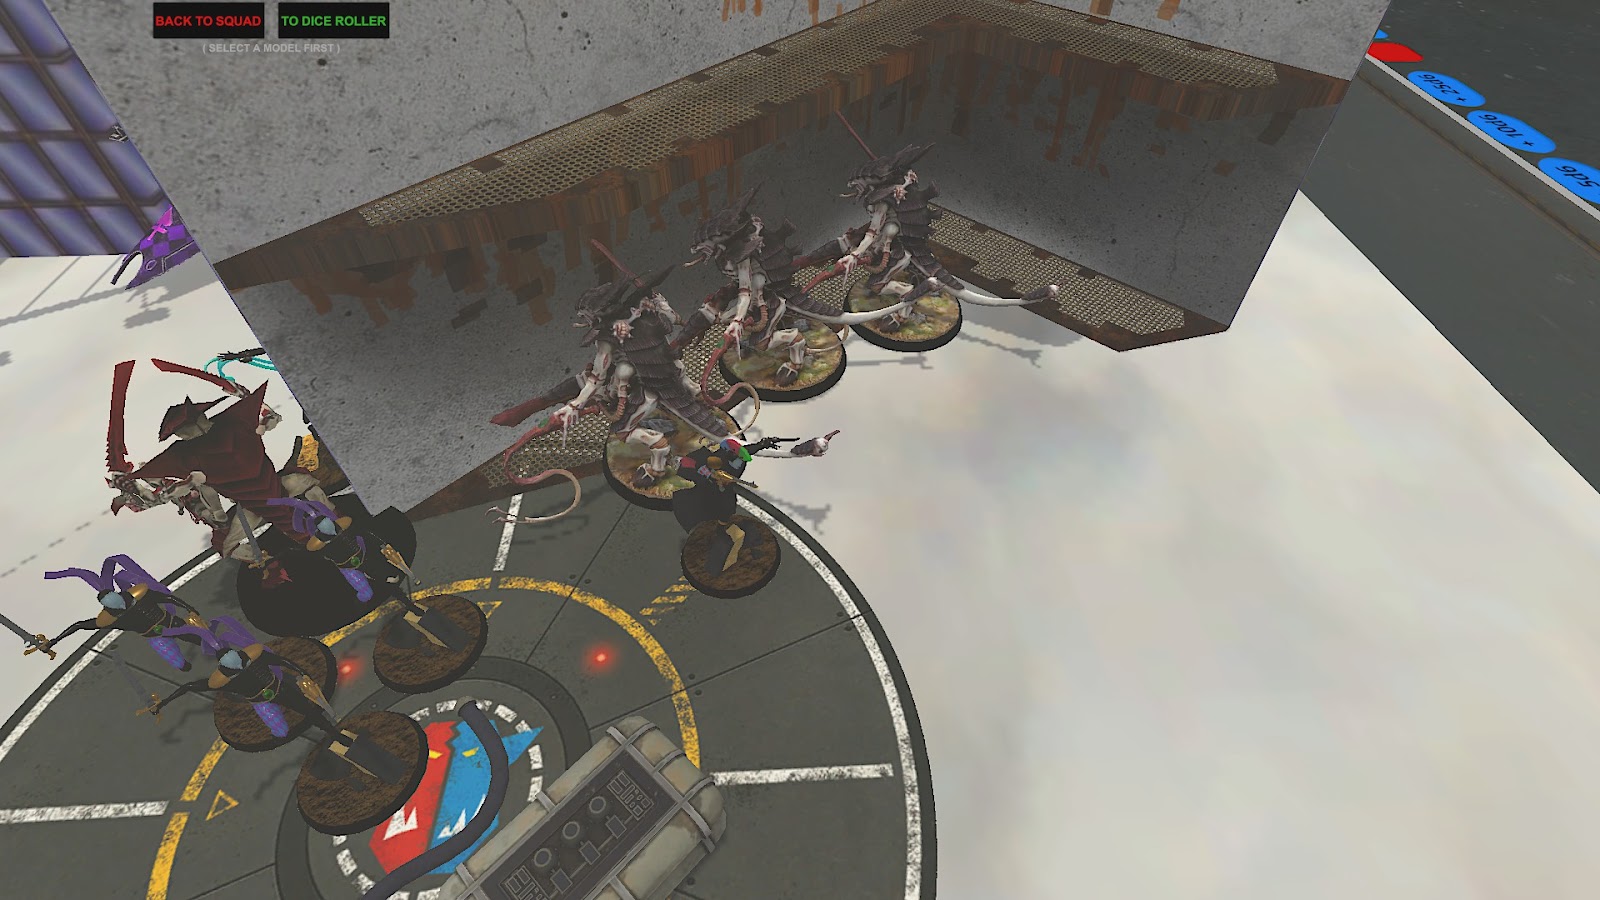
With the death of my forward Troupe I scored a 0 on Primary last turn, so it’s imperative that I do the same to Owen. The right-hand Troupe therefore goes leaping forward, taking some pot-shots at the Harpies before slamming into the Gargoyles in combat.

A flurry of Harlequin blades and the
Tyranids are wiped out, leaving both the nearby objectives unclaimed. Well, I’m
theoretically holding one, but I don’t hold any great expectations of this Troupe
surviving.

That’s the simplest part of my turn, because otherwise I’m
faced with a dilemma. I really want to commit to the Harpies because they’re
the biggest threat to my army, but to do so I need to come within reach of the
Flyrants and other nasties. It’s incredibly tempting, but in the end I decide
that flying straight into the trap Owen has set is probably not a good idea.
Instead, I commit hard to the left flank. 3 Starweavers and 2 Troupes move to line up the Maleceptor, while 5 full Starweavers get angles on both it and the Carnifexes.


This is a terrifying amount of firepower, and
I’m optimistic that if I kill these three monsters I can even gun down the
Neurothrope with some spare shuriken cannons.
The plan starts well, with the Shadowseer doing 5 wounds to the front Carnifex through Mirror of Minds and shooting. Alas, Owen reminds me that he used the Neurothrope Imperative this turn for a reason, and promptly saves three of the mortals with his 5+++.

The Maleceptor manages to laugh off
all the fusion aimed at it, but is finally worn down by massed neuro disruptors
and shuriken. The front Carnifex, which has a 4++ from Hive Nexus, manages to
survive an inordinate amount of shooting as well. But it finally falls to the
onslaught, and its buddy behind is evaporated almost instantly by 3 fusion
hits. I’ve got no shots left for the exposed Neurothrope, and I made the call not to RND this round, but I’ve basically cleared all Owen’s offensive pieces from
this flank!

Tyranids Turn 2, 19:40

Owen has two challenges this turn. First, he’s starting to run out of boots on the ground to hold his left objectives. A Warrior squad starts shifting over, but in the meantime he has to make do with one Flyrant and the Tyrant Guard nudging out to hold them.

At least he doesn’t have to
worry about the nearby Troupe, who are obliterated by the nearby Spore Mines
even as the Harpies pump out another 6. Shocking news, Harpies are pretty
strong guys.

The other challenge for Owen is that while I’ve exposed a lot
of my forces, I’ve done so while clearing out the nearby Tyranids. So in terms
of effective responses, he basically has the Harpies, one Flyrant, the
Zoanthropes and Deathleaper. The Lictor *ahem* leaps forward, charging one
Starweaver and doing some minor damage while flipping the far-right objective.
That’s almost the only thing that goes right for Owen, however. The Zoanthropes Smite a boat but fail to kill it, and the terrifying firepower of two Harpies is only able to damage another. Tyranid shooting is not well-equipped to get past Luck rerolls and a 4++! The Flyrant’s attempt to cast Warp Ritual is denied, even with the Neurothrope’s casting buff, forcing Owen to keep wasting casts on that Secondary.

Owen contemplates charging it
into two Starweavers, but realises that the risk of failing to kill them both
and being unable to Overrun is too high. Once again, the change to Encircle is
showing its importance! So the Tyrant is left to massively overkill a 1-wound
Starweaver, before Overruning back to behind the Tyrant Guard.

It's been a fairly rough turn for Owen, and I’m keen to
capitalise on it.
Harlequins Turn 3, 39:35
I’m feeling surprisingly confident at the start of my turn,
at least for someone who’s down by 21 points. I’ve only lost two Troupes and one boat,
and am in a great position to strip some points off Owen this turn. In
particular, I’ve realised that if I just ignore the Harpies and kill off Owen’s
ground forces, then I can potentially secure an overwhelming Primary advantage.
It’s a big call to leave my opponent’s two most dangerous pieces totally
untouched, but I’m laser-focussed on that scoreline right now.
To that end, my turn starts with the freshly-disembarked Troupe Master and his Troupe zipping forward, ready to charge onto Owen’s home objective and flip it. This has the potential to score me Assassinate points for killing the Prime, give Owen another 0 on Primary, and stop him doing the mission-specific action to deny him more points next turn. This push is supported by three full Staweavers, moving forward to unload everything into the Tyrant Guard to try and bring down a TtL choice. Another Starweaver moves to support in the centre, while its Troupe disembarks to hopefully charge onto the centre-right objective.

Finally, on the far-left I disembark two Troupes.
One begins to RND while holding both objectives, while the other (with the
support of two Starweavers) aims to take out Deathleaper through shooting and
combat. We actually forgot about Deathleaper’s rule against starting actions
within 6” of him, but I could have fairly easily positioned around it if we’d
remembered.
Shooting is a mixed bag. On the one hand, the massive
convergence of firepower in the centre manages to obliterate the Tyrant Guard,
stripping 5 points off Owen and ensuring his Tyrants will have nowhere safe to
stand in future turns. On the other hand, the shooting into the Flyrant itself
is totally ineffectual, and the Prime survives a number of fusion shots to the
face thanks to the Zoanthrope Imperative 5++. Deathleaper also survives on a
frustrating 2 wounds, forcing me to charge in and deal with him fighting first.
I attempt to solve this problem by popping the embrace
stratagem, but fail to score a single 4+ on my six dice. In hindsight, I
couldn’t have actually used that strat because of Deathleaper’s special rule,
so I guess I’m glad it didn’t do anything!
Still, this means I now have three combats I desperately want to start with, knowing that Owen could interrupt and really ruin my day. In the end, I decide the most important one is the Cegorach’s Rose Troupe Master going into the Warriors. They pop their -1D stratagem, then I counter with my own +1D strat. This takes the Master back to the critical Damage 3, which he uses to slaughter the squad then consolidate back into a nearby Starweaver.
Owen interrupts for free with Deathleaper, but some good save rolls see only two Harlequins die. The remaining four swarm over him and finally bring the Lictor down, but it was a close-run thing.
Over on Owen’s objective,
the other Troupe manages to kill the Prime as well, while the central Troupe
charge and tie up the Neurothrope to slide onto the objective. They fail to do
any real damage, but they’ve given Owen another 0 on Primary.
Tyranid Turn 3, 39:38

Their (impending) heroic sacrifice means Owen will struggle to score points this turn, so instead he focusses on killing some more of my exposed units. Both Harpies move to do some damage, while dropping Spore Mines to clear out the Troupe that had tied up the Neurothrope. This allows it to move onto Owen’s centre-left objective, while both Hive Tyrants go onto the offensive.
The Reaper swoops across to centre to prey on disembarking Harlequins, while the Maw-Claws Flyrant uses Onslaught to get all the way onto the centre-right objective. Finally, the surviving Warriors about-face and move to clear off Owen’s home objective.

Shooting and Psychic sees two Starweavers destroyed, with
the one in the centre disgorging a Troupe and Troupe Master, while the other
contained only the Cegorach’s Rose Master. Dramatically, I also succeed in
denying Warp Ritual again after Owen’s dice spike downwards. The Reaper Flyrant
crashes into the central Troupe and obliterates them, but forgets to Overrun back
afterwards. We only register this mistake halfway through my next Shooting phase,
and by that point Owen decides the game-state has changed too much for
take-backs. The other Flyrant attempts to charge my Troupe that’s strung
between the two right objectives, but I use the Light stratagem to pull them
back out of a reliable charge range. Instead he dives in and smashes up a
nearby Starweaver, while holding the centre-right objective for Stranglehold.

Finally, the shooting and combat of the Warriors easily
clears my Troupes off Owen’s home objective. Alas.
Harlequins Turn 4, 52:33


I’m now in the driver’s seat, and am determined to push my advantage. That starts with the two surviving Troupes on my left flank leaping forward to pummel the Maw-Claws Flyrant with shooting and combat.

In the centre, the now-exposed Reaper Flyrant is attacked by the Storied Sword Troupe Master and two Starweavers, while another Troupe and their Starweaver move to claim both of Owen’s left objectives.

Finally, the Cegorach’s Rose Master goes
in for the kill on the last Warrior squad.

Shooting sees both Flyrants reduced to a handful of wounds, while the Zoanthropes lose a model and even the Harpies take some chip damage. In combat, I swing first with the Rose Troupe Master yet again. Owen pops -1D, I pop +1D, and the Warriors disappear. Sadly, this gives Owen the chance to interrupt with the Reaper Flyrant, which promptly hacks my other Troupe Master into a welter of pieces.

On my left flank, the heroic Troupes manage to drag
down the Maw-Claws Flyrant after I burn 2 CP on their mortal wound strats, and
yet another Troupe bounces off the Neurothrope while holding a critical
objective.


Both of these objectives get flipped to take Owen down to another 0
Owen only actually lost two units this turn, but I’m now
holding all 6 objectives. He has models left to hurt me with, but the game is
probably lost.
Tyranids Turn 4, 52:33

Owen has 4 unengaged units to move, and needs to get a lot down with all of them. One Harpy wounds the Troupe Master with its Spore Mines before speeding over to clear the Troupes and Starweavers off my left flank, while the other swoops in to try and kill the Shadowseer and Starweaver on my home objective.

The Zoanthropes float ominously down to evaporate the
Troupe Master, while the Flyrant charges into both my Starweaver and Troupe on
Owen’s left objectives.

Psychic goes well enough, with the key buffs going off and the Troupe Master finally falling to a Zoanthrope Smite.
Shooting is a
disaster for Owen, with Troupes falling and Starweavers taking wounds but no squads
being destroyed. Combat goes better, with the Flyrant wiping out both the units
it had charged, but at the end of the turn I’m still holding 3 objectives to
deny Owen Stranglehold.

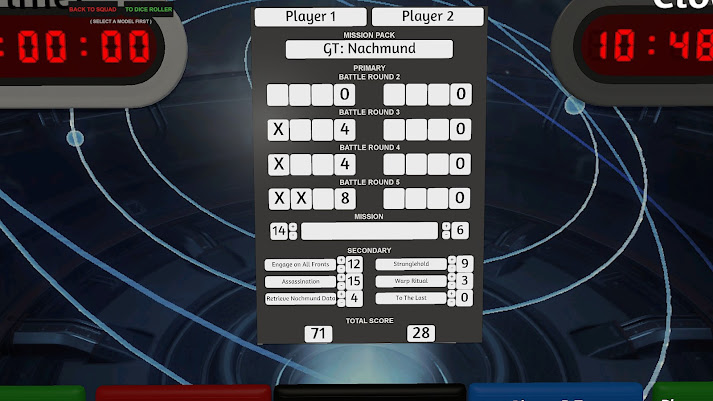
Harlequins Turn 5, 71:28

I don’t have many models left at the start of my Turn 5, so my turn is largely about frustrating Owen’s scoring as much as possible. Two Starweavers speed over to contest the left objectives, with one filled with Troupes to take some final pot-shots at the Hive Tyrant.

A lone surviving
Player from one of my left-hand squads sprints over to try and flip Owen’s
backfield objective, making his charge into the Zoanthropes with a CP reroll.
The Troupe on my left flank starts the Shooting phase well by hitting the Harpy twice with their fusion pistols, using a Luck reroll to get two wounds, then blowing it clean from the sky with boxcars on damage. It doesn’t really matter for scoring, but it was very impressive.

The Shadowseer and
Starweavers almost repeat the feat against the other Harpy between Psychic and
Shooting, while the final Starweavers on my right flank go ballistic. The embarked Troupe detonates the Hive Tyrant with another 2 fusion wounds, and the
two Starweavers gun down the Neurothrope into the bargain!

Finally, the lone surviving Player kills a wounded
Zoanthrope in combat while dodging the other’s attacks backs, leaving me in
control of all 6 objectives once again.

We call the game there, as while Owen still has a Harpy and a Zoanthrope, he no longer has any way to score points. It’s been a brutal game, but the Harlequins are victorious 71:28!
Post-Game Analysis
I think this game largely came down to two factors: my
overall strategy was solid, and Owen’s dice had some real cold moments.
In general, I find this mission tends to lend itself well to
a strategy of ‘overwhelm one flank, sweep across from there’, at least for
Aeldari lists. With my mobility, that means I can generally bring all of my
firepower to bear every turn, while my opponent will often have a number of
isolated and useless units. That definitely paid off this game, with one
Flyrant not getting into combat until Turn 3! That let me get an early leg up
on the attrition game, giving me a materiel lead that snowballed across the
game.
My decision to pivot left instead of right was a huge deal in this game
I was also quite happy with how I leveraged that lead to
cripple Owen’s scoring. I could have gone hard against the Harpies and hoped to
win the long game, but instead I just accepted that they were going to take
chunks out of me and I’d be better off stopping Owen from scoring instead. I
was helped in that by the relative lack of meat in this Tyranid list; once the
Carnifexes and Maleceptor were down, there just weren’t that many units Owen
could put onto an objective. Ditching the Prime and maybe Deathleaper for a
bunch more Warriors or Pyrovores would have made it way harder for me to just
body out the ground troops and ignore the flyers.
Owen still had lots of points on the board in the lategame, but not much to hold objectives with
Finally, I can’t ignore that my materiel lead was made a lot
more substantial by some absurd swings of the dice. Owen’s shooting in Turn 2
really should have killed at least one Starweaver, but those Harlequins really
showed off their durability against low-volume anti-tank weapons. I also spiked
absurdly hard on damage in the final round, but at that point it was very much
just salt in the wound.
I really liked this Harlequin list, it felt exactly like how Harlequins should play. I love the speedy skirmish playstyle, and this list had that in spades. It felt a lot more forgiving than my Asuryani builds, although it also felt like I was playing on a clock. Owen was eventually gonna kill my Harlequins, it was just a matter of getting the damage and points I needed before that. I can imagine its reliance on neuro disruptors could feel pretty bad against a Knights build, and I would really love to fit in a little more long-ranged shooting, but fitting in a squadron of Voidweavers would require some real sacrifices. I’d also contemplate dropping one Starweaver for a Solitaire. He’s not quite as necessary when you already have two Troupe Masters, and he makes Assassinate more of a risk, but I just love the mobility and durability he brings. Still, I was pleasantly surprised by this build, so expect to see it on the field again sometime soon!
I hope you enjoyed seeing Harlequins return to the blog. They're such a fun army to play and fit my playstyle so well, I think I like them almost as much as Hail of Doom Asuryani. What did you think of the battle? Is the Tyranid list too optimised for damage, or is it just a rough matchup for the 'Nids? Why, in your opinion, is the Cegorach's Rose Troupe Master the best character in the game? As always, I'm keen to hear from you!
Until next time, may your boats always pass their invulnerable saves!
Comments
Post a Comment