The new Chaos Knights book is out, and I am excited to get to grips with it! We ‘tested out’ a House Vextrix War Dog build last week, but ‘tested out’ is in quotation marks there because the Asuryani basically didn’t give it a chance to play the game. Hail of Doom is strong, y’all. This time around though, I’m fielding Vextrix against a more honest foe: Owen’s Hive Fleet Behemoth. Can the spiky boys take on the terrors of the metagame? It’s a clash of the titans, so get ready for some stomping!
Edit: this game was played pre-FAQ, and honestly lots about the Tyranid list would have changed were we to play it again tomorrow. Think of this as a final testimony to a darker time in the meta!
House Vextrix, 9 CP

Super-heavy Detachment
Knight Abominant with Blessing of the Dark Master, Winds of the Warp, Storm Malevolent, Knight Diabolous, Favour of the Dark Mechanicum and Heretek Power Core 460
3 Brigands, one with Blasphemous Engine 465
2 Brigands, one with Mirror of Fates 325
3 Stalkers with daemonbreath spears, daemonbreath meltaguns
and reaper chaintalons, one with Helm of Dogs 455
2 Stalkers with daemonbreath spear and reaper chaintalon, one with daemonbreath meltagun 295
This list is only marginally tweaked from what Matt ran in
our last game, with three War Dogs being swapped out for an incredibly beefy
Knight Abominant. This dude looks absolute nails: he ignores enemy rerolls
against him, can pretty rapidly get hit-Transhuman, can give himself a 5+++
with his psychic powers, starts on 26 wounds and heals D3 every turn. On the
swing back, he will be putting out 12+D3 attacks every turn, all rerolling ones
to hit, and most of which will be at D4 to boot. He’s even got a pretty good
gun! This is my centrepiece model, and I am super hyped to use him.
Backing up the big boy is a solid brace of 10 War Dogs, all
of which are taking advantage of House Vextrix’s reroll to hit and wound
to make their melta cannons ludicrously efficient. And if they need to, they
can always take some mortals to really amp up their weapons, mobility or
durability. The plan with these is mostly to spread out, claim objectives and
gun down anything they can see. Honestly, it feels like a good plan! Except
against Asuryani, where it’s an awful plan. Oh well.

Hive Fleet Behemoth

Patrol
Winged Hive Tyrant
with Maw-Claws, lashwhip and bonesword
190
Neurothrope with
Synaptic Tendrils 100
3 Tyrant
Guard 120
3 Warriors with
deathspitters and dual
boneswords 75
3
Zoanthropes 150
Maleceptor 170
3 Pyrovores 90
Patrol
Winged Hive Tyrant
with Reaper of Obliterax and
lashwhip 190
10 Hormagaunts 80
3
Venomthropes 105
2 Harpies with
heavy venom cannons 340
3 Carnifexes with
heavy venom cannon, scything talons and enhanced
senses 360
1 Pyrovore 30
If this list looks familiar to you, good, you’ve been paying
attention. It’s a classic Tyranids meta list, but running as Behemoth for extra
ObSec and bringing along some Carnifexes to take full advantage. It hits hard in
Psychic, Shooting and Combat, and it has the mobility and durability to make use of
that. I personally feel like it’s better than the Leviathan equivalents, but it’s largely the underpriced units carrying the list here anyway. But how will those units
fair against the might of House Vextrix?
Secondaries and Deployment

Both of us basically looked at each other’s armies, looked
back at our own, then picked Bring it Down. It wasn’t quite as much of a
slam-dunk for me as for Owen, but I’d expect to score 10-12 on it in any close
game. Otherwise, I picked the Knight classic of Grind, then spiced things up
with the new faction-specific Secondary of Ruthless Tyranny. This gives me
points for holding half the objectives and for keeping objectives within Dread
Range of my army, both of which should be super easy. As it turns out, the
mission today (Death and Glory) means it isn’t unequivocally better than
Stranglehold for once, but it should still be a reliable 10-15 points.
For Owen, the main concern was that my superior ObSec would
prevent him maxing Stranglehold, so in went Engage instead. Finally, Warp
Ritual is a Tyranid classic, and Owen thought there was no reason it wouldn’t
serve him well here. Yes, I have one deny, but he has a Neurothrope. It’s
hardly a contest.


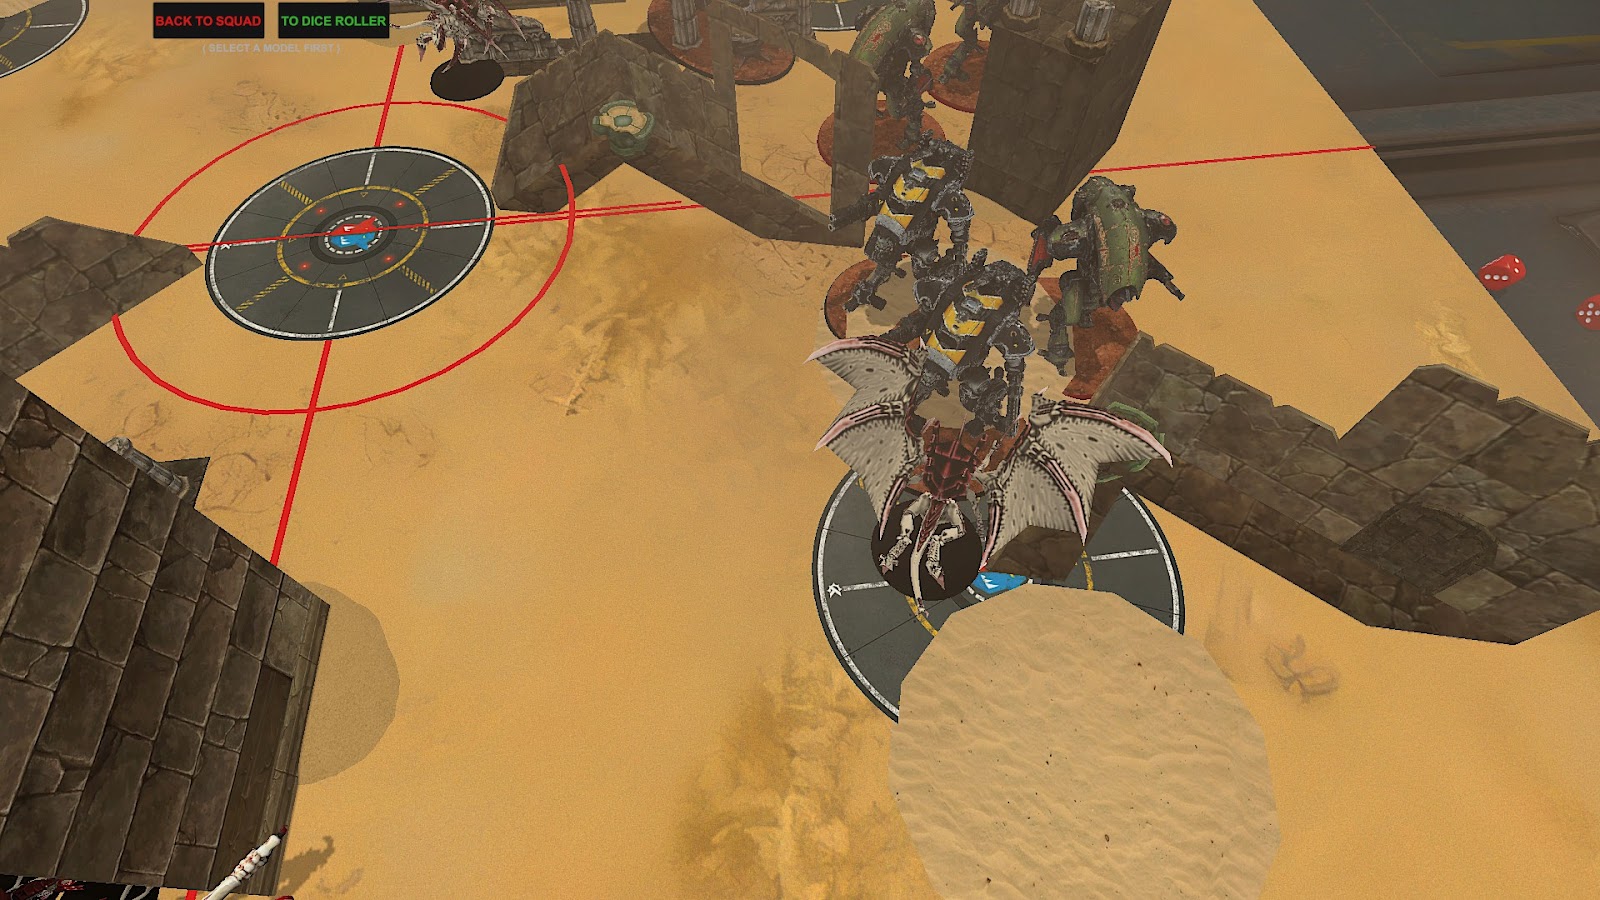
My deployment is moderately defensive, with the Abominant
hidden out of LoS and most of the War Dogs placed relatively safely. Owen does
the same, with nothing out of cover except the untargetable Hive Tyrants.
Whoever goes first will be getting some shots, but hopefully not on anything
too critical.
Chaos Knights Turn 1, 15:10
With first turn, it’s time to get stompy. I send a thrust of
War Dogs out to each flank objective, securing me three points for Ruthless
Tyranny and drawing angles onto a couple of the monsters. I do need to use
Daemonic Surge in a couple of places to get line of sight or onto the
objectives, which costs me a few wounds but should be worthwhile. In the centre, the Abominant thunders
up, ready to fail to cast all his spells. I also make the call not to move onto
the central objective, because I won’t hold it and I don’t need it for my
Secondaries anyway.

In the Shooting phase, I open up on one Harpy and manage to inflict 6 wounds thanks to House Vextrix’s rerolls.

Firepower from either flank
manages to wipe the large Pyrovores squad in the centre, while more melta fire from my left
flank badly injures a Carnifex. It’s not the most exciting round of Shooting,
and I probably won’t be scoring Grind, but it’s good to get in those early
shots.

Finally, in Morale I use Ravenous Pterrorshades to force the Hormogants to take a Dread test. They fail by quite a wide margin and lose 6 models to the resultant mortal wounds. This means they no longer have quite enough models to flip an objective held by one of my War Dogs! 1 CP well-spent.

Tyranids Turn 1, 15:25

I didn’t do much
damage last turn, but Owen knows that he needs to make this one count. To that
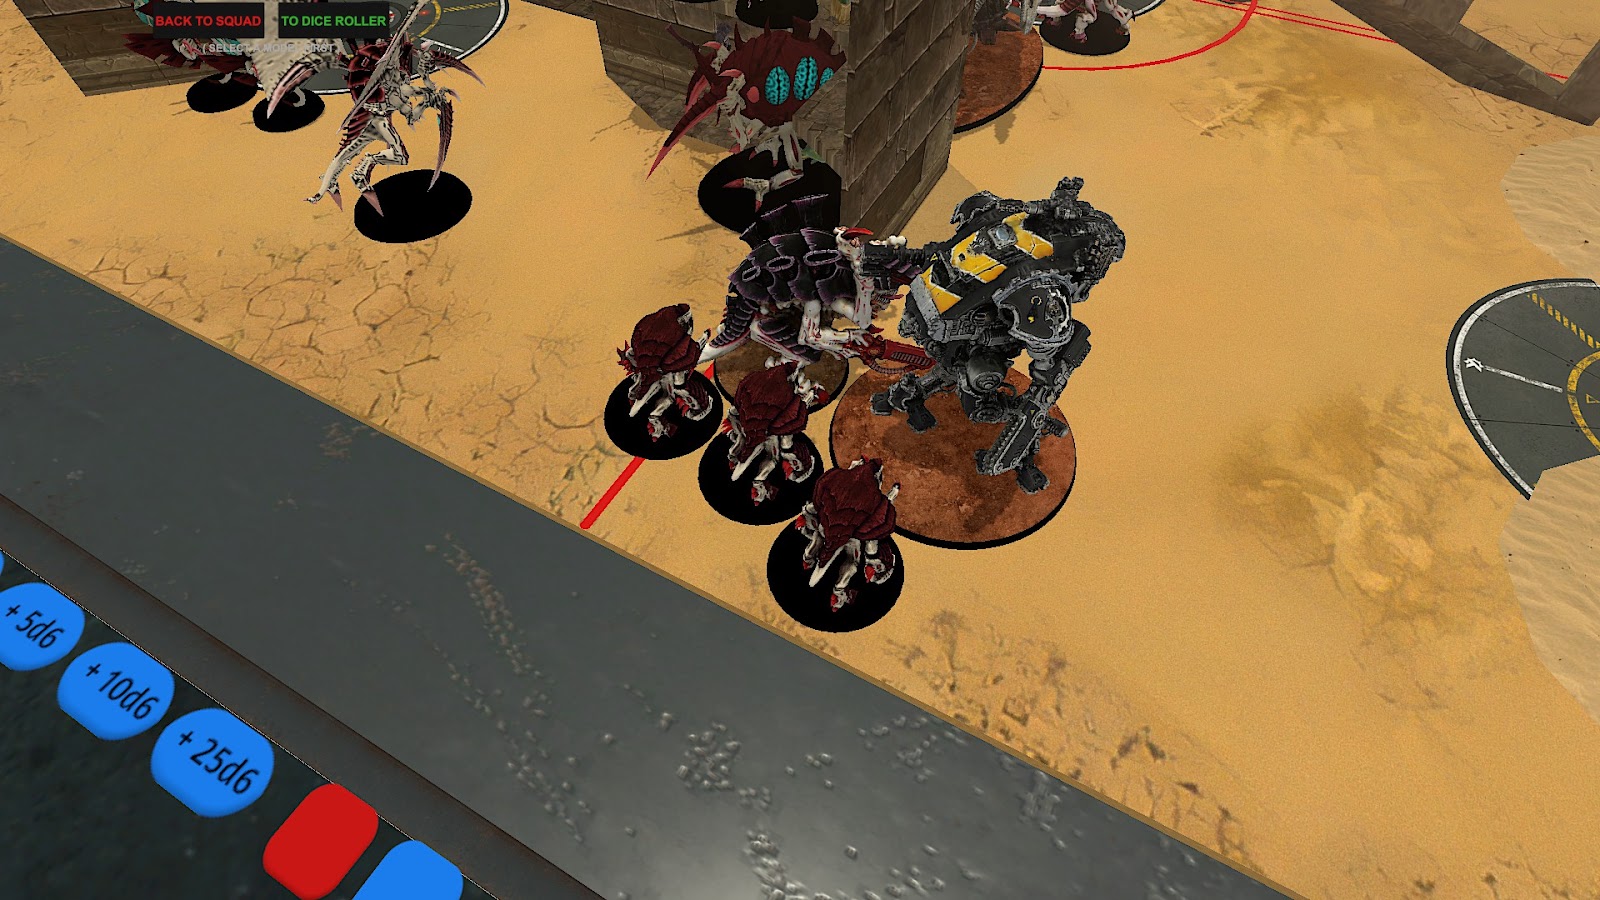
end, both Flyrants zip forward to take out my forward Stalkers, while the
Carnifexes inch out of cover to line up shots and the Harpies speed down the
left flank.

Psychic sees Warp Ritual and all the key buffs go off, as well as the Maleceptor nudging closer into the wall to zap my lead War Dog a bit. The Harpies combine their fire on the front-left Stalker and obliterate it with HVC fire, while the Carnifexes bracket a Stalker on the other flank.

Finally, in combat the Flyrants effortlessly slice apart two Stalkers, despite me popping the -1D strat on the healthier one.
The bracketed one explodes,
damaging the Flyrant as well as the two Hounds behind it. Owen then pops
Overrun to bring the Reaper back home to safety, while the Maw-Claws Flyrant consolidates to score a big Engage then uses Encircle the Prey to disappear. I can see why this interaction has since been nerfed.

It's a very successful turn for Owen, but I’m now in position to do a bit more damage to his monsters.

Chaos Knights Turn 2, 28:25

Alright, time to see what those Knights can do. Owen activates the Zoanthrope Imperative, while I pick Gheist Storm to potentially mess with his target priority and charges. The Abominant moves onto the central objective and casts his 5+++ save, before blasting the nearby Carnifex for some solid damage.

Melta fire from my left War Dogs obliterates another Carnifex,
before everything else on my centre and right flank opens up on the Harpies.
Critically, Owen has forgotten to keep them within 12” of a Synapse creature,
so they have no defence to the hail of hyper-efficient melta shooting that
hammers into them. Two Brigands and one Huntsman later and Owen is down his two
best shooting units. Ouch.

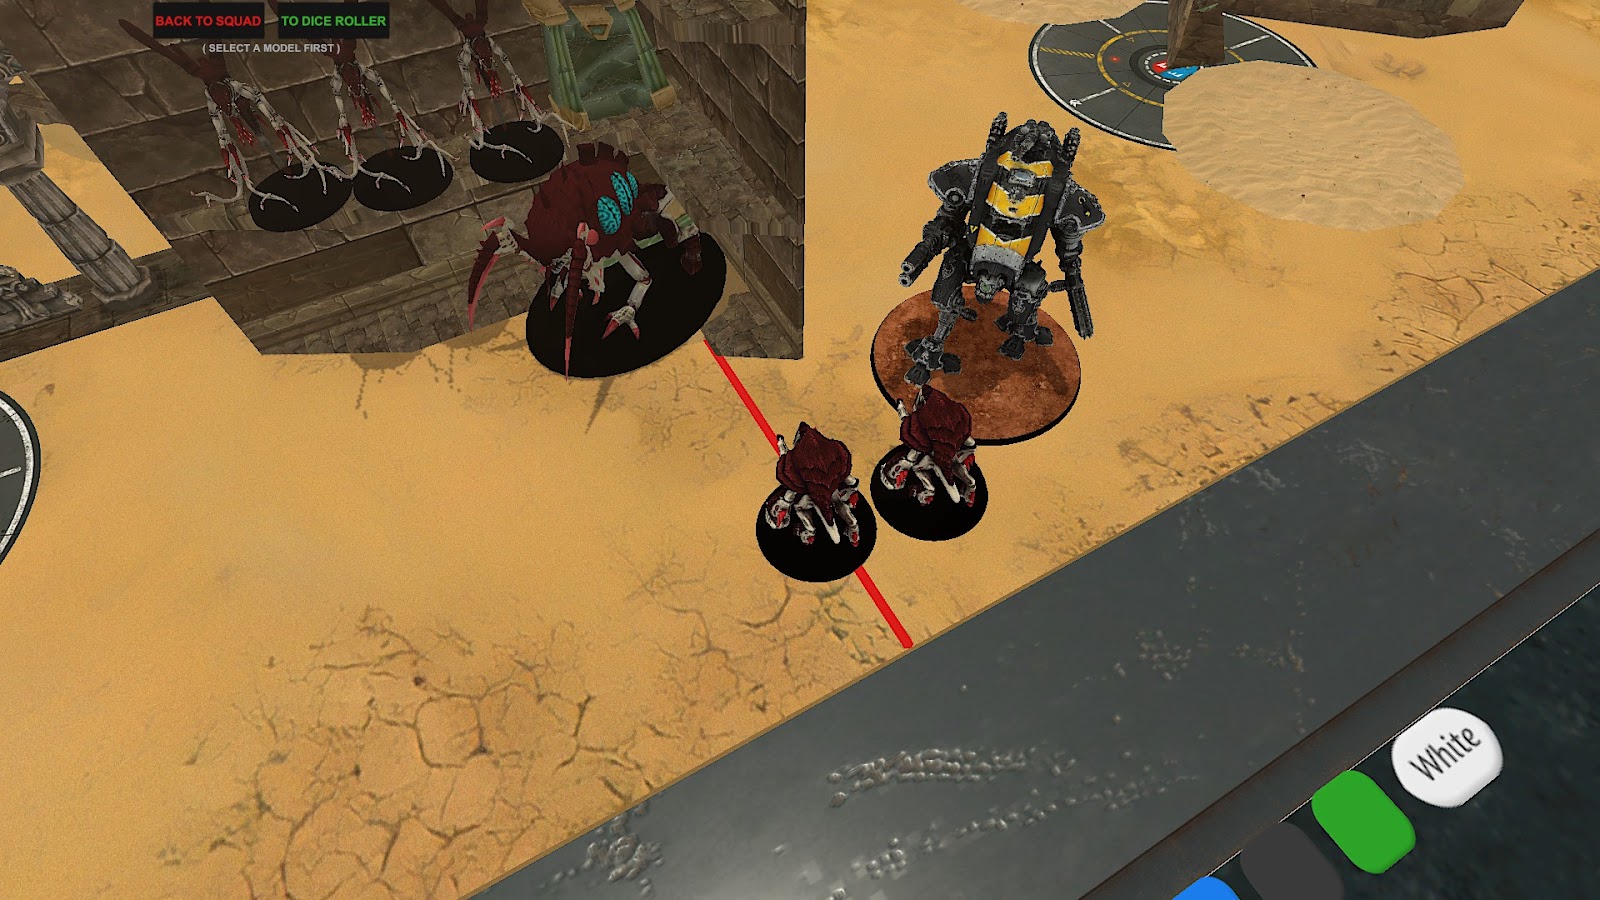
Then it’s onto the Charge phase, and I hurtle my Abominant forward to krump the Maleceptor. 15 S8 attacks later and Owen is forced to CP reroll to keep his Maleceptor alive on 3 wounds, while doing nothing on the swing-back.

One Stalker on my left also makes its charge into a Carnifex, doing
some solid damage but failing to bring down its foe.

It’s been a pretty devastating turn, and I’m hopeful that
I’ve gotten Owen trapped in his deployment zone now.

Tyranids Turn 2, 31:29
Time to see how tough those Chaos Knights really are. Owen starts by pulling in reinforcements to try and deal with the Abominant, with a hail of mortal wounds from his Zoanthropes and Maleceptor beginning the process before a Carnifex and some Warriors thunder in.

They’re also assisted by the Venomthropes, which don’t charge but sit 3” away to slap me with fight last and another mortal wound. The last Pyrovore pops out, stripping 6 wounds off a War Dog with some crazy flamer rolls before charging in and wounding my Abominant still further.

The four remaining Hormogaunts use Bounding Leap to speed across
the centre of the board, hoping to tie up a Brigand and claim the central
objective. In Owen’s backfield, the Tyrant Guard move across to try and take
out the lone Stalker fighting the Carnifex. Finally, the Reaper Flyrant swoops into two of my Brigands on my left objective.

Combat produces some mixed results for Owen. On the one
hand, the Flyrant goes absolutely wild, killing both Brigands and then using
Encircle to disappear to safety. However, the combination of Warriors,
Carnifex, Pyrovore and Maleceptor are unable to bring down the Abominant, who pops the -1D strat and continues to exist in the centre. Its
swings back fail to down the Maleceptor, but do succeed in killing two Warriors
and obliterating the Carnifex. That D4 was really proving its worth here!

Similarly, the Tyrant Guard fail to destroy the wounded Stalker, leaving it alive on a single wound. This is critical, as it means they can’t consolidate backwards to put the Maw-Claws Flyrant back in Bodyguard range. It also means my Stalker gets to swing, and it promptly hacks the final Carnifex to pieces.
Finally, the Hormogaunts lose
three of their number to the Brigand they had charged, pulling them out of
combat. I then use Ravenous Pterrorshades again (as it can be used in either
player’s Morale phase) to finish them off and ensure Owen has no ObSec on the
centre.

That turn probably needed to go slightly better for Owen, but the game is still very tight.
Chaos Knights Turn 3, 55:29
My turn starts with a 12 on Primary, as well as a comfortable Grind from the previous turn. My Abominant falls back from the Maleceptor and Warriors, preparing to unleash its Volkite Combustor, while the rest of the War Dogs manoeuvre to get shots onto the Flyrant and Pyrovore. That goes excellently, with a torrent of melta and chaincannon fire tearing apart Owen’s critical combat piece.

Volkite fire from the Abominant kills two of the Zoanthropes, and my remaining melta is easily sufficient to down the exposed Warriors and Pyrovore.
Even the crippled Stalker in combat with the Tyrant
Guard is able to evaporate one with its daemonbreath spear.

It’s a brutal turn of shooting, capped by the Abominant
charging back in and destroying the Maleceptor (although not without taking yet
another mortal wound from the nearby Venomthropes). On the downside, the Tyrant
Guard do finally succeed in killing the Stalker they’re fighting. Still, it’s a
very successful turn, that’s left me solidly in control of the game.
Interestingly, I actually only score one on Ruthless Tyranny
this turn, despite holding almost every objective. Thanks to the ‘lock-in’ mechanic for objectives that Death and Zeal
uses, I would have gotten a 3 on Stranglehold, but Tyranny
requires you to actually have Knights on the objectives as well as controlling
them. It’s a bit of an edge case, but it’s interesting to note that Tyranny isn't inevitably
better than Stranglehold.
Tyranids Turn 3, 58:43

Owen is pretty severely short on options this turn. In total, he has the Venomthropes, Tyrant Guard, Neurothrope and lone Zoanthrope in his deployment zone, and then the Flyrant about to come in from reserve.

It’s clear that if the Abominant survives the turn then it’s probably
game over, so in goes just about everything to try and clear it out. A hail of
mortal wounds brings it low, but the Tyrant Guard are unable to deal the
finishing blows, even with the Venomthropes helping out. In return, the enraged
Knight tears apart two of the Venomthropes and one Tyrant Guard, refusing to
succumb to the Swarm.

Finally, the Reaper Flyrant drops down on my back objective. This claims the objective for Owen, as well as ‘locking it in’ for future turns thanks to the Lurk ObSec.
Chaos Knights Turn 4, 71:43

This turn I’m determined to put the nail in the coffin. The Abominant heals once again and falls back from combat, gunning down the final Zoanthrope with maximum overkill.

Then the Brigands move up, obliterating the Neurothrope and Venomthropes with their shooting.
Finally, the Abominant
charges back in to the Tyrant Guard, destroying them all with its 12 D4
attacks. Owen’s objective is mine, and he’s down to just the last Flyrant!

Tyranids Turn 4, 74:53
Owen’s turn is predictably short. The Flyrant leaps forward, casting Warp Ritual on the way in. But without the Neurothrope’s buff
it can’t roll above a 5, and the Abominant successfully denies it. Enraged, the
Tyrant charges me, rolls its 5 attacks and absolutely obliterates the Abominant
at last. Oh well, he did his job. The Flyrant then Overruns back to safety
behind one of my starting ruins.


Chaos Knights Turn 5, 90:53
There’s no way I can draw line of sight onto the Tyrant, so
my turn is pretty short. I roll out an advance roll to see if my central
Brigand can make it back onto my home objective, but can’t roll high enough to
make it work even with Daemonic Surge. So I content myself with holding the
objectives and bracing for impact.

Tyranids Turn 5, 90:67
That impact comes in the form of the Flyrant striking one
last time, casting Warp Ritual and charging both the Brigand and Stalker on the central objective.
Thanks to taking the final Despair ability I’ve shut off Owen’s ObSec, so he
needs to kill both War Dogs in order to take the objective from me. But even
with the -1D strat, Owen manages to hit and wound with all his attacks to cut
both of them to pieces.

It’s a final defiant blow by the Tyanids, but despite that the
field clearly belongs to Chaos, who win a 90:67 victory!
Post-Game Analysis
That was incredibly bloody. At the end of the game we had
three models left between us, which is pretty low even for a game involving
Knights!
I felt like this game really showed off the lethality of the
new Chaos Knights Codex. Those War Dogs were devastating, gunning down Owen’s
monsters far faster than either of us had anticipated with all their rerollable
melta shots. And the Abominant was a monster, soaking up (almost) everything
the Tyranids could throw at it and continuing to carve its way through their army.
That Abominant just didn't die!
On the flipside, the famed Tyranid durability was
absolutely overwhelmed today, with almost everything I shot at going down
at pace. Perhaps unsurprisingly, that meant the Tyranid MVPs were the two
models I couldn’t target: the Flyrants. They each chopped through at least one
Knight every time they made it into combat, and if I hadn’t gotten lucky with
my Stalker surviving those Tyrant Guard then they might have been enough to
flip the game on its head entirely.
That one remaining wound was pretty critical
As far as new mechanics go, the Harbingers table didn’t come
up a massive amount this game. That wasn’t really its fault though, as the ‘no
ObSec’ rule could have been critical in this matchup. The problem was just that
Owen was mostly out of models by the time we hit my Turn 4! On the other hand, the
layered defensive buffs on the Abominant were incredible; it really did just
survive in the heart of Owen’s army, soaking up damage and killing stuff. I
think all of my Chaos Knight lists are going to be starting with one of those,
likely with a similar suite of buffs. The House Vextrix War Dogs were also
incredibly dangerous, but by and large felt a bit like glass cannons. I’m
wondering whether a double Abhorrent-class list with 7 War Dogs might be a
better option, just to increase the staying power of the list a little. With
Mark of the Dread Knight I can give both big Knights a 5+++, which sounds
pretty tasty…
I hope you enjoyed this first (real) outing for the Chaos
Knights, it was definitely a lot more satisfying than their battle
against the Asuryani. Turns out gunning down Tyranid monstrosities is more fun
than being move-blocked and kited by space Elves! How have your first
experiences with the new Knights been? Are you more excited for the Chaos Knights,
or for the loyal bastions of the Emperor’s will? As ever, let me know in the
comments, and I’ll get back to you when I can.
Please do be kind though: I’m playing with leaked
screenshots of a Codex that wasn't out when we played the game, so please don’t be too mean if we’ve
made some rules errors.
Until next time, may your Knights always refuse to die!
Comments
Post a Comment