
That’s right ladies and gentleman, it’s once again time for
the first game with a leaked Codex. Matt is super excited to try out the new
rules, and I figure I ought to give these Hail of Doom Asuryani a try against
something a little heftier than the Tyranids and Deathwing they’ve been
blasting. Can the Aeldari defeat the new Chaos threat?
As a sidenote, please be kind if there are any rules errors
in this. We were playing with the leaked Imgur pictures of the Knights Codex,
and I was still coughing up my lungs all game. If we played everything 100%
correctly, I would consider it a miracle worthy of Celestine herself.
Asuryani Custom Craftworld (Hail of
Doom/Masterful Shots)
Patrol
Farseer with Guide, Convergence of Fate (Seer Council) 90
Farseer Skyrunner with Sunstorm, Fortune, Will of Asuryan 120
2 Warlocks with Quicken/Restrain, Seer Council 40
10 Guardian Defenders 90
2 x 1 Vyper with scatter lasers 80
2 x 9 Dire Avengers, Exarchs with extra catapult 216
Outrider Detachment
Farseer Skyrunner with Doom, Executioner, Kurnous’ Bow and
Mark of the Incomparable Hunter 125
Baharroth 140
2 Warlocks with Jinx 40
2 x 3 Windriders with shuriken catapults 120
9 Windriders with shuriken cannons 270
3 Shining Spears, Exarch with paragon sabre, Heartstrike, mirrorshield and
shuriken cannon 120
10 Swooping Hawks, Exarch with The Phoenix Plume 180
6 Swooping Hawks 108
6 Dire Avengers, Exarch with extra catapult 72
5 Howling Banshees, Exarch with Piercing Strikes,
mirrorswords and Cronescream 105
I’ve played this for the last couple of games, and it’s
pretty brutal. Yes, it’s basically Nick Nanavati’s Dallas list. Yes, I closed
my last article by pondering whether this list was game-breaking. No, I am not
ashamed. No, I will not be taking further questions.
At any rate, this army is packed full of firepower, has
insane mobility, has psychic powers for days and can keep throwing chaff at you
until you give up on trying to kill its important stuff. In the hands of a pro,
this is perhaps the most powerful list in the game. In the hands of me, it’s
honestly still stupid good.
House Vextrix

Super-Heavy Detachment
3 Brigands, one with Pyrothrone, Winds of the Warp and
Harbinger of Scrap Code 490
3 Brigands, one with The Blasphemous Engine and another with 480
3 Huntsmen, one with melta, another with Helm of Dogs 440
2 Huntsmen, one with melta 295
2 Huntsmen, one with melta 295
This list looks terrifying. It’s got 13 super-ObSec hulls,
26 super-melta shots (plus 3 normal meltas), 72 chaincannon shots and another
from the stubbers for good measure. And everything is rerolling a die to hit AND
wound, making all that melta hyper-efficient. It doesn’t have that many tricks,
but anything it can see is probably going to die.
One ‘benefit of hindsight’ note already: most of the Huntsmen
could have been run as Stalkers with the same weapons and the Pterroshades
keyword for the same price, gaining access to a couple of strats at no
downside. That’s an obvious change for next time, but thankfully one that
didn’t really affect the game.
Deployment and Secondaries

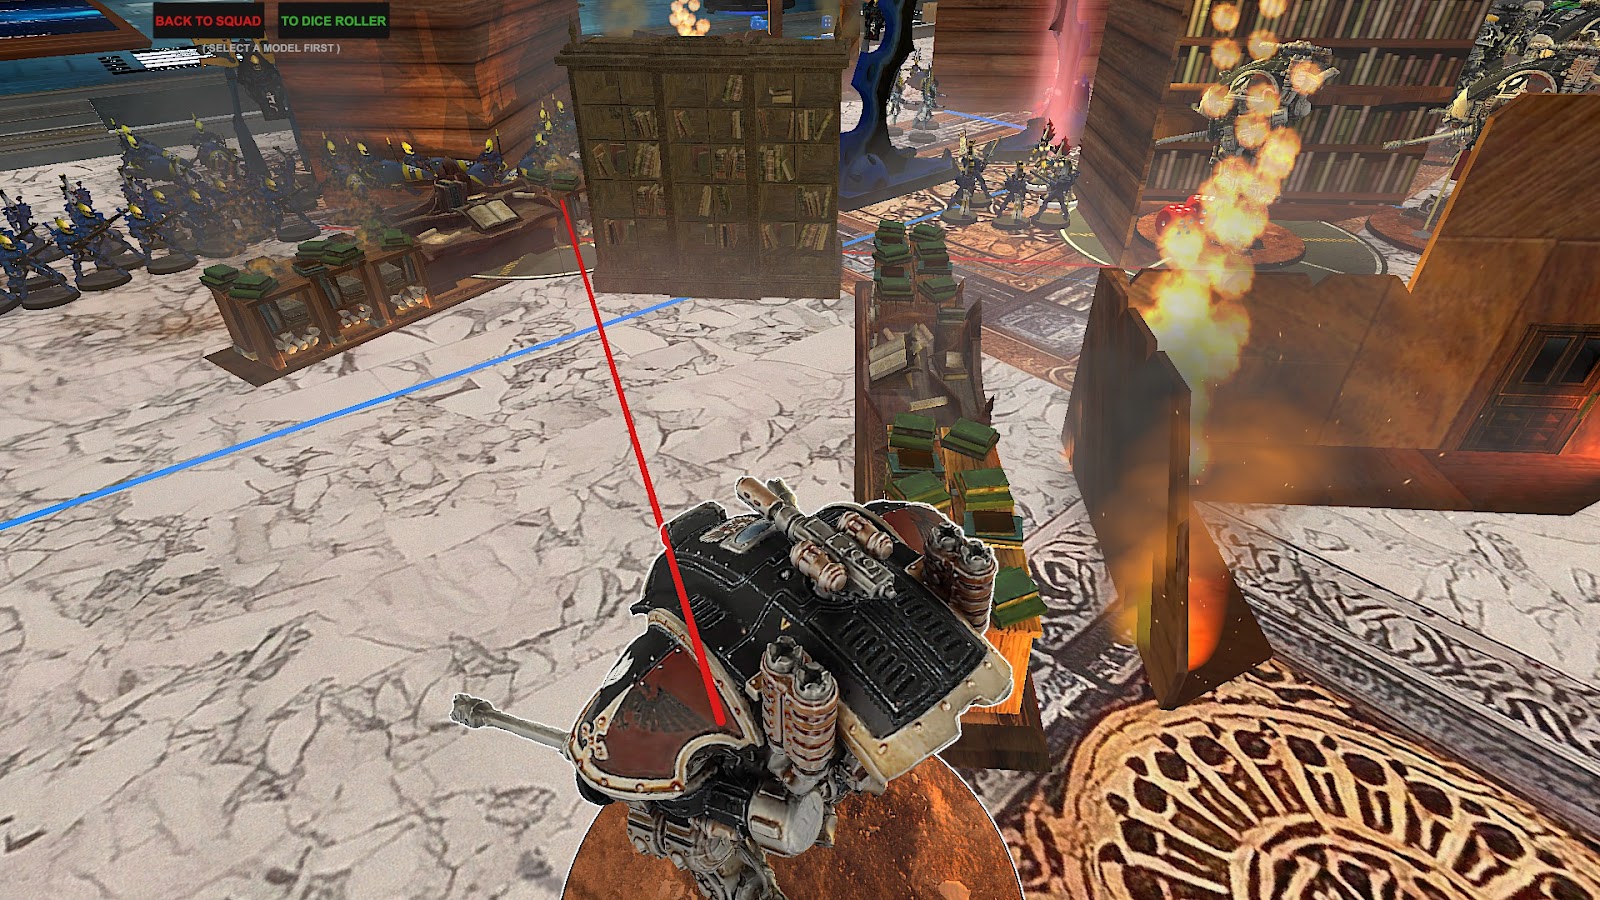
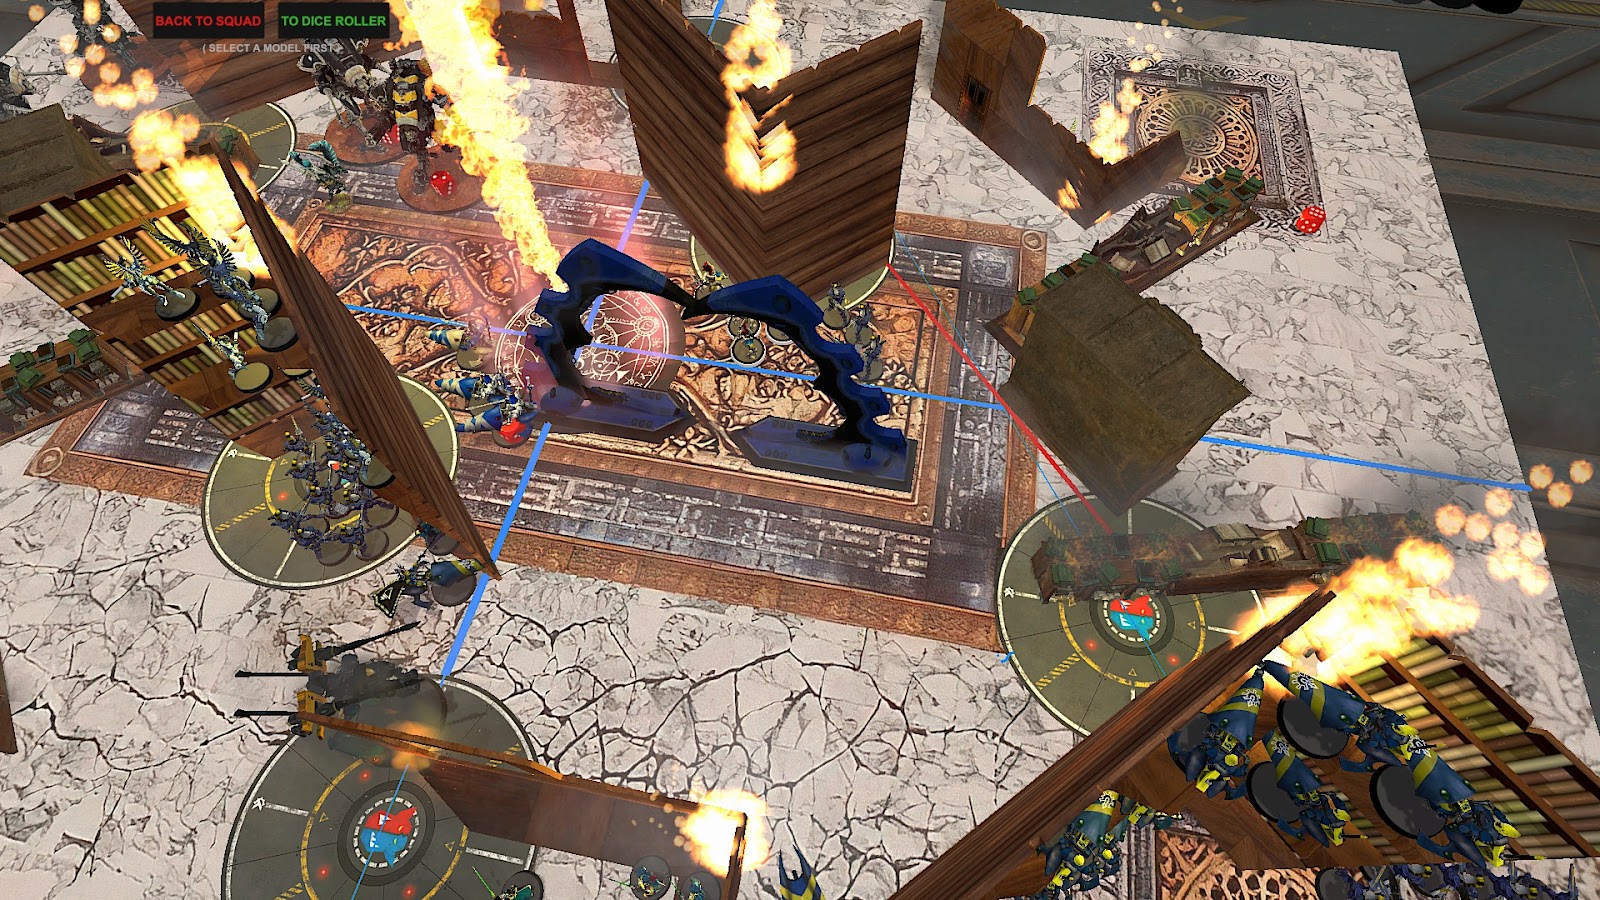
We’re playing Tide of Conviction, on the same board as this
game. Why on the same board, you ask? Because it’s incredibly cool.

Anyway. Tide of Conviction probably favours Matt, as he’s
more equipped to take my objectives than I am to touch his, but the lategame
scoring does give me a way to close any scoreline gaps that may arise. The
terrain will also make it hard for him to score Stranglehold, which is nice.

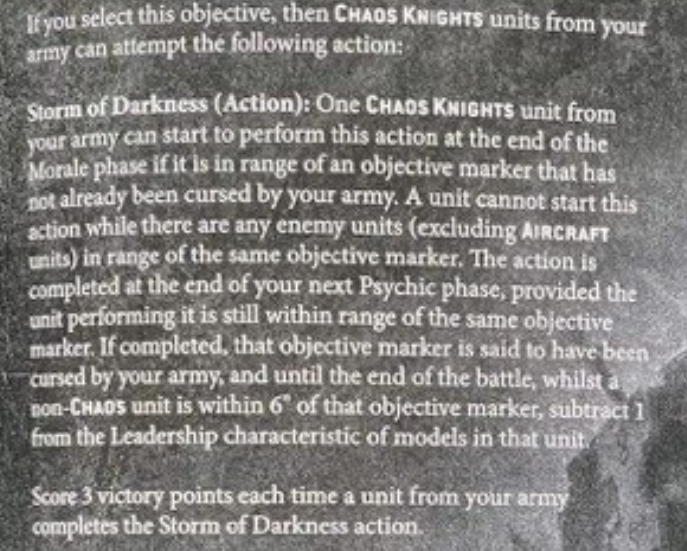
Speaking of which, Matt took the Knight stalwarts of Stranglehold and Grind, figuring he could outkill my MSU Aeldari pretty easily. He also decided to test out the exciting new Shadow Operations option of Storm of Darkness, letting his War Dogs perform an action on each objective running from his Morale phase to the Psychic phase on his next turn. It also ‘curses’ the objectives, giving me a Leadership debuff when nearby. Neat.
As it turns out, the action can RAW actually be started in either
player’s Morale phase, making it extremely powerful and almost impossible
to stop. We didn’t catch this before the game, but it’s pretty clear as written
right now. Until that gets FAQed, that makes this Secondary pretty nuts, as
you can start it on a safe objective in your turn, then also start it on a
midfield one at the end of your opponent’s turn if one of your Knights survives
there. Then they’ll both finish in your next Psychic phase. Wow. Perhaps luckily for me,
we didn’t catch this until after the game.
On a less exciting note, I took Bring it Down (Matt’s list
gives up an amusing 26 points for this), Retrieve Nachmund Data and To the
Last. RND is a risk, although I didn’t realise till later quite how risky it is
here. It had seemed like a safer bet than Engage, as I might need to turtle up
quite a lot, but if I’d fully read the Chaos Knights Codex I’d have realised
this wasn’t a great call. To the Last was also somewhat risky, but I was making
a conscious effort to ensure my three TtL targets would survive the game. No
exposing my Windriders Turn 1 this time around, I promise. Call it manifesting.
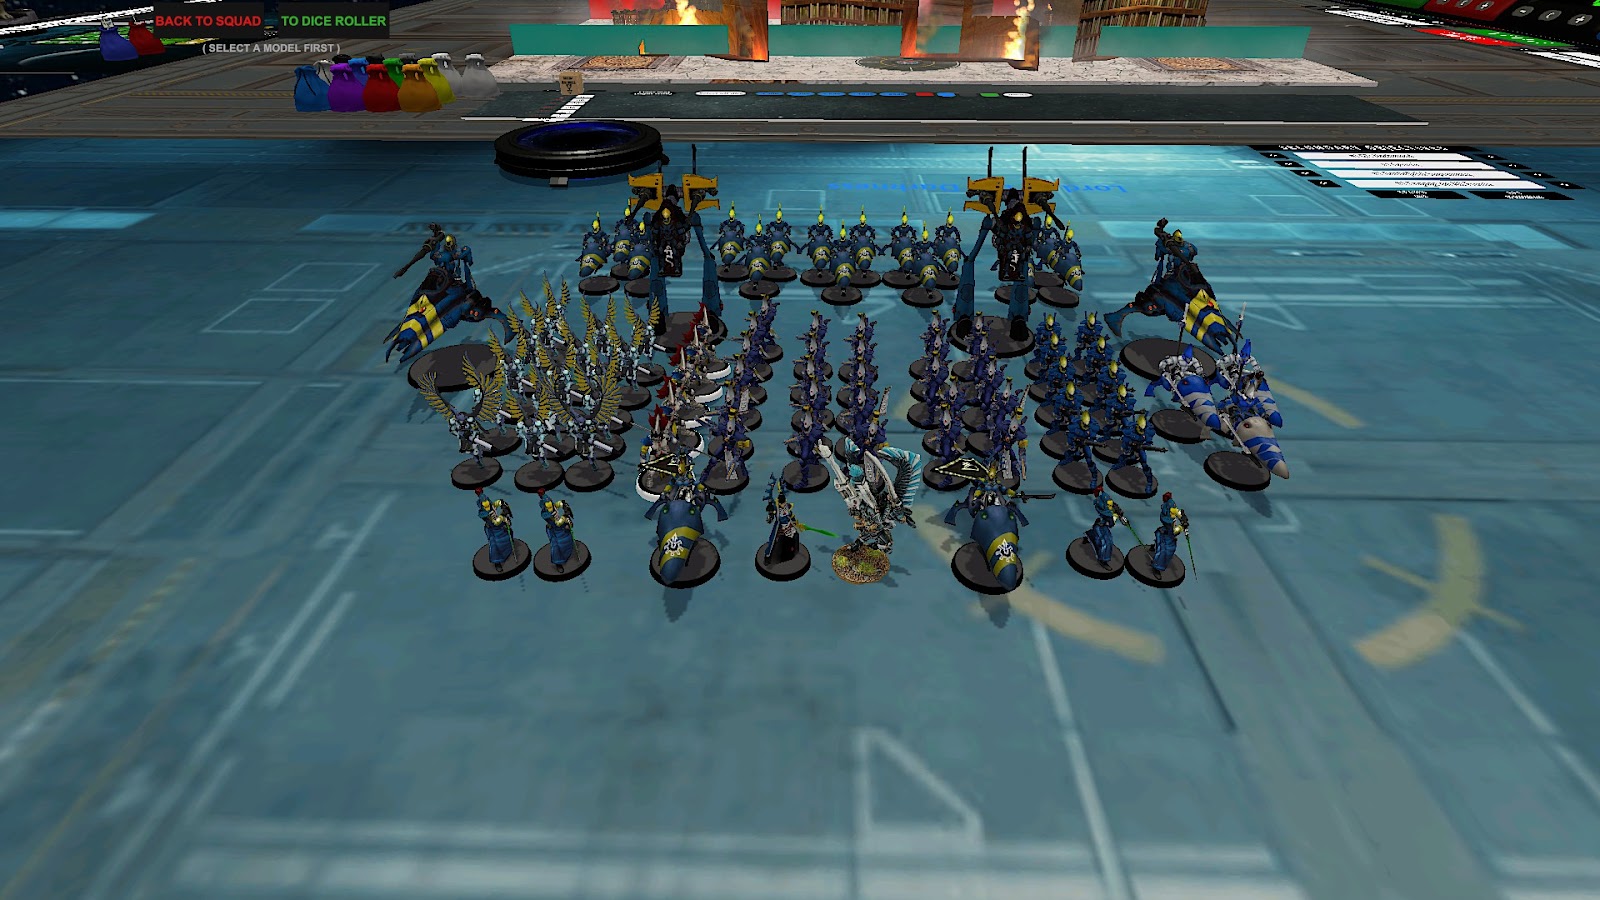
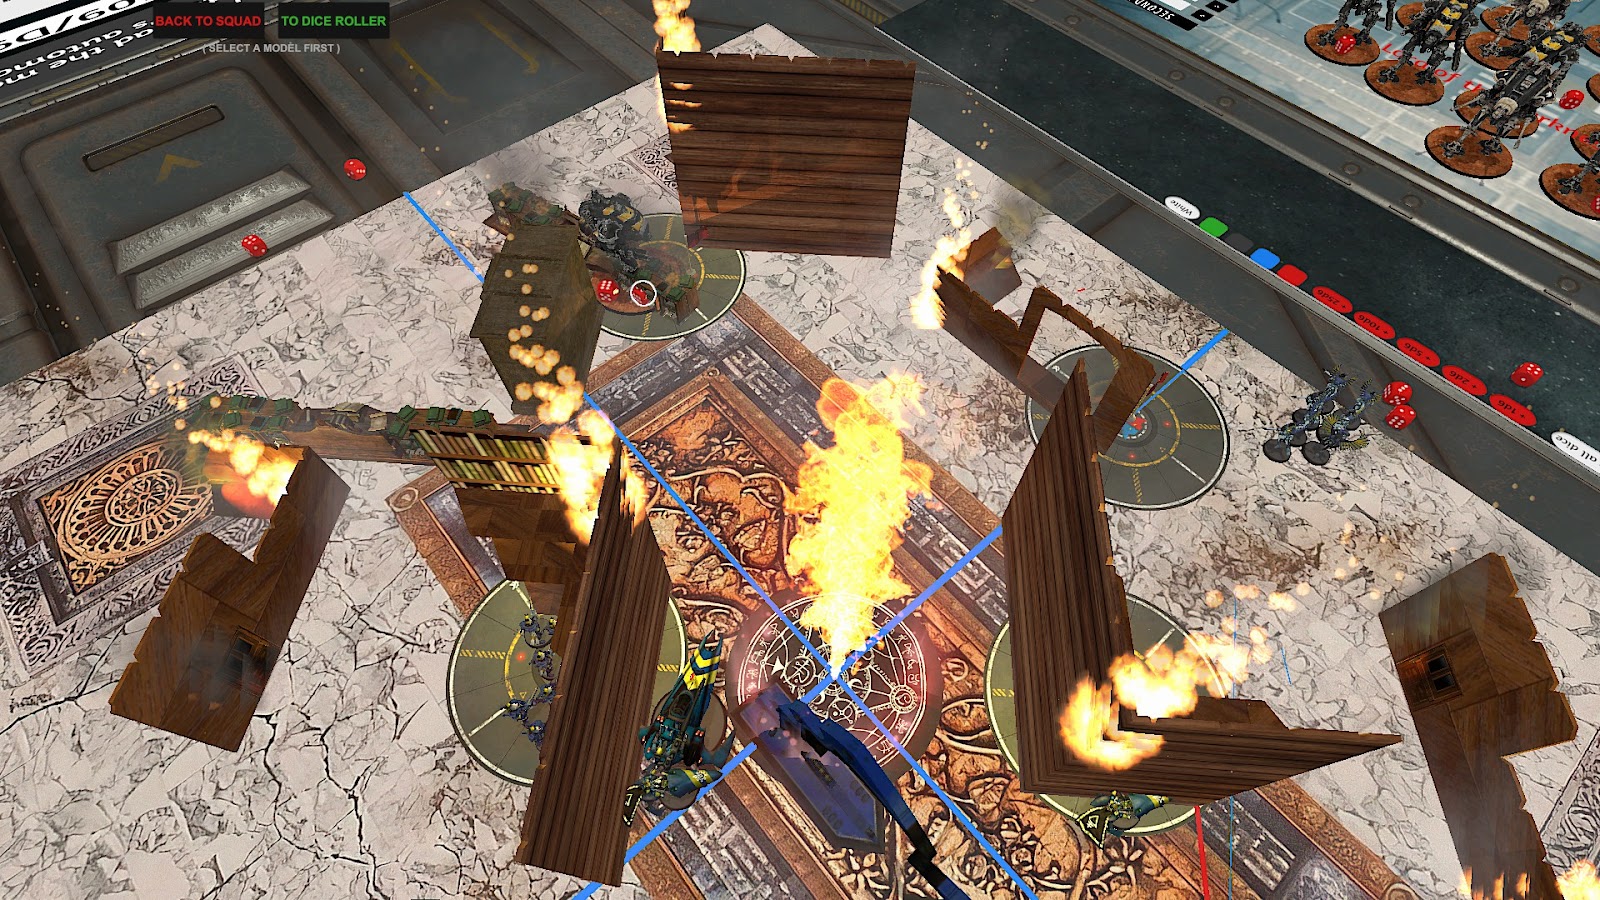
Deployment was pretty simple for both of us. Matt basically filled his deployment zone with big stompy boys, with a couple inevitably being exposed through sheer base size.

Amusingly, the nature of Matt’s army meant that by the time he’d finished deploying his 5 drops, I was yet to place a single unit of any importance. Sometimes it’s nice to have lots of chaff.

At
any rate, my deployment was extremely safe, with everything well and truly
hidden. No Turn 1 shots for you Matt!

Asuryani Turn 1, 29:10
With Turn 1, I was determined not to do anything too rash. No,
the shuriken cannon Windriders are not being exposed. Instead, I basically do
two things.
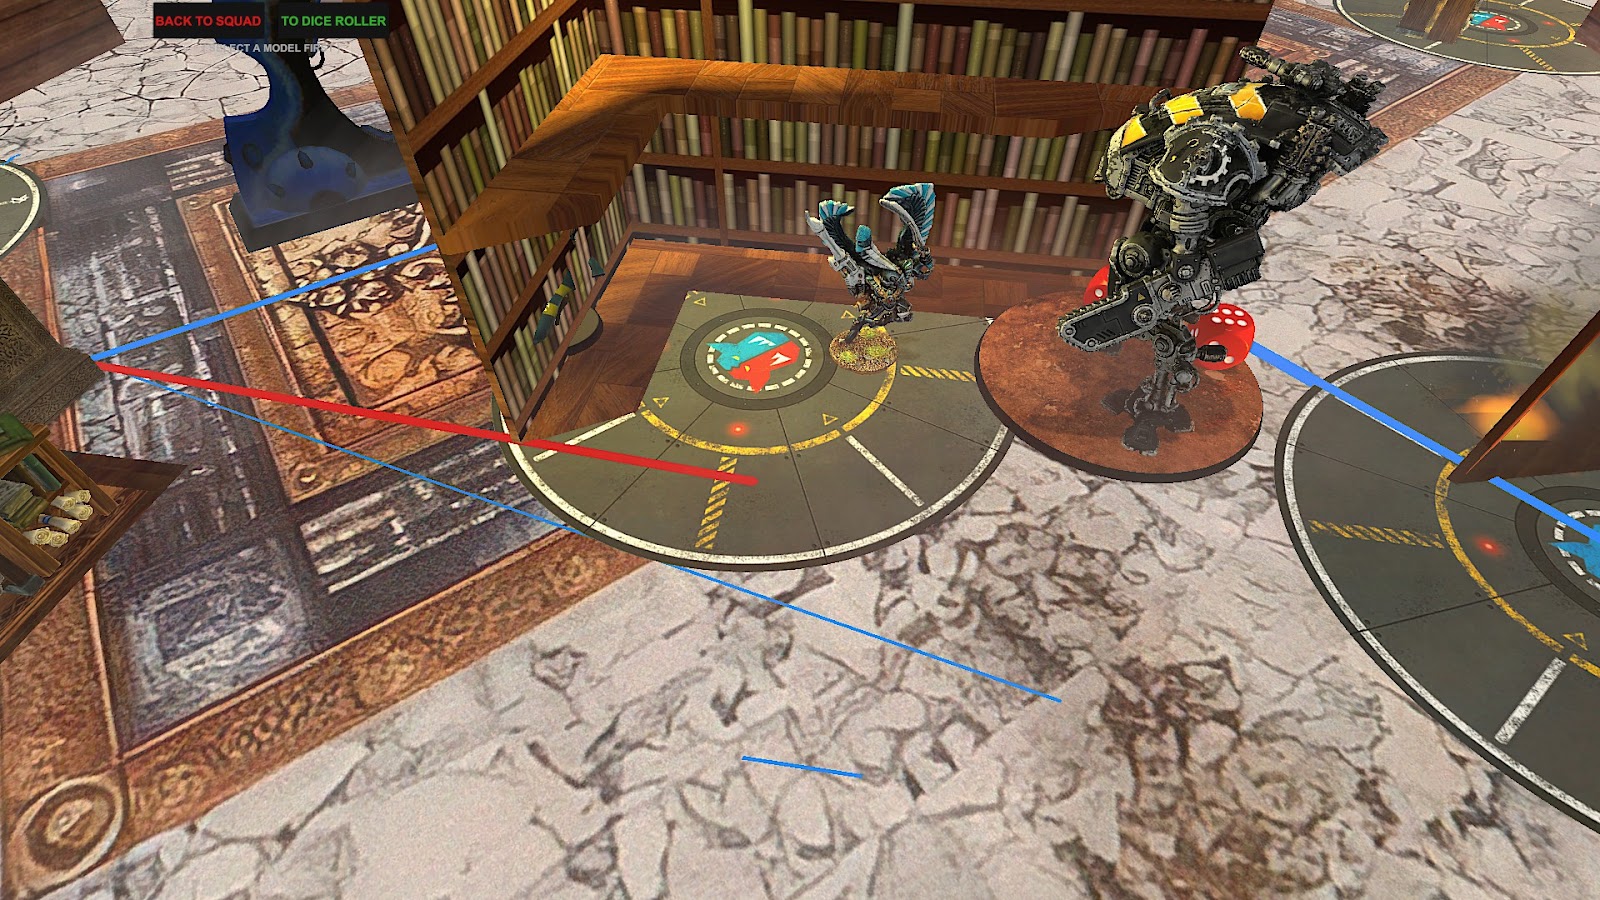
First, one small squad of Windriders is Quickened forward, where it joins with a Vyper to moveblock Matt totally into his deployment zone.

Careful measurement sees them placed so that none of Matt’s central Knights will be able to go anywhere, including onto my objectives.

It’s shockingly
astute of me, a trend that continues with the rest of my movement.
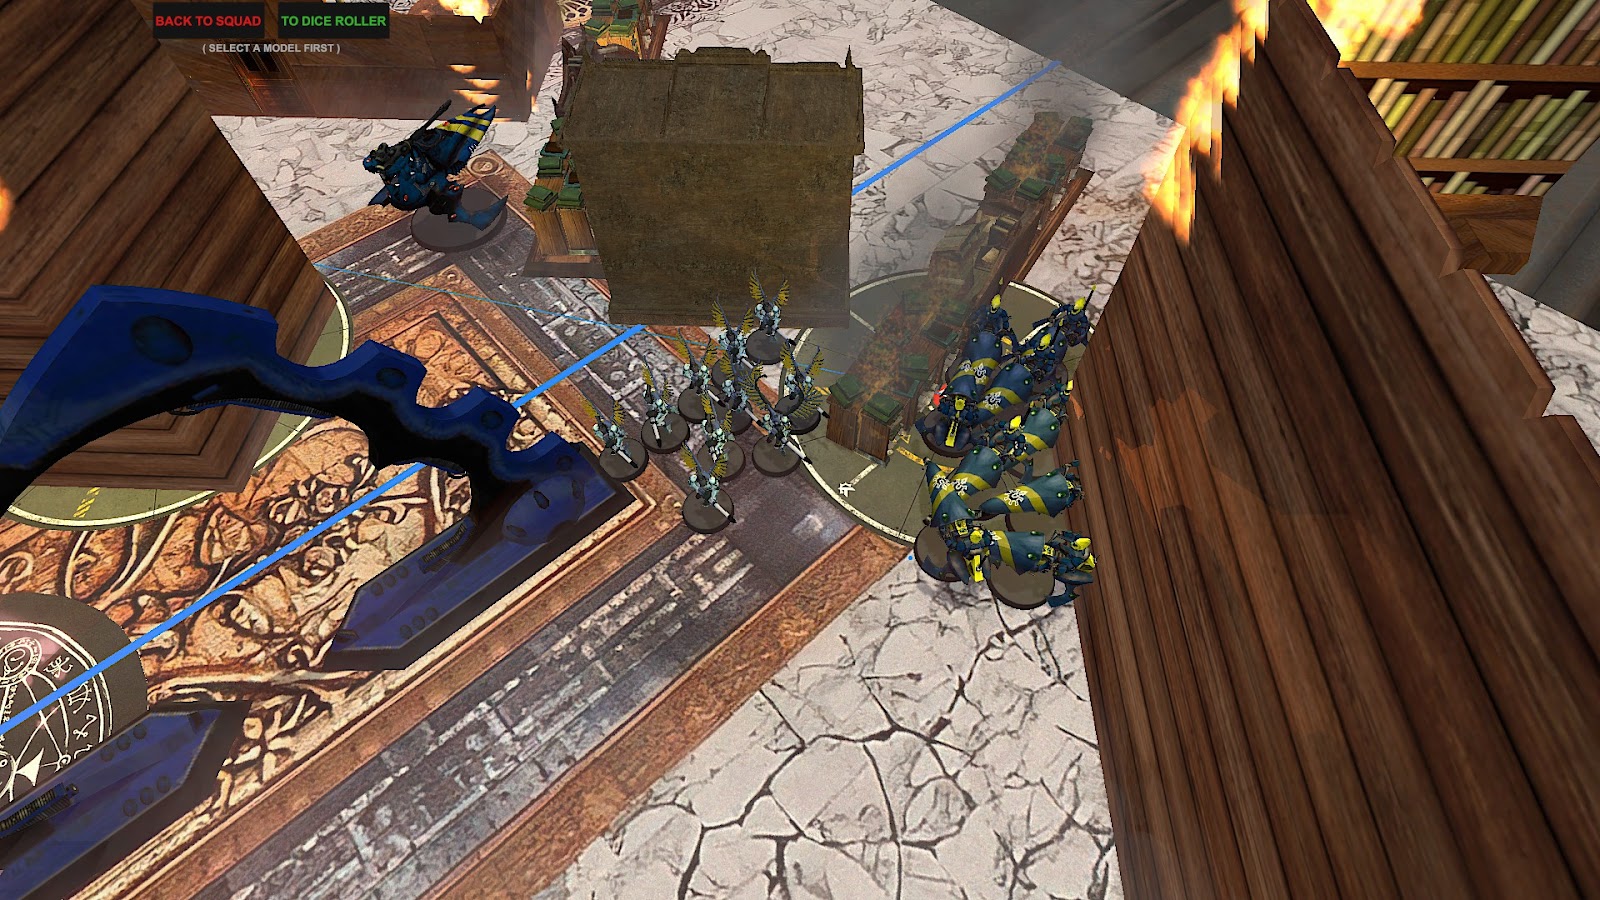
Out of cover come all the Hawks, Baharroth, and the big Windrider squad. Yes, I know I said I wasn’t going to do that, but it’s fine. Through the wonders of pre-measuring, I’m able to place everything such that it can fire, then use either Skyleap or Matchless Agility to return to safety behind my LoS blockers.

In fact, we work out that it’s possible for everything to be
>1” away from the walls, such that I can’t even be charged from the other
side. It’s unusually good play from me, and it means that these four units can
shoot, then disappear to be entirely safe from shooting and combat. I think I’m
starting to see why Asuryani are considered a high skill-ceiling army.
The net result of all that faffing about is that my Swooping
Hawks whittle down the Pyrothrone War Dog to 6 wounds, before my big Windrider
squad (buffed by Bladestorm and Guide) open up and destroy both it and
the Huntsman in front of it. I can see how this squad won Dallas for Nanavati!

Chaos Knights Turn 1, 29:10
Matt is pretty thrown off by this unexpected show of mental acuity from me. After lots of looking around for angles I’ve missed, he ends up deciding that there’s no way he can get Grind or Stranglehold this turn. He could push forward out of cover, but he’d still be largely stuck in his deployment zone for me to pick off at range. So in the end he settles for carefully measuring out angles to make sure my Windrider deathball won’t be able to kill anything without exposing itself, before blasting my Vyper and Windriders to death with incredible overkill. It was scary. I let him roll it, just for fun, and those chaff just died. Matt also starts Storm of Darkness on his forward objective from behind cover.

In hindsight, the play for Matt here was probably to use the ‘send two War Dogs into Strategic Reserve’ strat. It would have made his next turn much more effective for him, and much scarier for me. Alas, first games are like that.
Asuryani Turn 2, 43:10

Matt starts his turn by picking Encroaching Doom on the
Harbingers of Dread table, ensuring all his units get a larger Dread aura. He
hopes to combo off this to make all my Morale checks fraught, as well as doing
more nifty things in future turns.
Annoyingly, Matt has been pretty thorough about denying my Windriders any good angles this turn. Apparently I’m not the only one who can abuse LoS blockers! So the Windriders get to just hang out, waiting for a better opportunity next turn. Thankfully, I do still have some shenanigans I can get up to. The big unit of Hawks zips forward to Grenade Pack one of the Huntsmen for 4 mortal wounds, before peppering another to inflict 6 more damage thanks to Guide and Doom.

The other Hawks do a couple more damage, before the Bow of Kurnous Farseer uses two Fate Dice to blast it to pieces. Turns out this guy is legit! He then uses Matchless Agility to dart back into cover, while the Hawks Skyleap back to safety.

Baharroth does the same thing, after taking the
opportunity to punch a nearby Huntsmen for a few damage more.
Finally, we realise that Quicken also comes with a second
power, Restrain. And apparently, Restrain automatically cancels any action
being done by its target. So I Restrain Matt’s backfield Brigand to cancel
Storm of Darkness, and ensure he starts his turn with a zero on all
Secondaries. Good stuff.

I’ve also managed to position my units (and cast Will of
Asuryan) such that Matt would need 2-3 War Dogs on each of my central
objectives to flip them, which won’t be possible this turn. So it’s going to be
another turn of no Stranglehold for the Knights.

Chaos Knights Turn 2, 43:18

Matt is in an unenviable position this turn. He needs to
commit hard, or I’ll keep picking at him from a distance while denying him
Grind and Stranglehold. On the other hand, by committing he gives me the chance
to hit him hard before he can hit me. There’s no real choice though, so almost
every Knight goes surging forward, ready to rend and tear next turn. Matt does
make sure to keep his flanks screened though, so I can’t bring in my Strategic
Reserves anywhere on his side. Boo.


The only other bit of excitement is that Matt attempts to
use Ravenous Pterrorshades on my small Swooping Hawks squad to prevent them
reliably Retrieving Nachmund on future turns. He inflicts a mortal wound, which
I take on my Exarch. Matt is really feeling flush with CPs right now, so it
seemed worth a shot.

Asuryani Turn 3, 62:18

The field is now flush with targets, and I have my reserves
to bring in. Excellent. Matt does pick Pall of Darkness to give him -1 to be
hit from >12” away, but thankfully I’m going to be getting up close and
personal this turn anyway.
That starts on the right flank, where I bring in 10 Guardians and 10 Dire Avengers to blow away one War Dog, while the big Windrider squad positions to destroy another before using Matchless Agility to jump back to safety.

That goes unsurprisingly well, and Matt is down two War
Dogs.
In the centre, my Hawks do their Grenade shenanigans and blast down another damaged Huntsman.

The one standing in the Webway Gate is shot up by my Shining Spears, then torn apart by a shuriken volley from the small Dire Avengers squad.

Matt uses Spiteful Demise to automatically explode, damaging another War Dog but killing a number of nearby Aspect Warriors.

The rest of my shooting nearby whittles down the two remaining exposed Dogs so badly that I end up choosing not to fire with my vehicles to make sure the Shining Spears can make their charge.

Charge they do, killing another Huntsman, who uses Spiteful Demise again to kill a Spear, wound Baharroth twice and kill the nearby Brigand into the bargain! It’s a pretty cataclysmic turn of events, and for a second we both think that it’s left Baharroth stranded and ready to die.

Thankfully, it turns out you can still consolidate even if the stuff
you’re in combat with dies, so he gets to flit back to safety.
Finally, the Howling Banshees and central Avengers charge through Matt’s LoS blocker, using Will of Asuryan to flip the objective and tie up two Brigands. They also do enough damage to reduce one to a single wound, which is nice.
At the end of the turn, I’ve killed a whopping 6 War Dogs
and basically crippled Matt’s army. There are two left in the centre, tied up
by my Banshees, and another two on the far right flank with a relatively
limited set of targets. They’ll definitely be able to shoot at stuff, but the
really juicy targets like my Windrider bomb are nice and safe on the right
flank.
Also, I would have scored 12 points on Bring it Down this
turn, if I hadn’t hit the cap at 9. Hail of Doom is crazy stuff.
Chaos Knights Turn 3, 62:25

To add insult to injury, Matt gets a 4 on Primary. At least
his Storm of Darkness on the back objective gets to go off this turn, so he’ll
gets 3 points on that Secondary.
We contemplate calling the game here, but decide to play it out just to see what the remaining War Dogs can do. As it turns out, it’s a surprising amount. The two that are tied up by the Banshees and Avengers blast away in combat, wiping out their opponents.

The Shining Spears are absolutely
obliterated by the meltas of the last Huntsman, and the final Brigand on the
right flank is able to peek around the corner at a veritable cornucopia of
targets. It effortlessly evaporates a War Walker with its daemonbreath spear, before
gunning down 4 Swooping Hawks with its chaincannon.

It's honestly a pretty impressive display, making me glad I’ve hid from it like a coward all game. It still distinctly won’t be enough, but that’s to be expected when you lose ~ 1000 points on the previous turn.

Asuryani Turn 4, 78:25
My turn is pretty simple. I begin to advance on the right
flank, using the massed Guardians, Dire Avengers and Windriders to gun down the
remaining two War Dogs in the centre. The small squad of Swooping Hawks also
Retrieves Nachmund, despite needing to roll under a 4 to do so. That just felt
mean, to be honest.

The one thing that does go Matt’s way on this flank is that
he uses Spiteful Demise to explode the first War Dog, allowing him to bring
Baharroth down to one wound and kill the other Brigand before Baharroth gets a
chance to shoot. This time Baharroth is properly stranded, ready to die next
turn. Damn.
Finally, the Bow of Kurnous Farseer leads the Swooping Hawks and Dire Avengers in making use of Guide and Doom to obliterate the last Brigand. That leaves Matt with one Huntsman left, ready for a final tilt.
Chaos Knights Turn 4, 78:25
All Matt can do is fling the Huntsman forward, using Daemonic Surge to get the movement to draw a bead on Baharroth. He blasts him with all the meltas, hitting and wounding 3 times, but I have a trio of Fate Dice saved just for the occasion.

The Huntsman makes the charge though, and
uses Reap and Rend to smash me with 12 attacks. He does the final wound, killing
the Phoenix Lord, only for me to use Phoenix Reborn and roll a 4. Baharroth
stands back up, and it’s the final capstone on a brutal game.
Asuryani Turn 5, 97:25
I score RND and hold all the objectives, and the Huntsman
dies. And this time, I remember to stand more than 6” away when it does.

The Asuryani win a comprehensive 97:25!

Post-Game Analysis
Well, that was pretty brutal. That’s probably the most
one-sided game I’ve had since I played Light Voidweavers!

The first two turns really demonstrated two things: the continuing
weakness of Knights to being move-blocked, and the unparalleled capacity of
Asuryani lists to do damage while committing nothing. I was definitely helped
in this by the terrain, as the big ruins were perfect for the jump-shoot-jump
plan I was aiming for. I can definitely imagine it being applicable on lots of
other maps too though, now that I’m getting a bit better at using it.
The terrain also did no favours to Matt. Being able to
totally pin him in Turn 1 by committing 100 points of chaff was a massive
swing, and it really made me feel grateful to have Quicken along. Move-blocking has always
been a problem with Knights, and the new Codex hasn’t really changed that. Probably
the only thing Matt could have done to avoid it (aside from using Hunting
Hounds to jump into Strategic Reserve, as discussed earlier) would have been to
play Ravenous Pterrorshades in my Morale phase. If he’d rolled well he could
have killed one Windrider, which would have been enough to let some Knights
move up and claim the middle. Combine that with Hunting Hounds and I would have
been under pressure Turn 2, instead of being able to comfortably chip away for
another turn.

On the flipside, maybe I would have just killed those
Knights even faster. Because the other takeaway from this game is that Hail of
Doom is properly, totally busted. I killed 6 War Dogs in a turn, and had to
actively stop shooting because I ran out of viable targets. That’s bizarre, and
probably shouldn’t exist in the game.

Compare this picture...
Speaking of damage output, the positive aspect of the whole
battle report is that the new Chaos Knights really did kill everything they
could see. I basically exposed 6 units all game, and all six of them died.
Well, Baharroth stood back up, but he definitely died. The reliability of the
House Vextrix meltas was terrifying, and I could imagine it ripping through
something like a Tyranids list. I think a build like this one has real legs,
and could be a proper terror in the metagame. Just, not against Asuryani.
They’re on another level entirely.

I hope you enjoyed this first report with the new Chaos
Knights! They didn’t get much of a chance to show off this game, but don’t
worry, because next week I’ll be taking a similar list up against the horrors
of Hive Fleet Behemoth. Mild spoiler: it's a lot closer than this game. Let me know below what you thought of the report, and how
you think Chaos Knights will fare in the broader meta.
Until next time, may your Phoenix Lords always stand up after being killed!
As someone that picked up chaos knights to get back into the game, this was sobering reading
ReplyDeleteOn the plus side, at least their next report went well! I think Hail of Doom Eldar is just an especially bad matchup for Knights, to be honest
Delete