
Pre-nerf Harlequins v Tyranids, a battle for the ages
After finally losing a game with my Harlequins in the last report, I was determined for a rematch. After all, those bugs were good, but I was playing Voidweavers. Those things just aren’t playing the same game as everyone else. There was no way that last game was anything other than an aberrant blip of bad luck, and clearly I’d wipe the floor with the ‘Nids on the rematch. Right? Owen wasn’t as convinced, and brought along a nasty Hive Fleet Behemoth list packed full of scary monsters. Can the Harlequins outrun the stompy Carnifexes, or will I pay for my hubris with a second humbling defeat? This bit was written before the game, so I really hope it’s the latter, but read on and we’ll find out!
Harlequins List

One final ride of the Voidweavers
Light Saedath Battalion
Troupe Master (Foot in the Future/Player of the Light/Cegorach’s Rose,
with fusion pistol) 90
Shadowseer (Webway Dance/Veil of
Tears, The Shadow Stone, Mirror Architect) 125
Death Jester (Harvester of Torment/Favour of Cegoach/Laughing God’s Eye)
70
Solitaire 110
5*5 Troupes, 4 squads with 2 Fusion Guns and a Neuro Disruptor, one
without the Disruptor 395
5 Starweavers 400
3*3 Voidweavers 810
Total: 2000 points
I have changed literally nothing about this build, because I think it’s basically perfect. I can see the argument for swapping a Starweaver for another Troupe, or a couple of Starweavers to bring some beefy foot Troupes instead. On the other hand, the Starweavers are amazing, so why would I drop them? Until the meta adapts or that balance dataslate hits home, this is my personal pick for best list in the game. Edit: Well, this comment actually aged excellently. For next time I'll need to actually innovate, but for this game I get to live the dream.
Hive Fleet Behemoth

What about if monsters, but ObSec?
Patrol
Hive Tyrant with Direct Guidance, heavy venom cannon and
Shardgullet 190
Neurothrope with Synaptic Tendrils 100
3 Tyrant Guard 120
3 Warriors with deathspitters and dual boneswords 75
3 Zoanthropes 150
Maleceptor 170
Patrol
Winged Hive Tyrant with Reaper of Obliterax and lashwhip 190
3 Warriors with deathspitters and dual boneswords 75
3 Venomthropes 105
2 Harpies with heavy venom cannons 340
3 Carnifexes with heavy venom cannon, scything talons and
enhanced senses 360
1 Carnifex with heavy venom cannon, scything talons and
enhanced senses 120
Mawloc 125
Total: 2000
After last week’s somewhat disappointing outing from the big
Warrior blobs, they’ve been shelved in favour of their big brothers. That’s
right, it’s Carnifex time! Owen is super excited to try out the ‘Fexes en
masse, especially as the big blob of three makes for a good To the Last target.
Sure, it’s only three VPs instead of 5, but it’s vastly more resilient than any
other third choice in this book. The list is run as Behemoth for access to Lurk
Biomorphology, principally to switch on ObSec for monsters in matchups like
this one where it’s important. That choice makes the Mawloc a theoretically
excellent Primary disruption model that’s great for ticking off Stranglehold on
a key turn as well as threatening a bunch of mortal wounds. It also makes the
Winged Hive Tyrant more appealing than a second Walkrant, so in it goes with
some Tyrant Guard for Bodyguard abuse. Otherwise, the list is relatively
unchanged, ready to stomp around and nuke some ‘Quins!
Mission and Secondaries

Three LoS blockers per deployment zone, great stuff
This time around we’re playing Recover the Relics on a
beautiful snowy board. The mission likely favours me a little, as it’ll be
easier for me to threaten inside Owen’s ruins than for him to threaten into
mine. Killing his units is likely to be harder than killing mine though, so
it’s definitely not a free win for either of us.

Harlequins taking a very early lead!
For Secondaries, we each picked To the Last, as our lists
are designed for that. I supplemented it with Bring it Down, which seems pretty
doable to score highly on here, and Engage on All Fronts. I personally am of
the opinion that Stranglehold is better in almost all matchups, but I’ve been
meaning to give Engage more of a go, and this matchup is about as hostile to
Stranglehold as it’s possible to get. Speaking of Stranglehold, Owen mashed
that button pretty hard with his 8 ObSec monsters and plan to run up the board
and kill me anyway. He also opted for Warp Ritual, which has been a very
reliable 12 points for the Tyranids every time either of us have played them.
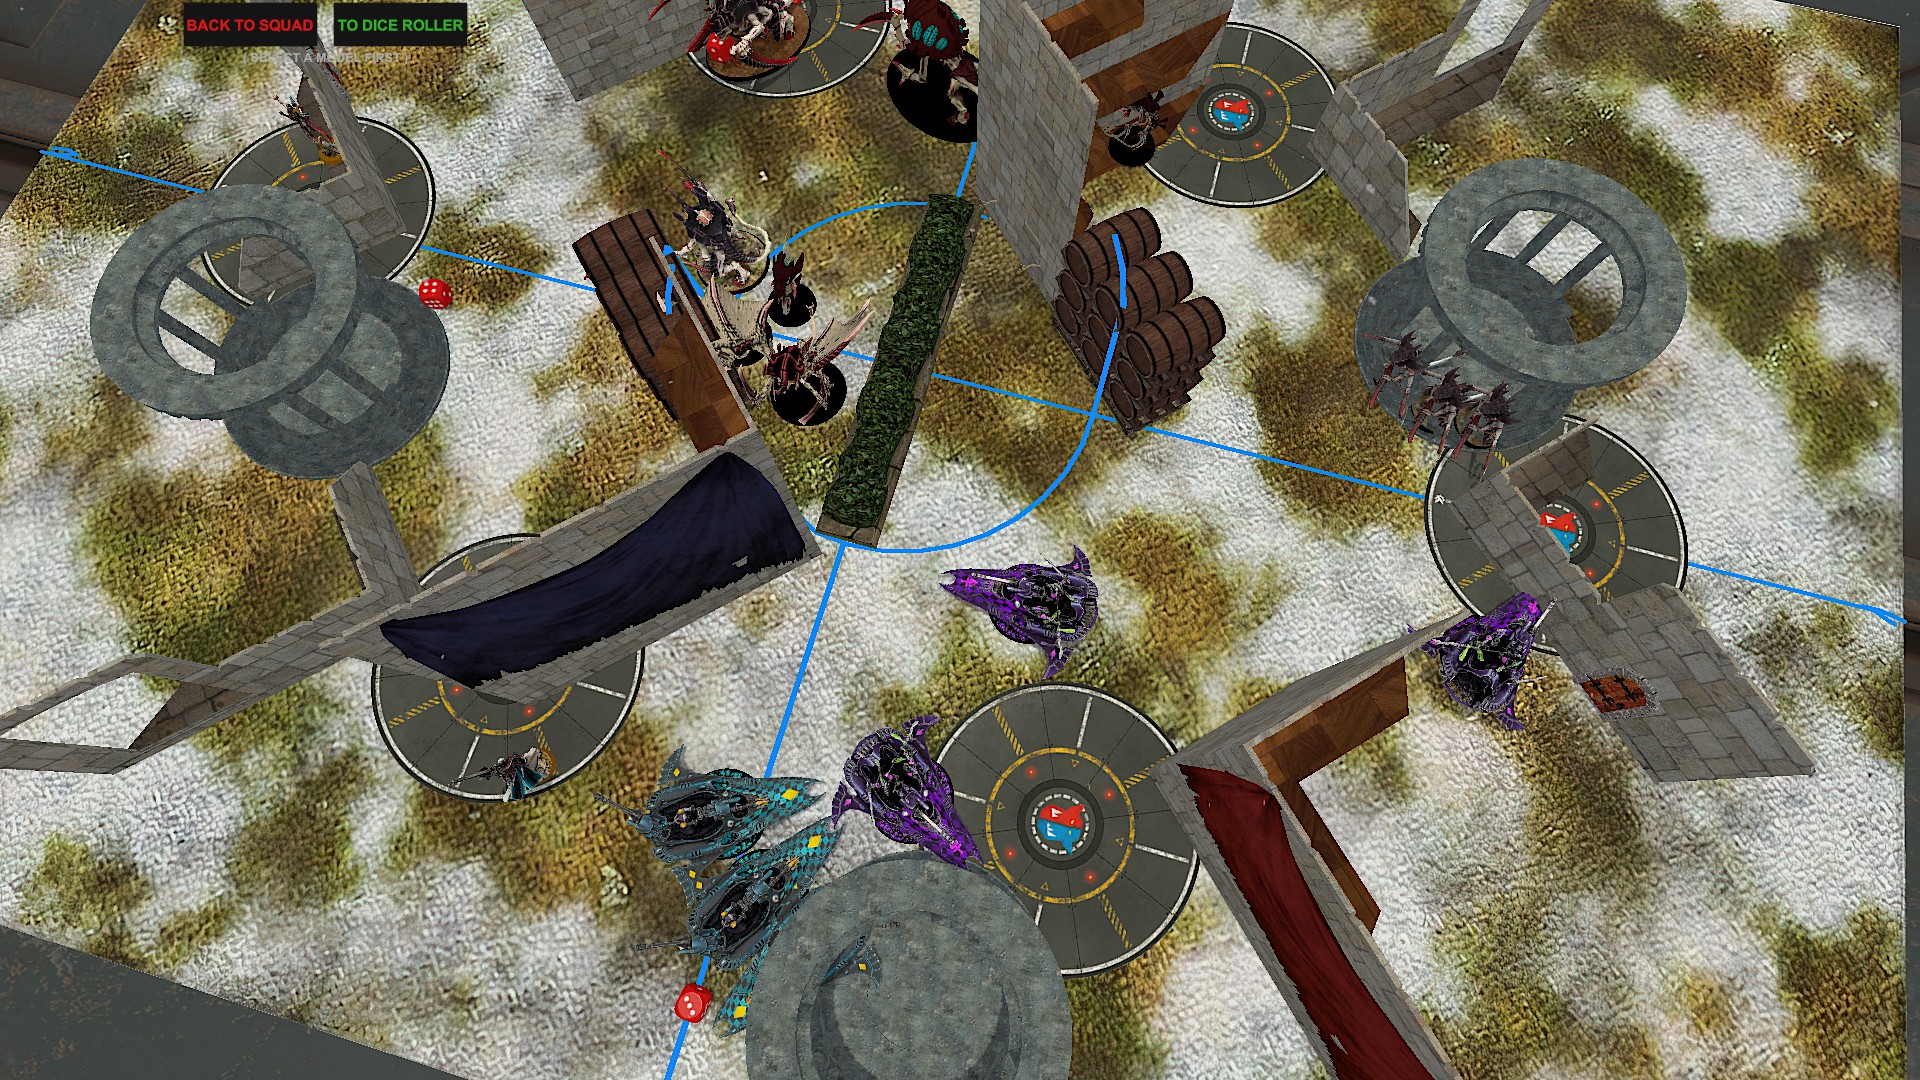
Deployment
With plenty of good terrain to hide behind and all the speed in the world, I went for an extremely defensive deployment. After last time I’m not keen on letting those Harpies get me!

Deployment will be even easier once I'm starting with three less boats!
Owen couldn’t hide a lot of his
monsters, so the two Tyrants and several ‘Fexes are out in the open, while one
Harpy is hidden and the other is floating ominously in the backfield. The
Neurothrope, of course, is ready to jump into the centre and start that Warp
Ritual tally.

Tyranid Turn 1, 29:25
Neither of us wanted to go first this game, so it’s with a sigh of relief that I see Owen’s six. He’s grateful to take advantage of the larger ruin just outside his deployment zone, but can’t roll high enough on his Neurothrope’s advance roll to start the Warp Ritual from inside cover. He has a choice between committing something to protect it or not picking up his first Ritual points this turn, and ends up deciding to commit a Carnifex to try and tempt me out of cover. In hindsight, it would probably have been difficult for me to make the Neurothrope the closest target without massively over-committing, so the Carnifex could probably have stayed in cover a little more.

Bugs storm forward, with only one Carnifex properly exposed
At any rate, I’d carelessly left a space where the Neurothrope could Warp
Ritual without risking a Deny attempt, so Owen scored his first three points on
that Secondary. I didn’t feel too bad though, given that he rolled an 11. My
Shadowseer is not up to that kind of Deny attempt!

Harlequin Turn 1, 29:30
I move cautiously out of cover on my turn, with two Voidweaver squads in position to obliterate the Carnifex and the third drawing a bead on the backfield Harpy. If I can reduce it below half wounds, then it won’t be able to bomb me in the following turn and I’ll have a turn of grace before I have to start picking up Voidweavers en masse.

Voidweavers draw LoS on their biggest threat
A lone Starweaver also darts
forward to tick off Engage, having disgorged its contents safely behind a wall.
Everything also makes sure to be carefully >6” away from the Mawloc’s arrive
site; this army doesn’t like mortal wounds!
I actually forget my Psychic Phase initially, starting shooting before Owen kindly reminds me. Thankfully there’s no need for any great adjustments to the game state, as the Shadowseer predictably fails to cast Webway Dance. Shooting goes better, with the Harpy being reduced to 4 wounds and the Carnifex being obliterated.

The first Carnifex is immediately taken off the board
Even the sneaky Death Jester manages
to chip 4 wounds onto the Neurothrope, threatening a swift death if it leaves
cover again.
Tyranid Turn 2, 46-29

Scoreline starting strong with Tyranids
Owen starts his turn by using a stratagem to heal his Harpy
D3 wounds. With a clutch roll of a 3, he manages to push it back to its top
bracket, ready to bomb my Voidweavers with aplomb. Oh dear.

Oh no. This isn't going to go well
The combination of Harpy bombing, a Zoanthrope super-smite and massed heavy venom cannons spike hard, overwhelming my Luck rerolls and obliterating the entirety of a Voidweaver squad. That’s one of my To the Last targets gone already!

Harpy swoops in to deal some brutal damage

Hive Tyrant, Carnifex and Harpies make me really regret every failed save

Casualties this turn. That feels pretty backbreaking already
The Mawloc pops up to flip my backfield objective with ObSec, while the Maleceptor strides around cover to obliterate my sacrificial Starweaver with a torrent of mortal wounds.

The Starweaver melts, but at least the Voidweavers don't get Maleceptor'ed as well
Elsewhere, the rest of Owen’s monsters move out to play, while Warp Ritual again goes off without a hitch.

That's a lot of big bugs out in the open
The
Winged Hive Tyrant charges a Starweaver, forcing me to spend a CP on the Light
stratagem and leave the objective in order to avoid being obliterated. The
Tyrant’s charge now impossible, it simply disappears from the battlefield with
Encircle the Prey. Great.
Harlequins Turn 2, 46:37

Not the scoreline I wanted to be seeing this early
Well, that didn’t go well. I know that on this turn I have to
take out both of those damned Harpies, as well as the Mawloc. If I can do that
then Owen’s mobility will be severely reduced and I can start whittling away at
his score lead in the second half of the game. To that end three Starweavers
converge on the Mawloc to obliterate it, while the Voidweavers move into
position to target either Harpy. The final Starweaver flits across the halfway
mark to score me Engage again, as well as placing the Troupe inside in a
position to unleash some Fusion upon the nearby Harpy. I do make one critical
positioning mistake, however: my disembarked Troupe move off the left objective
to get some more Fusion into the Mawloc and take cover behind the building. I
didn’t want to sit on the objective and risk giving Owen extra movement for
charging them, but in hindsight this was the wrong call. They were
realistically going to die to psychic powers before we even got near the charge
phase anyway, and if they’d been on the objective then I would have denied Owen
four Primary at the start of his turn. I’d also have gotten more guns into the
Harpy, who was actually the highest priority target on the board.

If only that Troupe had been three inches towards the Harpy this game could have been so different
Things start shockingly well, with the Shadowseer successfully casting Webway Dance and the Neurothrope failing to Deny it! Of course, that spell successfully translates into a single saved wound over the following turn, but it’s more than I normally expect of this guy’s casting.

He cast a spell! He actually cast a spell!
This is followed up by my Fusion Boats calmly detonating the Mawloc, while the uninjured Harpy is gunned down by my back Voidweaver squad and the Death Jester’s shooting.

Mawloc has a very disappointing first outing
Alas, the other squad of Voidweavers absolutely choke
against the damaged Harpy, and even with the rest of the Starweavers joining in
I’m unable to get past its 4++/5+++ to bring it down. Why do these things
refuse to die?

Two big bugs gone, but that Harpy is still alive! Aaaaargh!
Overall, this turn was still a pretty good one, but I knew
that whiffing on that Harpy was going to hurt next turn.
Tyranid Turn 3, 68:37

Would have been really nice to stop Owen getting a 12 this turn, but we live and learn
Things start badly for me, doubles on my Luck dice meaning I’d be struggling to reroll much this turn. Even worse, the injured Harpy moves over another Voidweaver squad and inflicts 9 mortal wounds, of which my 5+++ against mortals only saves 2! That result is fully double what the maths predicts, but Harpies are blessed creatures and laugh in the face of mere probability.

I hate them! They're so mean!

My 5+++ against mortals is paying for itself already
Elsewhere, two small squads of Spore Mines that had been dropped
off by the other Harpy roll high on their advance rolls and proceed to destroy
the upper-right Starweaver utterly, exposing its contents to the nearby
Warriors and Carnifex. Thankfully they manage to survive what shooting and
psychic is directed at them, before using Lightning Fast Reactions to laugh off
the Warriors and Carnifex in combat. Owen still holds the point through having
more ObSec models than me, but two surviving clowns can do a lot of damage.

Maleceptor blessedly out of range of my boats
Elsewhere the psychic bombardment is devastating, destroying another Voidweaver and the mis-positioned Troupe.

Zoanthropes nuke another Voidweaver
The rest of Owen’s shooting manage to reduce the last Voidweaver in that squad to 2 wounds remaining, but can’t quite secure the kill.

Voidweaver count: 4
The Harpy declares a charge at both my remaining Voidweaver squads, hoping to tie me up in combat, but I respond by using Capricious Reflections to run away with the lone Voidweaver while firing Overwatch with the large squadron. A pair of Prism Cannon hits later and the Harpy is nothing but a smoking pair of wings, leaving both of us bemused and unsure what had just happened. Turns out all I needed to do to kill the Harpies is roll sixes!

Harlequin shooting is strong, but man it is swingy
Finally, the Winged Hive Tyrant had landed within 3” of the
Tyrant Guard. It declares a 9” charge on the same Starweaver as last time but can’t
get the numbers it needed, so it gets to just sit there ominously to strike
next turn. The Tyranids are thoroughly dominating the board at this point, but
there were more Harlequins left than either of us had expected at the start of
that turn.
Harlequins Turn 3, 68:52

Surviving 'Quins move to strike back. Note the poorly-positioned final Voidweaver in the back
With the Harpy dead I had a few more options this turn. My Solitaire and Troupe Master both zoom over to the right flank, ready to pounce on the Carnifex and Warriors and rescue the beleaguered remains of the Troupe.
Harlequin murder characters move in to save the Troupe
Two more Fusion Boats accompany them, while the Voidweavers back off even
further to try and wipe out the Zoanthrope squad. Owen hadn’t moved his
Venomthropes last turn in order to use their special stratagem and boost the
range of their -1 to hit aura. As a result, the Zoanthropes are the only models
on his right objective, something which I hoped to punish him for. Finally, a
lone Troupe squad heroically charges into both the Carnifex and Maleceptor over
on the left objective. Some clever combat positioning and just enough
successful saves saw both monsters tied up in combat and the objective in my
hands!

Absolute heroes of the Black Library
The big Voidweaver squad uses Bladestorm to utterly obliterate the Zoanthropes, stripping another 4 Primary points from Owen, while the Troupe Master, Troupe and Solitaire manage to wipe both the Warrior and the Carnifex on the right even after Owen gave -1 damage to the Warriors.

Voidweavers show off why they deserved their nerf

No more Warriors, no more Carnifex!
This is a
massive swing, removing almost all of Owen’s materiel on this flank even as his
right flank is tied up and helpless. I’m still a long way behind on points, but
if the ‘Nids can’t strike hard this turn I can start to pull it back.
Tyranids Turn 4, 78:47

Points lead slowing narrowing
Owen shouldn’t have actually received a CP this turn, as the
only objective he was holding was in his deployment zone. We missed this in the
excitement of the game, and it honestly may have made a difference overall.

5 monsters left, but only one of them is especially fast. Can I do this?
The big problem for Owen is that he needs to keep pressuring my backfield Voidweaver clump while wiping out my melee characters over on his left objective, and the Maleceptor and two Carnifexes are effectively blocked off from helping with either problem. Owen starts off by peeking the Walkrant around the edge of the building to try and take out my last Voidweaver from the damaged squadron. I had foolishly exposed it for no real benefit last turn, and the Tyrant promptly detonates it with Shardgullet.

Unfortunately I can't escape my bad decisions forever
The last surviving Tyrant
Guard, having lost his friends to Starweaver fire last turn, hides behind a
building to provide cover to the offending Tyrant, while the backfield Warriors
step out of cover to try and blast my Troupe Master.
On Owen’s left flank, the Winged Hive Tyrant charges into
both the Troupe Master and Solitaire after a hail of Smites blasted away the
last of the Troupe and reduced the Troupe Master to 3 wounds. Using Trampling
Charge, the Tyrant will kill the Troupe Master with impact hits if it rolled
anything above a 1. Of course, a statement like that is just asking for
trouble.

You may think this was a 1/6 chance, but it's actually a 6/6 once you take into account Murphy's Law
That leaves the Flyrant in a spot of potential bother, but it
pulls it through like an absolute champ. It allocates 3 Reaper attacks to the
Troupe Master, wounding with all three of them. That’s not unlikely with all
the bonuses to wound and rerolls going on, and the resulting mortals see the
Troupe Master disappear utterly. The two remaining attacks then hit and wound
the Solitaire, who has to pass both to survive. He has a 3++ and two Luck rerolls
though, so I’m pretty confident. Naturally, he fails them both, rerolls them
and fails one again. Ouch.

Goodbye Solitaire, goodbye Troupe Master
With both of my murder characters dead, the Flyrant is free
to use Overrun to flit back to the protection of the lone Tyrant Guard.
Elsewhere, the Maleceptor absolutely nukes the two Players that had tied it up
and flipped the objective, but they’d done their duty many times over already.
By keeping those monsters tied up in combat during the Movement Phase I’d hopefully
bought myself a turn of relief from the Maleceptor obliterating my models.

R.I.P these Players, they fought well
This turn was pretty brutal, and went much worse than I’d
expected. If I still had the Solitaire I’d be feeling like this game was
absolutely winnable, but without him it’s going to come down to the wire.

Harlequins Turn 4, 78:59

Scoreline still looking bad, but remember that the 'Quins are going second and so should get a 12 on Turn 5
I start by turn by pivoting my models hard to the right
flank, trying to stay out of Owen’s reach while dealing as much damage as
possible. We once again forget about the Nachmund change to Engage, with the
Shadowseer being the lone model heading left to tick it off. It wouldn’t have
been a big deal to zoom a Starweaver into that quarter instead, but that may
have negatively impacted me elsewhere had we remembered.
Harlequins now mostly hanging out in the Tyranid board half. I love how fast this army moves
At any rate, one of the Starweavers speeds onto Owen’s back objective, where the combination of Fusion Pistol and Shuriken Cannon fire (as well as the Death Jester) blast apart the Warriors defending it. Owen is really regretting moving them out into the open now!

I'm glad I wasn't the only one who cheaply gave away a critical unit
Elsewhere the rest of my
Starweavers and the other embarked Troupe kill the final Tyrant Guard, allowing
the Voidweavers to reduce the Flyrant to 2 wounds remaining. So close, and yet
so far!

Voidweavers go hard, but not quite hard enough
Tyranids Turn 5, 92:59

That scoreline is not feeling great, but I've still hopefully got my Primary 12 to fall back on
Owen starts his turn with an absolute fluke. The final squad of Spore Mines, hidden behind a building since Turn 2 and entirely forgotten about, float ominously over the wall and one-shot my uninjured Starweaver full of Players. These Harpies are killing my stuff even from beyond the grave!

I absolutely forgot about those Spore Mines, and I'm about to pay the price
The
crippled Flyrant manages to regenerate two wounds with Owen’s last CP, letting
it use Onslaught to close the gap to my Shadowseer. A successful charge sees it
easily obliterate the psyker (good riddance!) and get into cover behind the
wall.

I can see no way this could go badly for me

Maybe this is how
Elsewhere, the Maleceptor rolls a six on its advance roll to get close to the disembarked Troupe and vaporises them with a massive super-Smite. The remaining Starweaver barely survives on a single wound, before being taken out by the Neurothrope’s own Smite. These Tyranid brain bugs are so brutal!

As ever, the Maleceptor makes me cry
The Venomthropes attempt to charge onto Owen’s backfield objective to kill my last Starweaver, but they fail their 7” charge without a reroll.

Sometimes the 50/50 rolls go your way, sometimes they don't
Finally,
the two Carnifexes open up but can’t push any damage through, while the
Walkrant puts down one last Voidweaver to try and limit my output next turn.
At the end of Owen’s turn he is way ahead on points, but I’m
hopeful that I can pull it back if I can down a couple of his TtL targets.

Harlequins Turn 5, 84:80

3 boats left on the field, ready to wreck some final havoc
Determined to avenge my Shadowseer, the Voidweavers speed
into my backfield to target the wounded Flyrant. A hail of Prism Cannon and
Shuriken fire finally put down the irritating monster to claw five points back
from Owen. The Voidweavers have to leave their objective to get the angle they
need, but I think I can probably secure Hold More even without it.

The final vengeance of the Voidweavers
My final Troupe backflip across the battlefield and onto Owen’s back-left objective, vaporising the Carnifex defending it in a deadly volley of Fusion fire.

As ever, the Troupes pull through for me
My Starweaver chips a couple of wounds onto the wounded Carnifex, before the Death Jester steps up to the plate and put a shuriken right into the beast’s under-sized brain.

This play would not have worked as well today as it did last week
With its death the battle is over. We’d each absolutely obliterated each other’s armies, with only five points apiece for To the Last still on the board.

A very empty board with two shattered armies
But in the end, the Tyranids take
the win by a narrow margin of 84:80!

So close! So close and yet so far!
Post-Game Analysis
Wow, that was brutal. Each of us were down to 4 units, with
at least ¾ of our lists totally wiped off the field. Once again, I’d thought
I’d lost after the first three turns, losing 5 Voidweavers felt too much to
come back from. But once again, the mobility and durability of the Harlequins
meant I could take it to the wire, even after copping a massive beating. All it
would have taken would be a couple of slightly different decisions (perhaps
leaving that Troupe on the objective to deny Owen 4 Primary points, or hiding
my injured Voidweaver on Turn 3, or positioning so I could get slightly more
firepower into the injured Harpy on Turn 2) and the game becomes a draw or
close win. Of course, there were also plenty of other decisions that Owen made
that could have allowed him to regain that lead, which just goes to prove that
counterfactuals are hard and post-game analysis is a sham. Just blame the loss
on the dice and move on.
One of the obvious changes I’d make going into this matchup
again is to fix up my Secondaries. Of the three, I was only happy with Bring it
Down. Engage did fine, but I had to throw away units to trigger it several
times and it still only got me 10 points. Looking at the board, Stranglehold
would have gotten me 12 even without actively playing for it, and I wouldn’t
have had to throw away those two Starweavers that basically just got tossed out
to score Engage. Another slam-dunk improvement would have been to drop To the
Last. Tyranids, at least as they’ve been built here, are way too good at
killing Voidweavers for it to have been viable, and A Deadly Performance would
have been a pretty easy 9-12 points without much effort. That’s much safer than
TtL, and is definitely what I’ll be taking next time. Owen was quite happy with
his Secondaries, as Stranglehold and Warp Ritual were both maxed and To the
Last could easily have been a 10-15 if my final turn had gone a little worse.
As far as lists go, it was a good final outing for the Voidweaver spam.A lot of things were working against me this game, but the sheer resilience and mobility of the list showed off why it deserved to get nerfed. From here I think I'll be pivoting to massed Troupes, hoping to wrack up a quick 45 on Primary and laugh at my opponents' melee trading game. Will it be as strong as the Voidweavers? No, but that's absolutely for the best.
I know the metagame won't miss them, but I've loved fielding this list. So busted, but so fun to play
Owen was super happy with his choice to bring along
Behemoth. Most of its kit is a little wasted in this kind of matchup, and he
really felt the absence of Leviathan’s psychic power, but being able to staple
on ObSec/super ObSec to all his monsters was immensely powerful. This game
looks very different if a lone Starweaver can contest an objective from one of
his monsters. At this point the question might just be which of the Lurk Hive
Fleets adds the most with the rest of its kit. Behemoth really does up the
melee output of the list considerably, especially for the Carnifexes, so
there’s a solid argument for keeping it as is. Kronos could be neat for a
little additional range and psychic defence, but most of his guns are already
36” anyway. Jormungandr is tempting to stack some more -1 to hit, but
it only helps in a pretty small percentage of circumstances. Jorm would also
let Owen deep strike his Maleceptor (or the three Carnifexes…) pretty cheaply in circumstances where that’s a
good call, so there’s a bit more to be said for it. Gorgon is also an option,
but all it really does for the list is make the Walkrant extra tough, and Owen
would be giving up Shardgullet for that as well. On the other hand, Leviathan’s
psychic power and both halves of its Adaptation are super strong, and giving
them up is a big deal, even if it is for ObSec everywhere. It seems like if the
Leviathan Supplement is out, then it’ll come down to a three-cornered contest
between Behemoth, Jormungandr and Leviathan for builds like this.
On the other hand, looking back at it now I’m not convinced
that the custom Hive Fleets should be off the table. You could take something that’s
always useful like Unstoppable Swarm or Ambush Predators (for ignore terrain
while moving or army-wide Heroic Interventions) as the primary trait, then pick
the other one as the Adaptive trait on the assumption you’ll normally swap it
out for one of the excellent Lurk buffs. That honestly might be stronger than
any of the above options, especially as most of the psychic powers/relics/warlord
traits are pretty unexciting for a ‘big shooty monsters’ list.
Speaking of the list itself, we both agreed that the Mawloc
was pretty unexciting. Yes, it flipped an objective and reduced my Primary by
4, and yes, it soaked up some firepower afterwards. But that firepower was all
the close ranged stuff that I didn’t have many better uses for, and I imagine
that will be true of a lot of armies. Things like the Flamers on an Airburst
Crisis Team, or the melee of the backfield Custodes units, can pretty easily
kill one of these without meaningfully reducing the damage going into the rest
of your army. Edit: Neither of those examples really holds up today, but I think the point I'm making does. 125 points for 4VPs is just not a good trade, at least in my
books.
Instead, Owen is going to replace it and the fourth Carnifex
(which was solid, but not a star) with another Maleceptor and either some
Warriors or some Pyrovores. The Maleceptor is proving consistently deadly, and
a second honestly looks super worthwhile. Each game it seems to stomp around
melting a unit a turn, so having a second one to just do more of that would be
awesome. And an extra squad of small stuff would be pretty good for playing the
objective more widely as well. Speaking of which, the other three Carnifexes
are still in, because they’re cheap and they kill stuff. Had Owen fielded 4
Screamer Killers, I think they would only have gotten into combat 2-4 times
between them. Is the extra few attacks then worth the 12 HVC shots he’s giving
up every other turn? Probably not.

Many turns of Carnifexes blasting me, not many turns of them stomping into combat
And yes, we were both convinced that the Flyrant was worth
its points. The Walkrant was still excellent and will likely continue to be a
staple in any Tyranid list either of us run, but that Flyrant was a bit of a star
as well. Triple Patrol is suddenly sounding awfully tempting…
In light of three of the top armies being heavily nerfed while the Tyranids go untouched, how scared should you be of a list like this? It's early days still, but at this point my prognosis would be: very. You should be very, very scared.
I hope you enjoyed this much-closer rematch. Let me know
below what you think of the matchup, what tweaks you’d recommend for either
list, and how you think things will change post-balance-dataslate.
Until next time, may your games always be close ones!
Comments
Post a Comment